Admin Panel Introduction
The Admin Panel of the Multi-Vendor System enables system
administrators to manage Suppliers, Orders, Users, Statistics,
Countries, Cities, Languages, Currencies, and settings for
Pages, Blogs, Payment Methods, and Notifications.
Technologies Used in This Project
- Lumen micro-service from Laravel
- React.js, Next.js
1. Dashboard
-
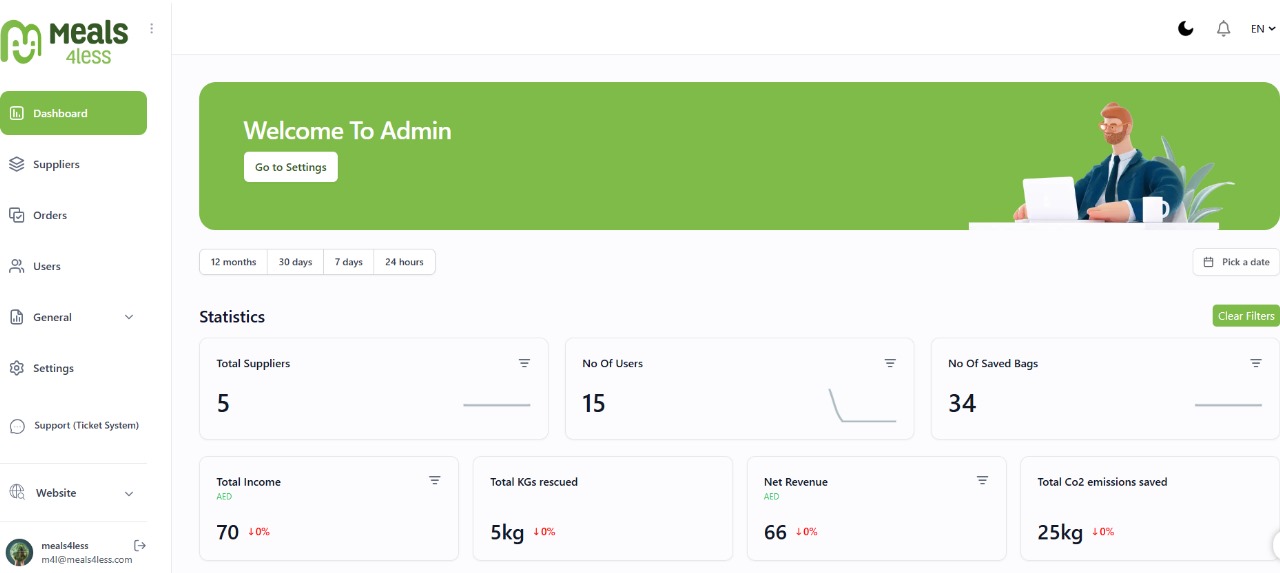
The dashboard provides detailed statistics on Total Suppliers,
Number of Users, Number of Saved Bags, Total Income, and Net
Revenue.
2. Suppliers
-
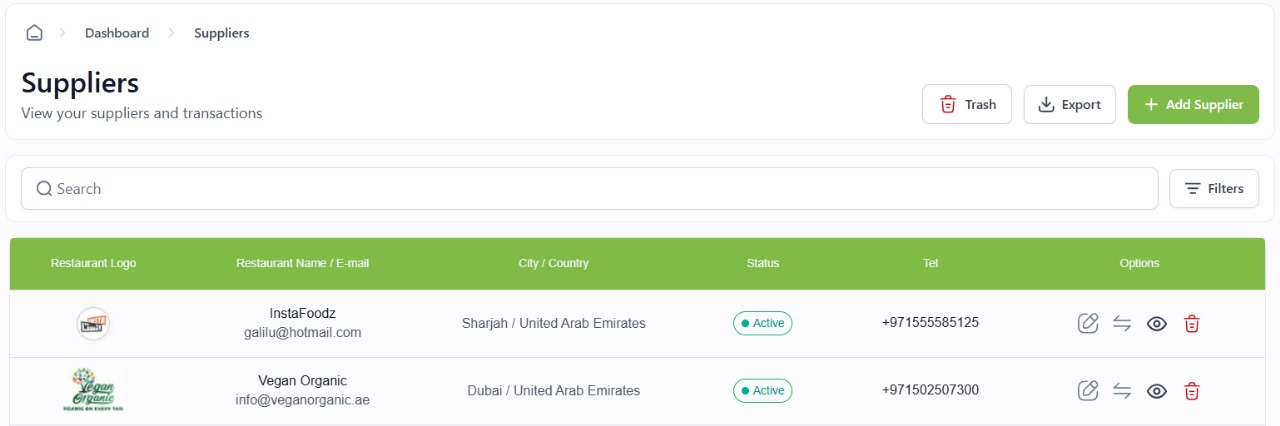
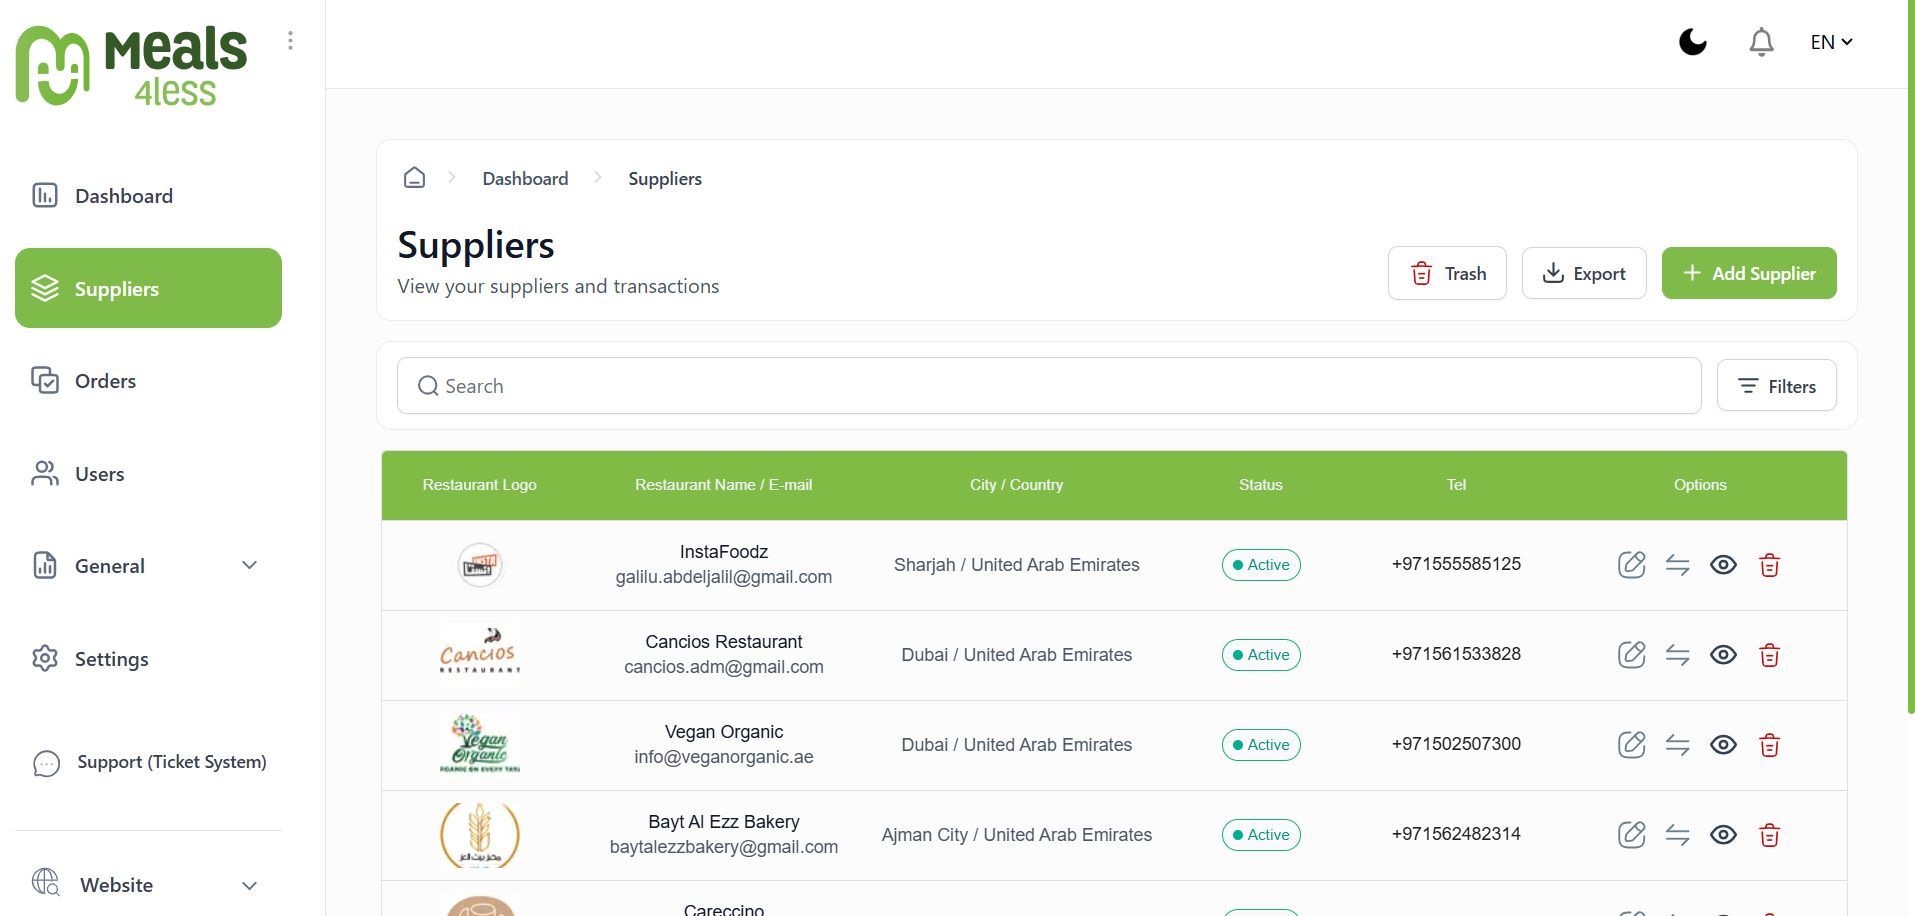
The Suppliers tab displays details such as Restaurant Name,
E-mail, City, Country, status (active or offline), and
telephone number.
-
Options to edit the supplier, change their status
(active/offline), view supplier details, or delete the
supplier.
- Add a new supplier to the list.
3. Orders
-
The Orders tab displays order details including value,
currency, item count, user information, order number, order
status, and payment channel.
- Options to view order details or remove the order.
4. Users
-
The Users tab displays information such as User Name, E-mail,
City, Country, status (active/offline), and telephone number.
-
Options to edit the user, change their status
(active/offline), view user details, or delete the user.
- Add a new user to the list.
5. Generals
-
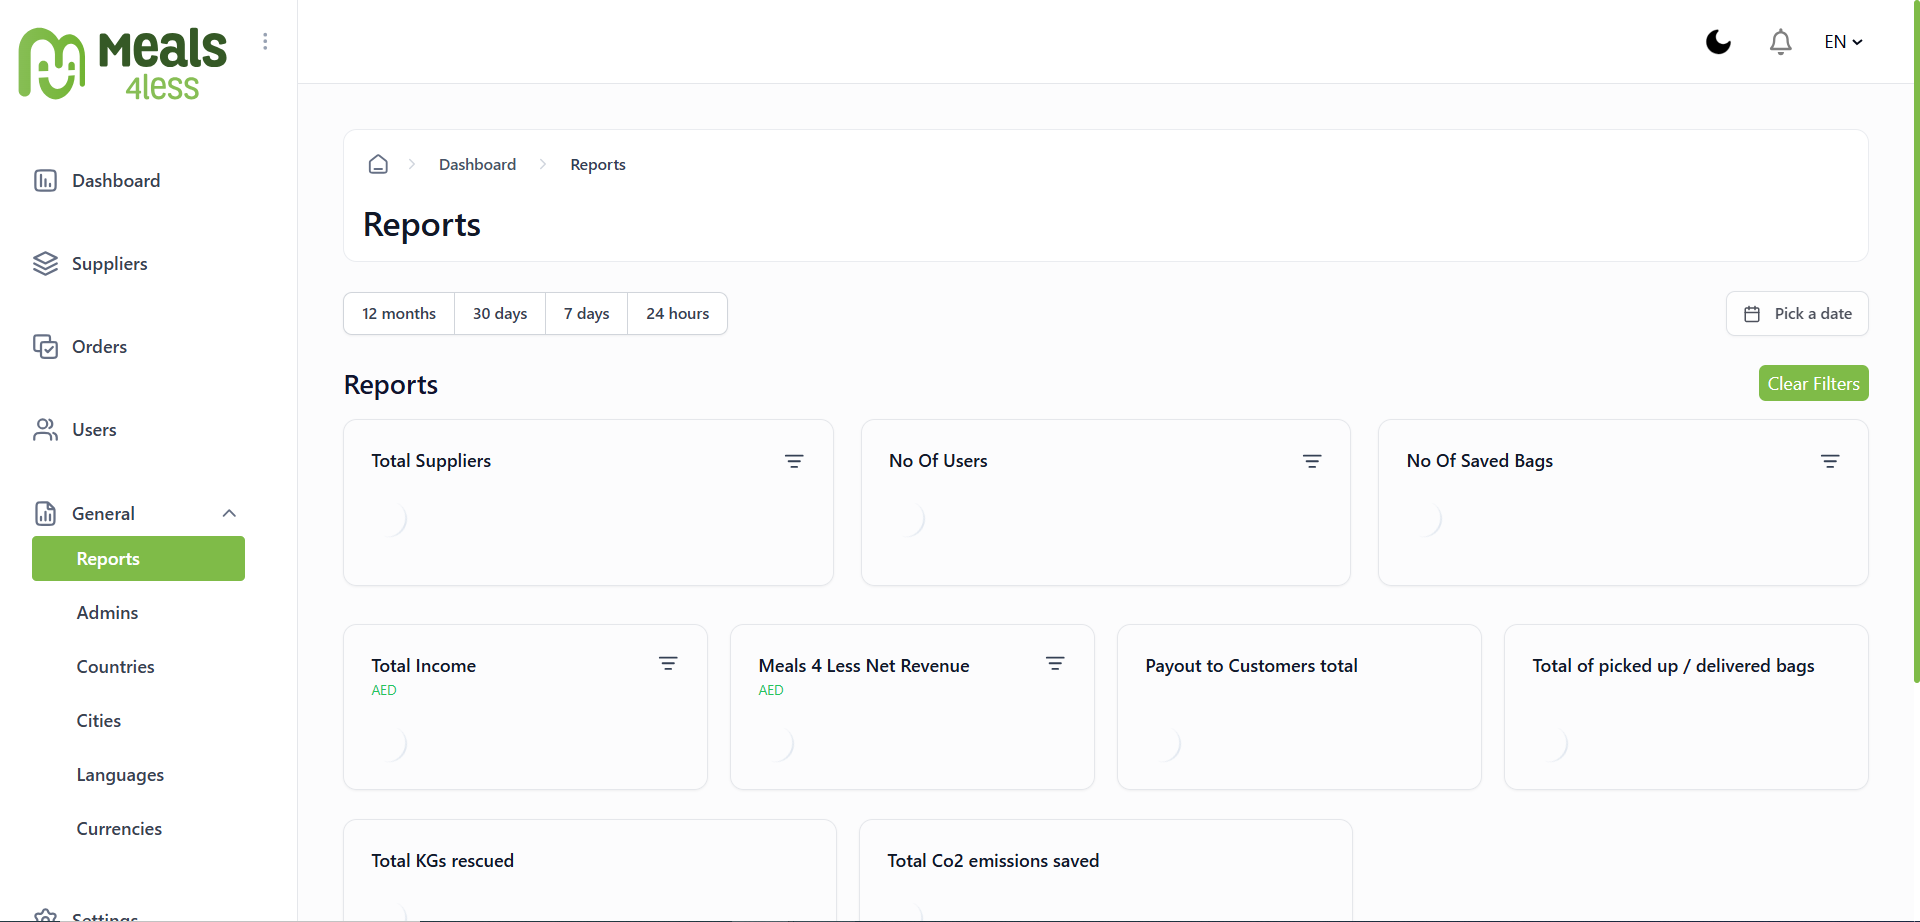
Reports: show the reports and filter them by
time and date and other filter options.
-
Admins: determine the role of the admin
weather to be writer, manager or admin and add new admin.
-
Countries: show the countries information
such as flag, name, status, add country, and options to enable
status or disable it and delete countries.
-
Cities: show the cities information such as
name, status, add city and options to enable status or disable
it and delete cities.
-
Languages: show the languages information
such as flag, status, and options to enable status or disable
it and delete countries.
-
Currencies: show the currencies information
such as name, country name, shortcut symbol, status, add
currency and options to enable status or disable it and delete
currencies.
6. Settings
-
control pages, blogs, FAQ, payment and the notification.
7. Website
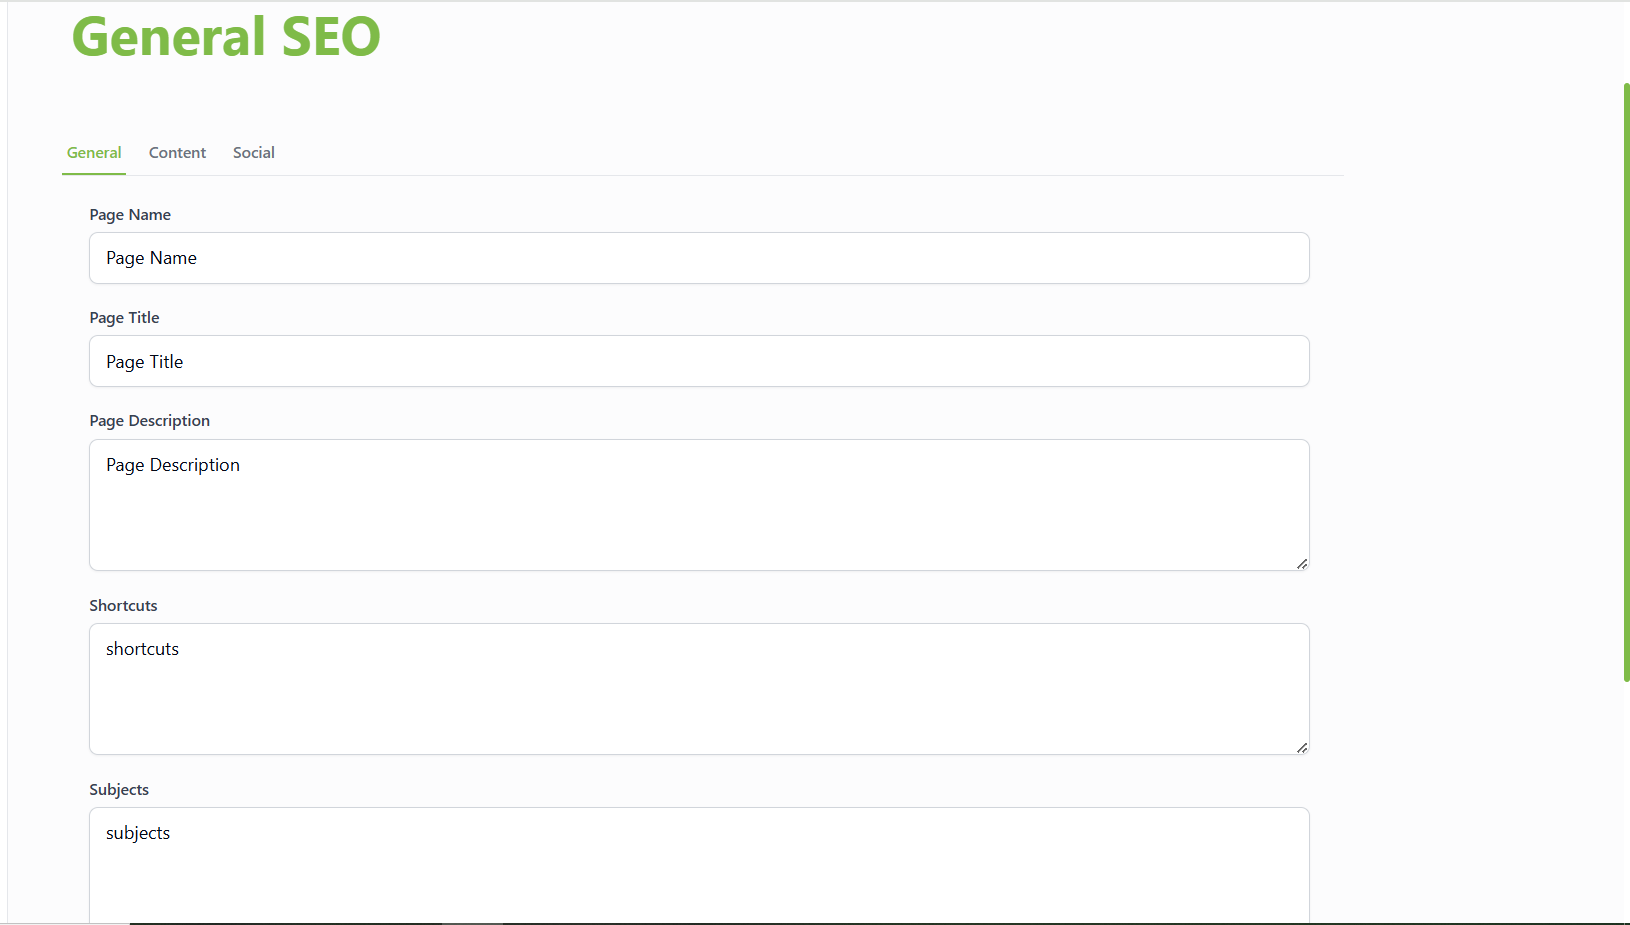
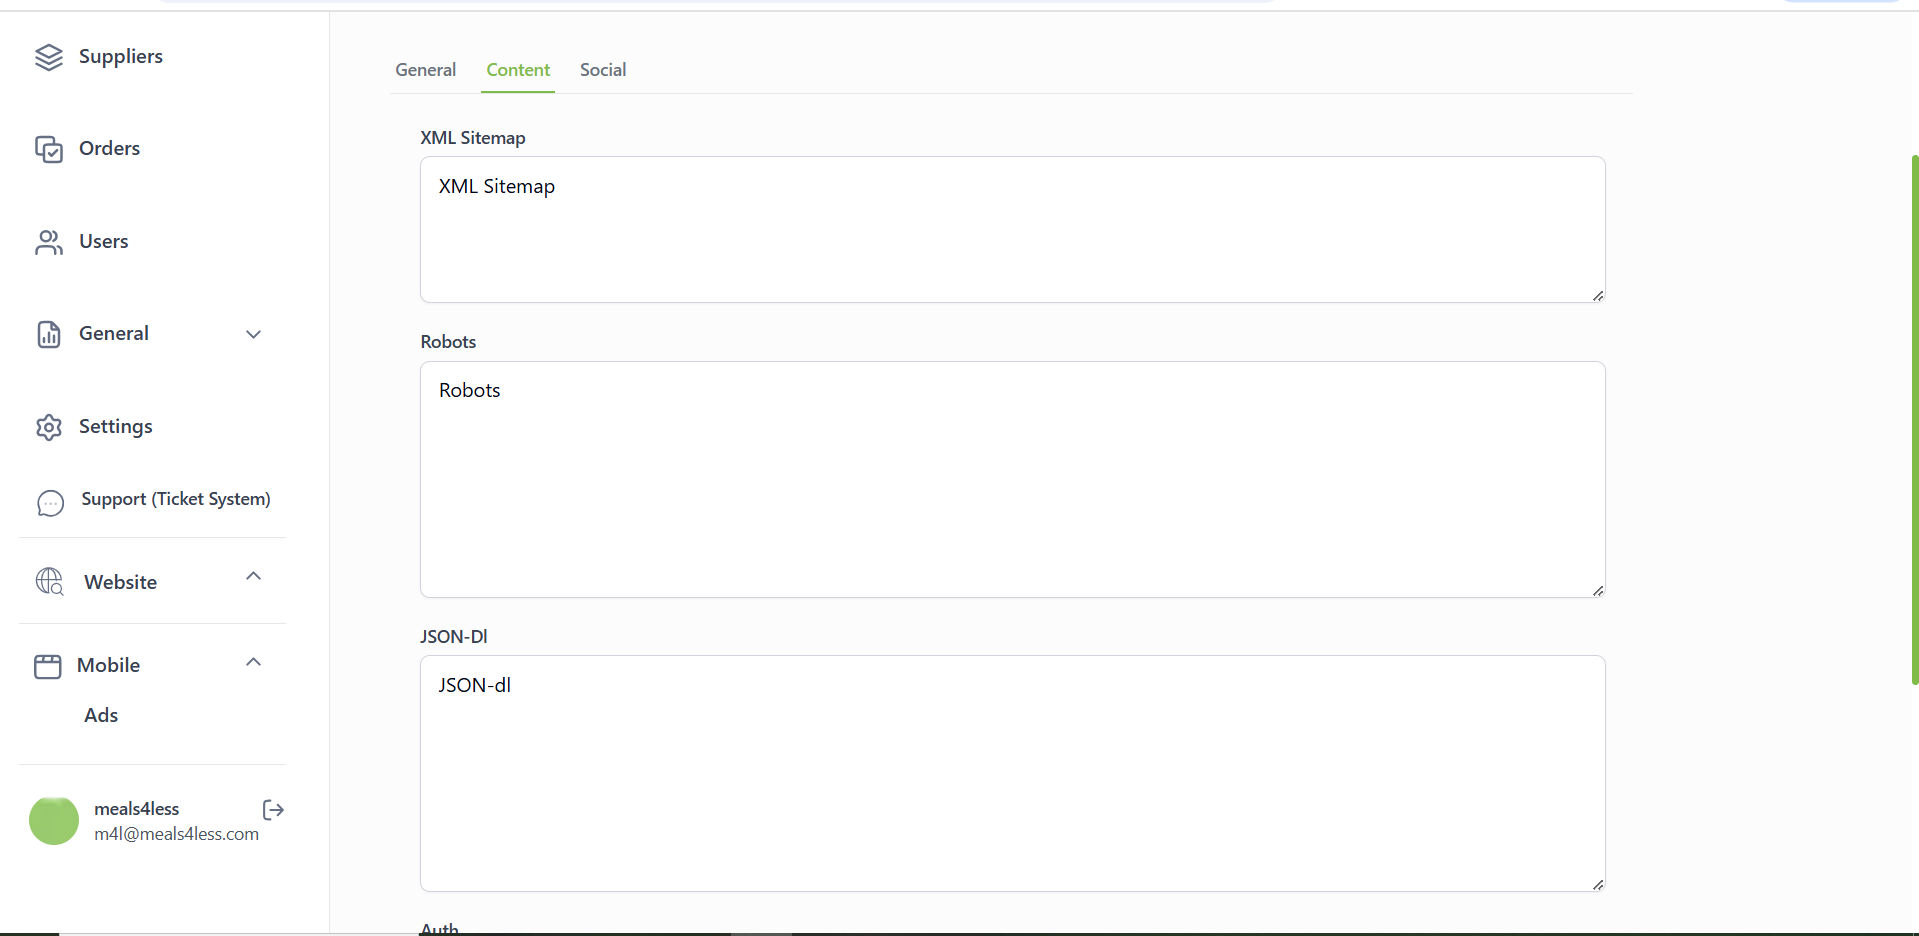
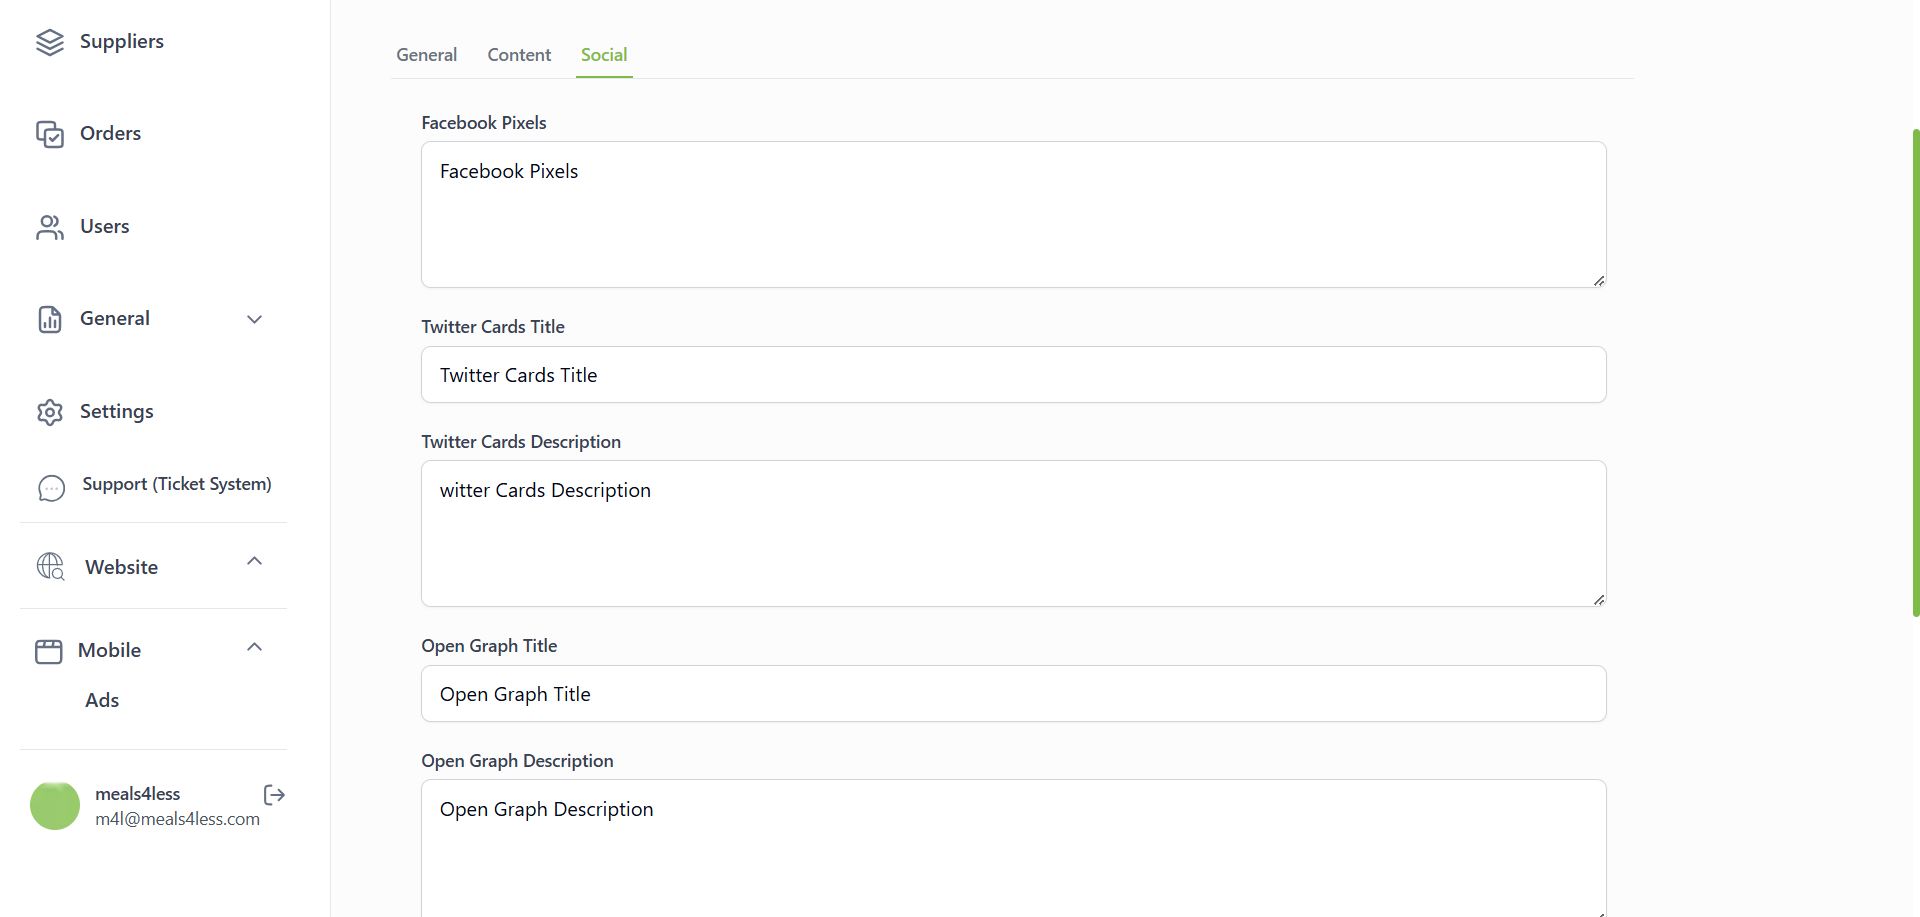
The Website tab displays SEO settings, which include:
- General Settings: Set the site name and subtitle.
- Content Settings: Add a description for the site.
- Social Settings: Configure social media details.
Dashboard Introduction
The Dashboard is a web-based interface system designed to provide suppliers (vendors) with a seamless way to manage and monitor a multi-vendor marketplace. The dashboard offers various features for the suppliers so that they can control their business details.
The technologies used in this project are:
- Lumen micro-service from Laravel
- Vue.js, Nuxt.js
Screenshots:
1- Admin Tools
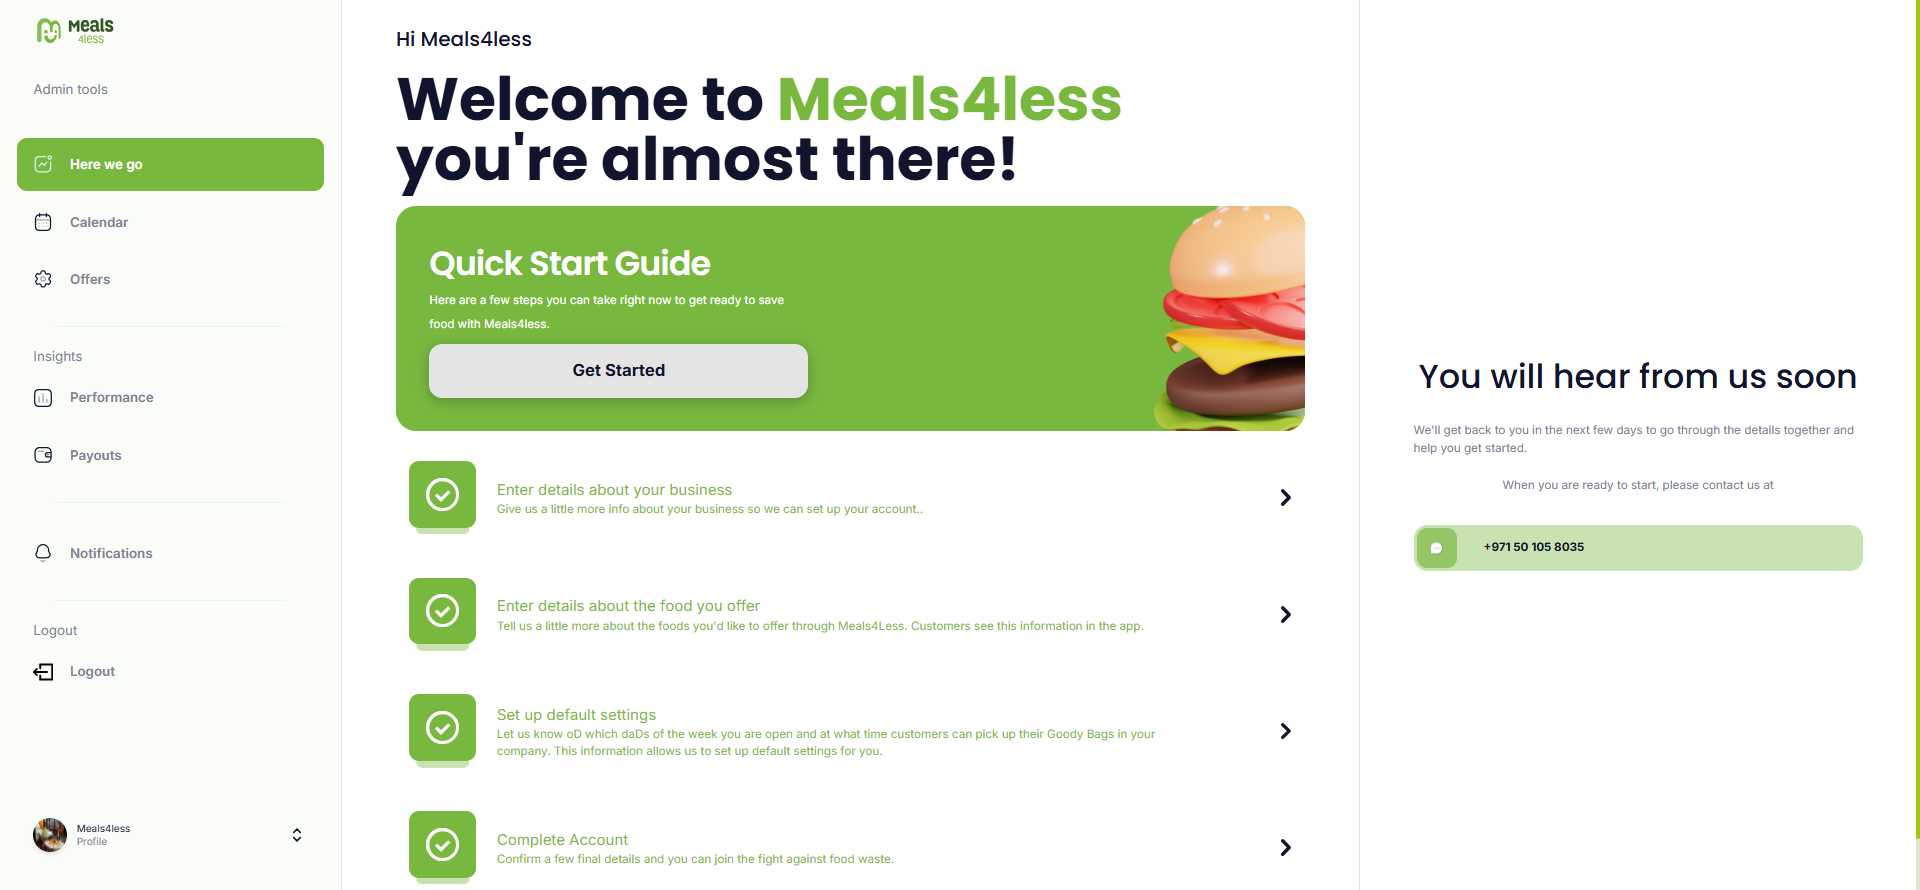
a) Here we go: This tab guides the supplier through the initial steps to save food in the Meals4Less dashboard through four easy steps.
- Enter detailed information about the supplier's business, such as name, address, and type of business.
- Enter one or more categories as main category/ies, food types, and vegetarian or vegan options.
- The supplier sets a default calendar plan so that customers know when they can pick up or order the supplier’s offers.
- Finally, the supplier confirms their bank details, including Bank Name, Bank Account Name, IBAN, SWIFT Code, and VAT number.
b) Calendar:
- The calendar tab shows the supplier a live timeline of their calendar plan, including the offer details related to the supplier's plan.
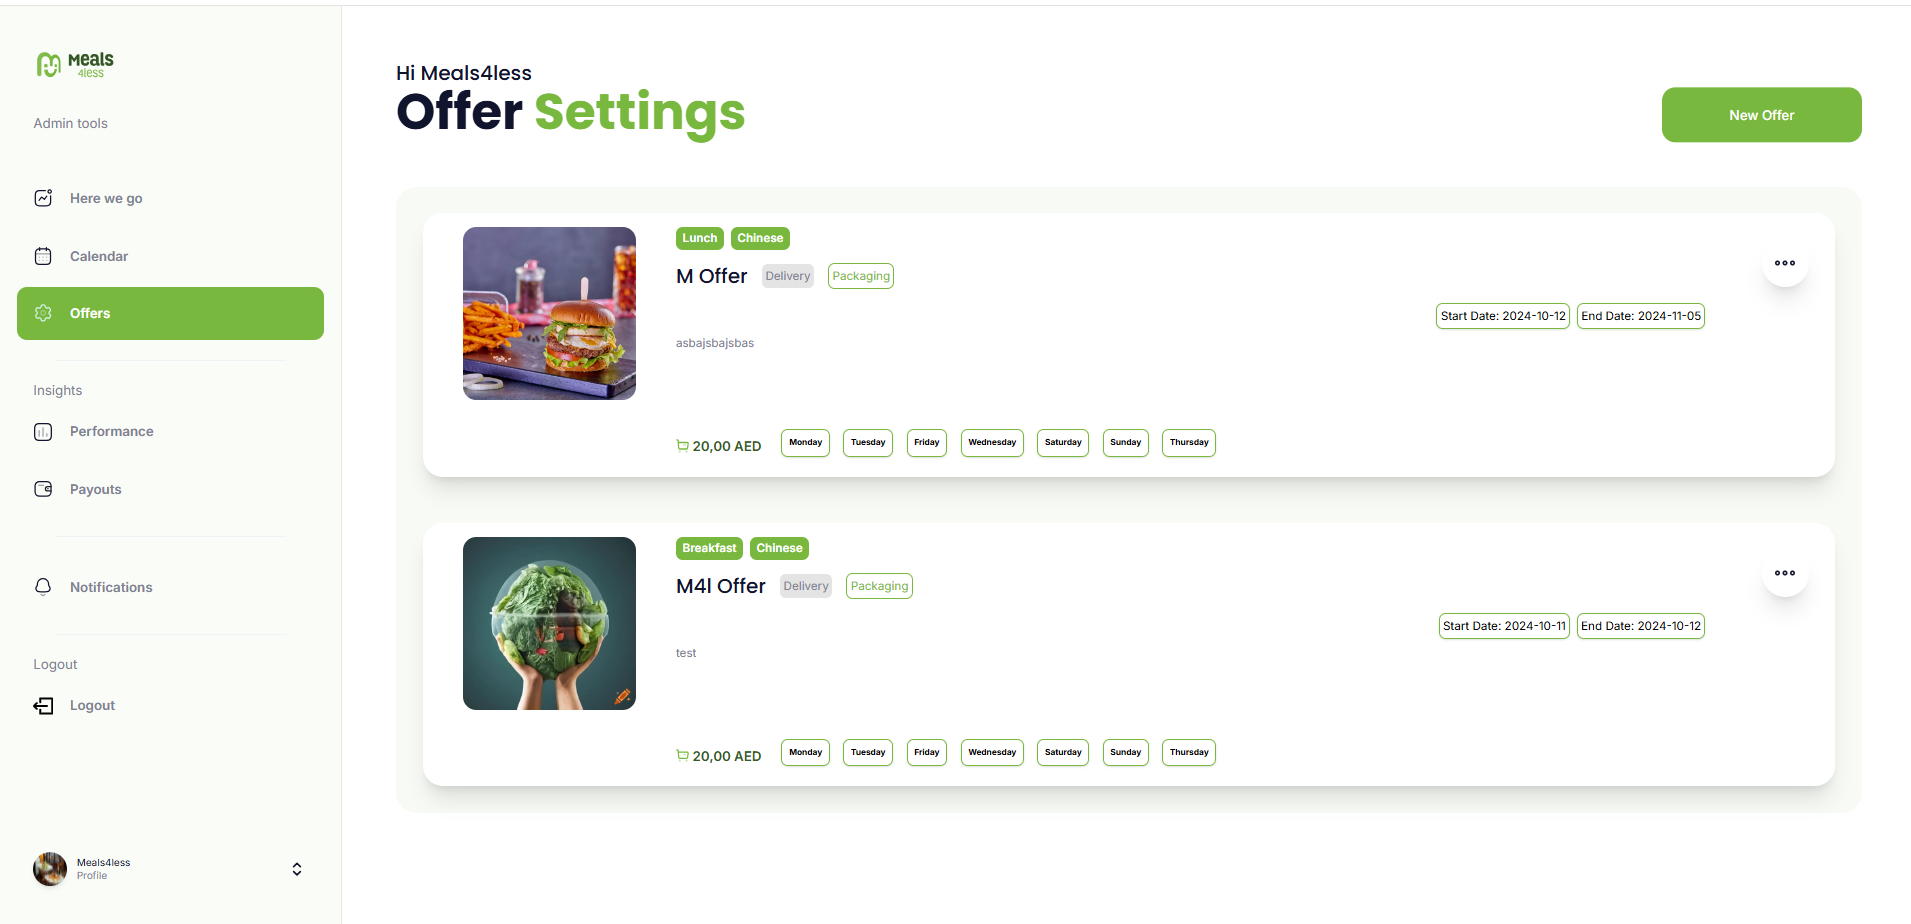
c) Offers:
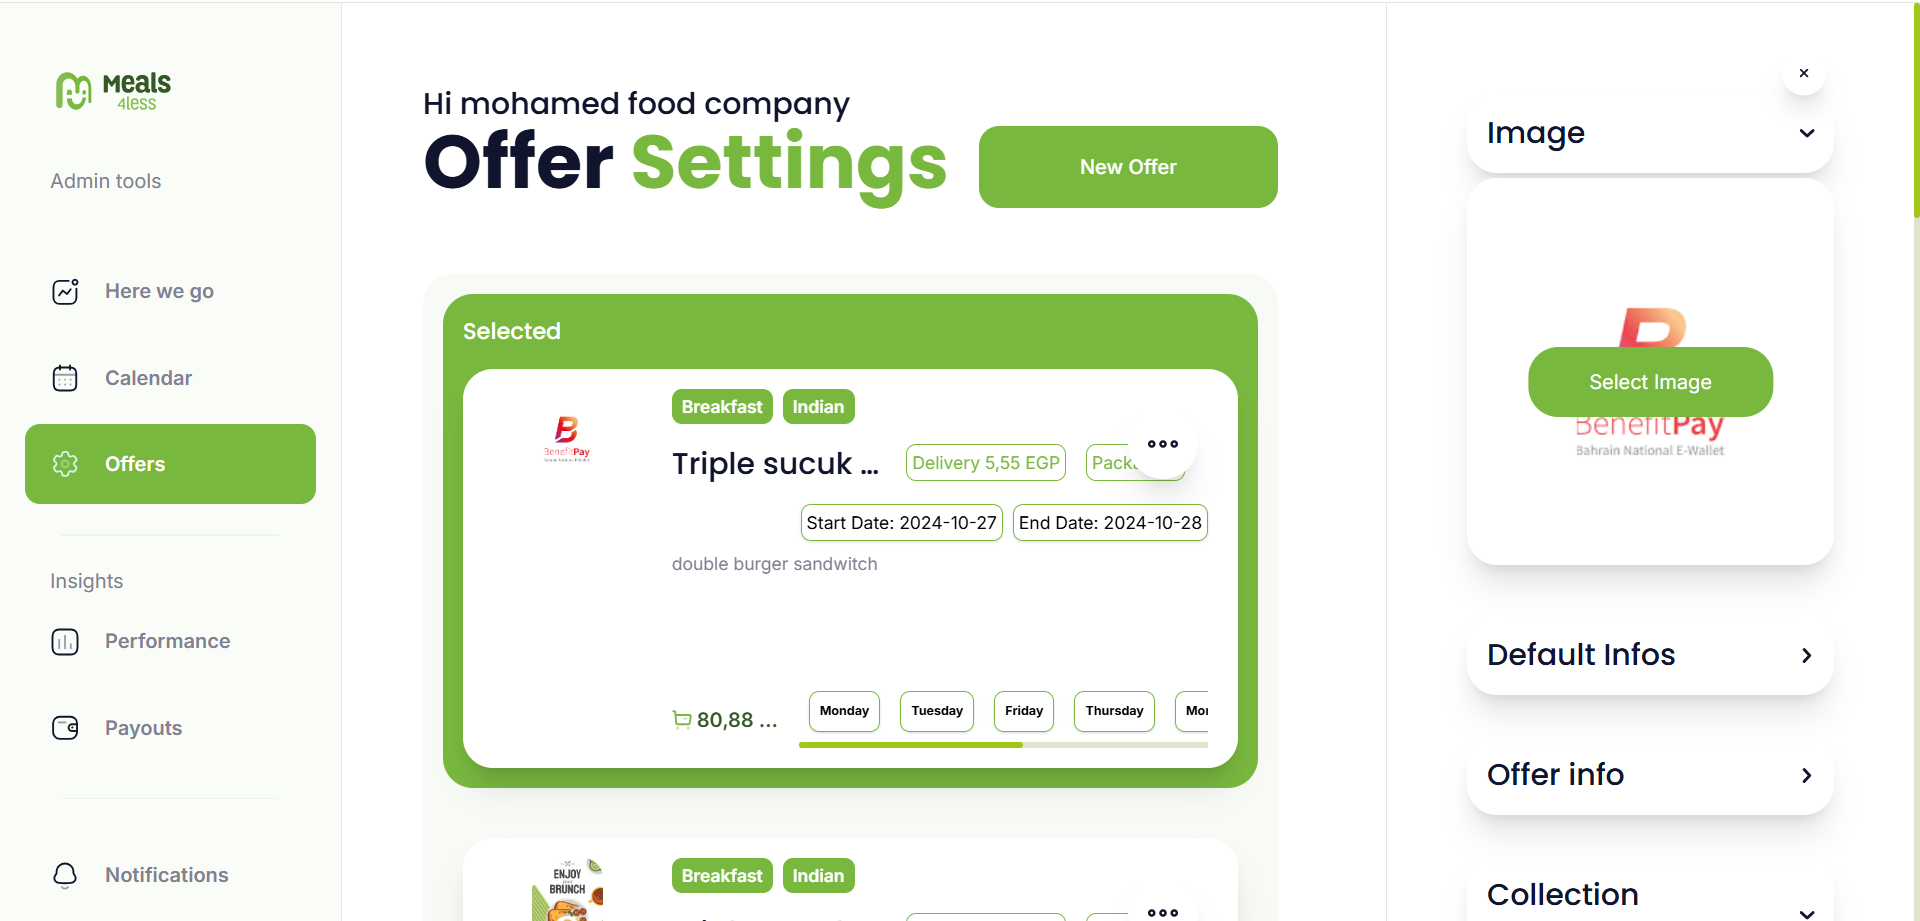
- The offers tab allows the supplier to create new offers and displays the offers so that they can update, duplicate, or delete their own offers.
2- Insights
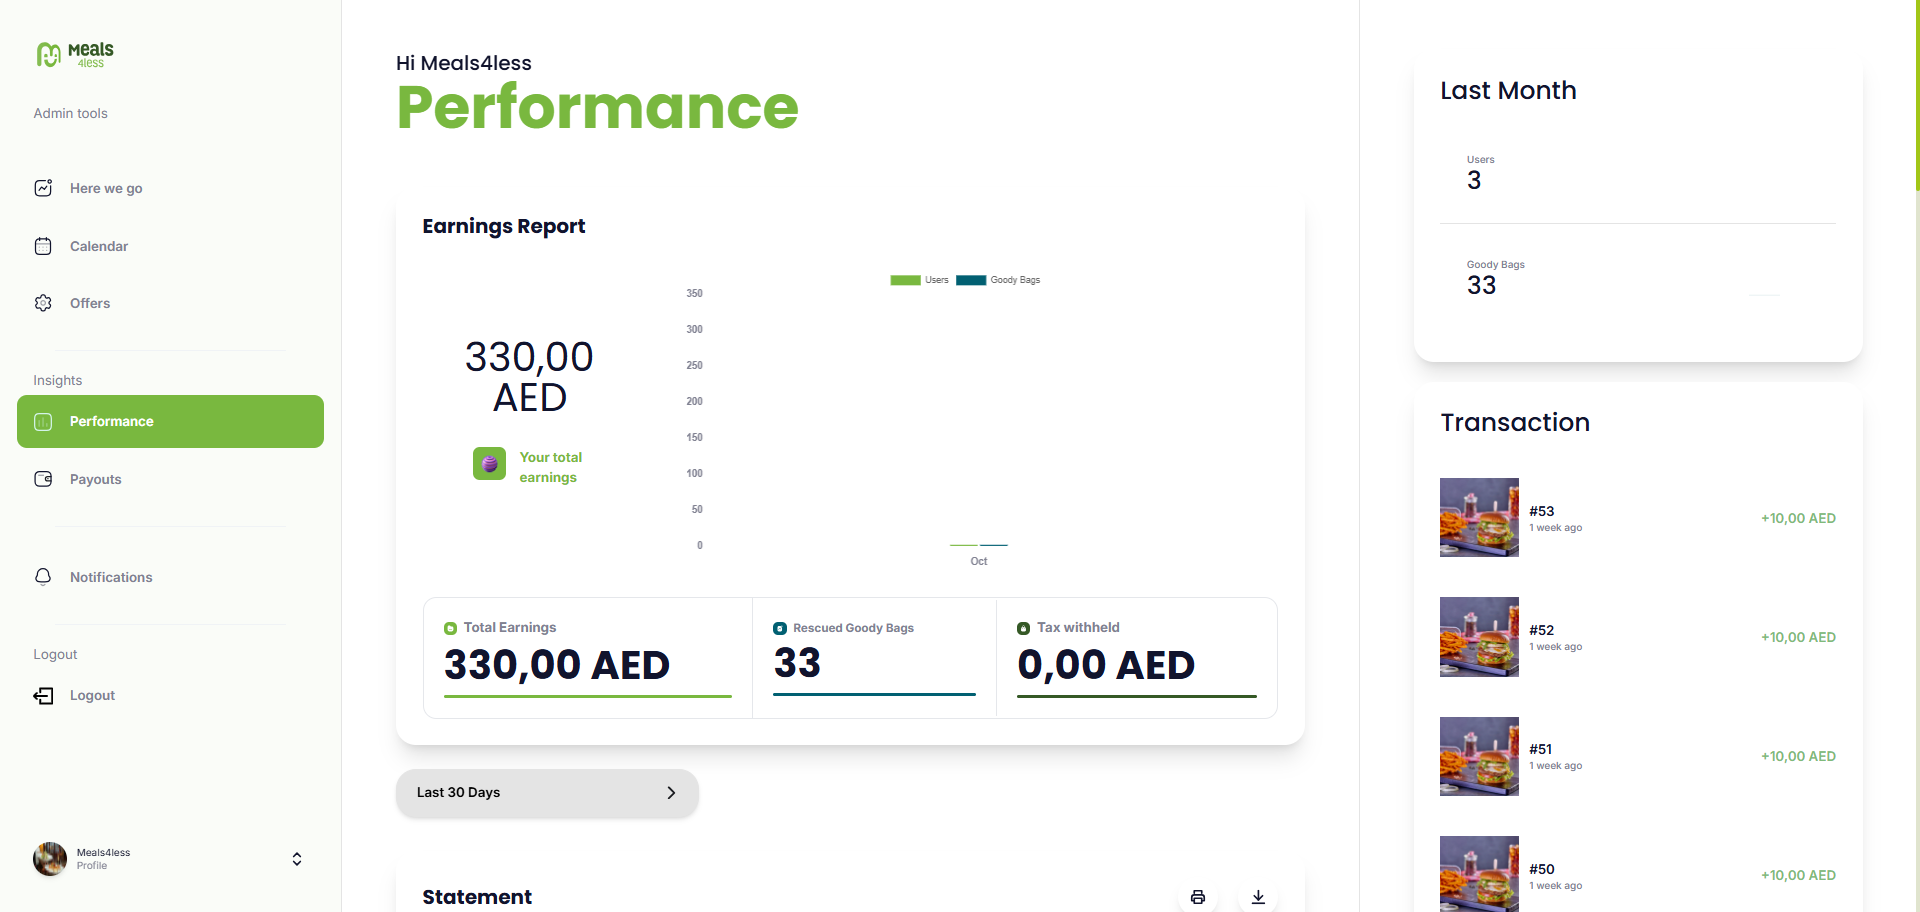
a) Performance: The performance tab displays detailed information about the supplier’s business.
- It displays an earnings report chart that shows the total earnings, rescued goody bags, and tax withheld.
- It provides a statement report containing all the orders made by customers over months and years, with the ability to download the report sheet or select certain orders to print.
- It displays the transactions of the orders made by customers with dates.
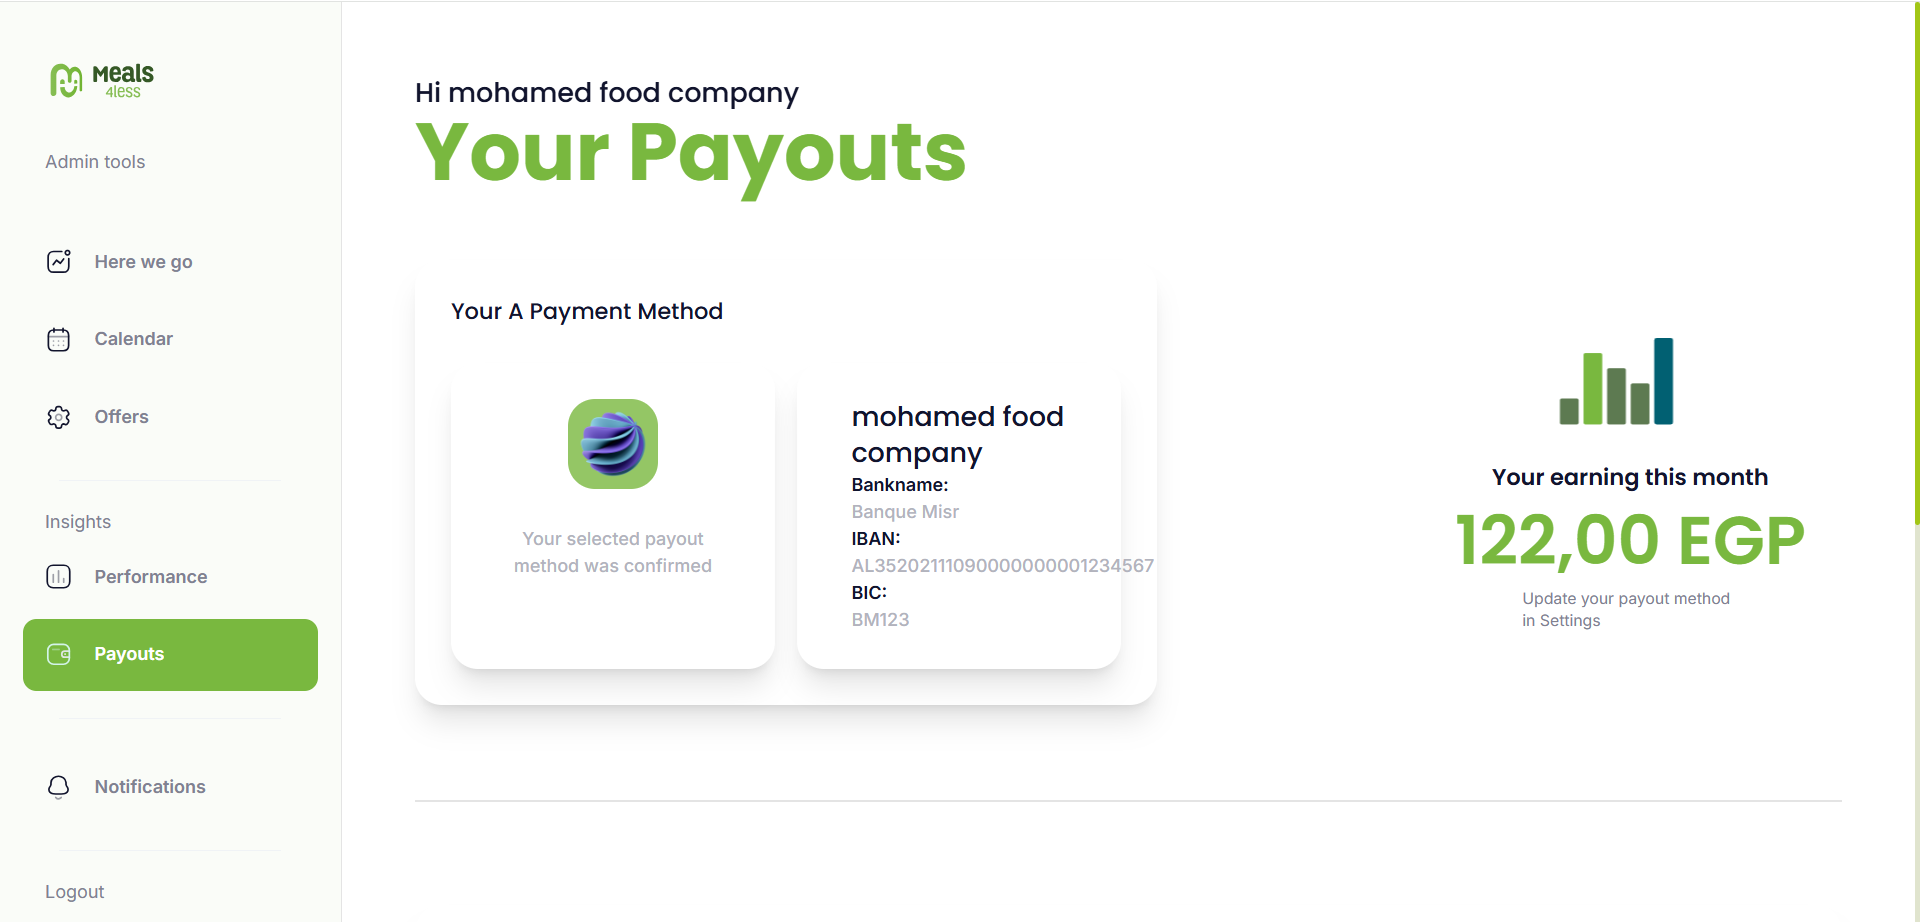
b) Payouts: The payouts tab displays detailed information about the supplier’s payouts.
- It displays a chart containing current payment method details, including the bank name, IBAN, and BIC.
- It provides a payment history report containing all payment data, payout method, status, date processed, and fees, with the option to download the payment history sheet or certain rows of payout transactions.
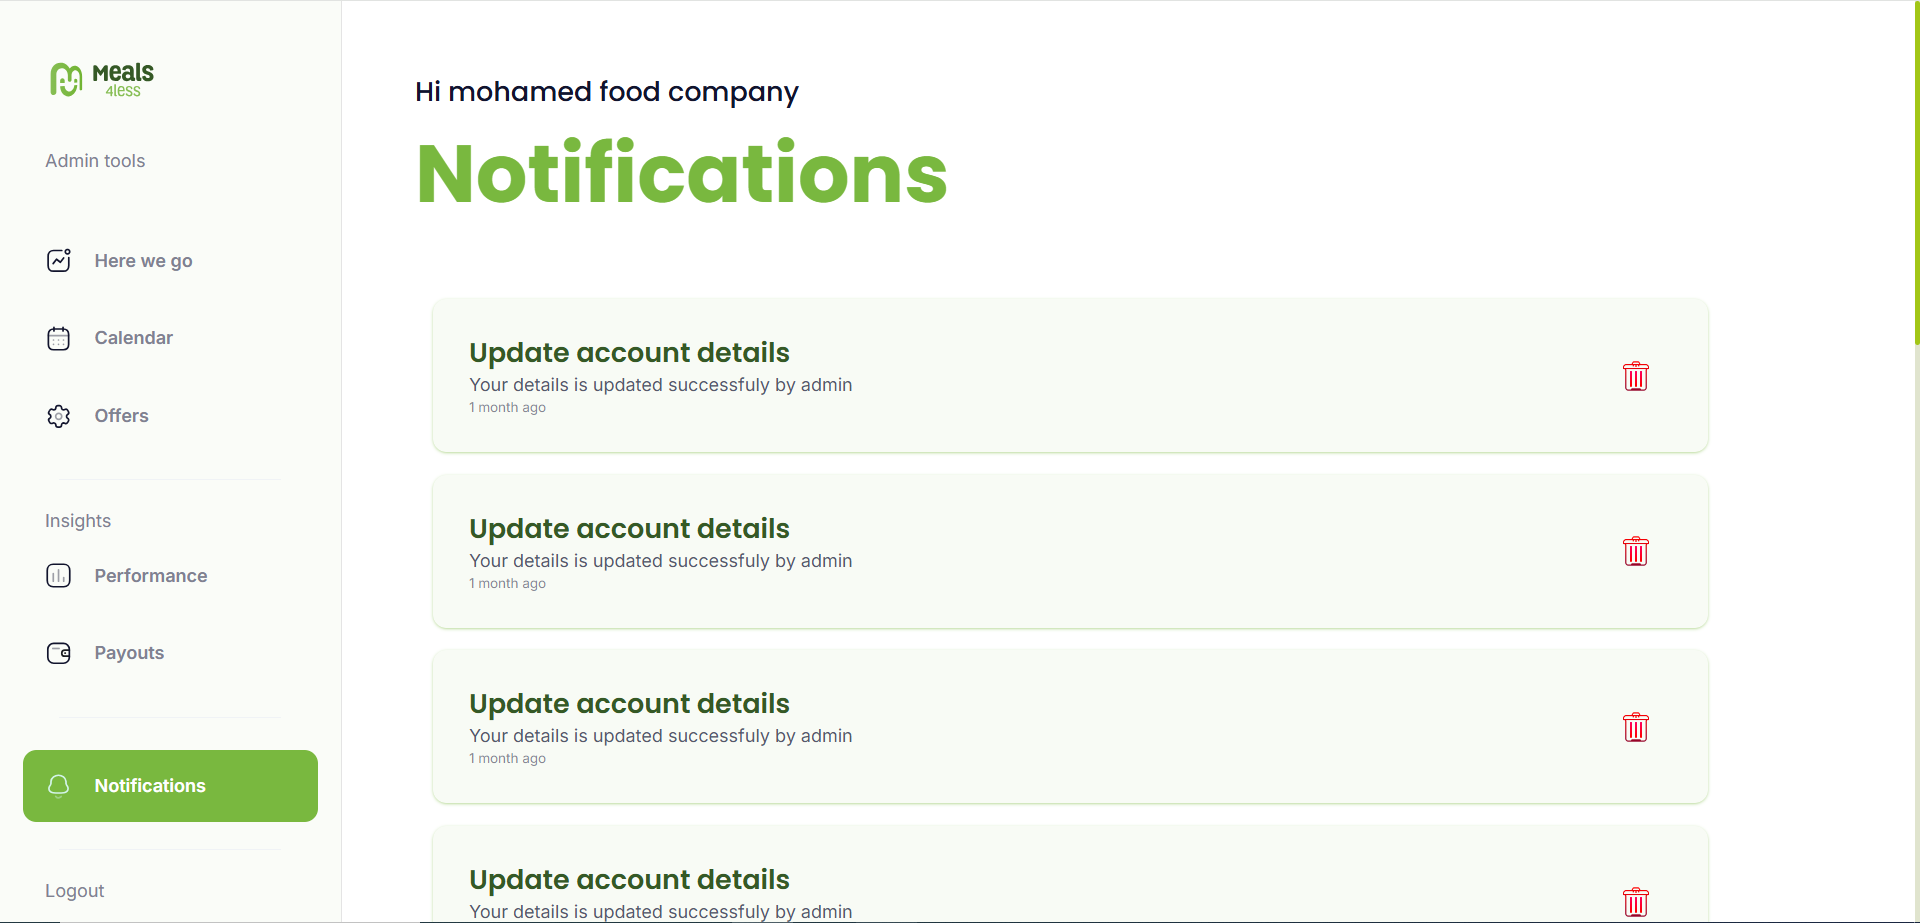
3- Notifications
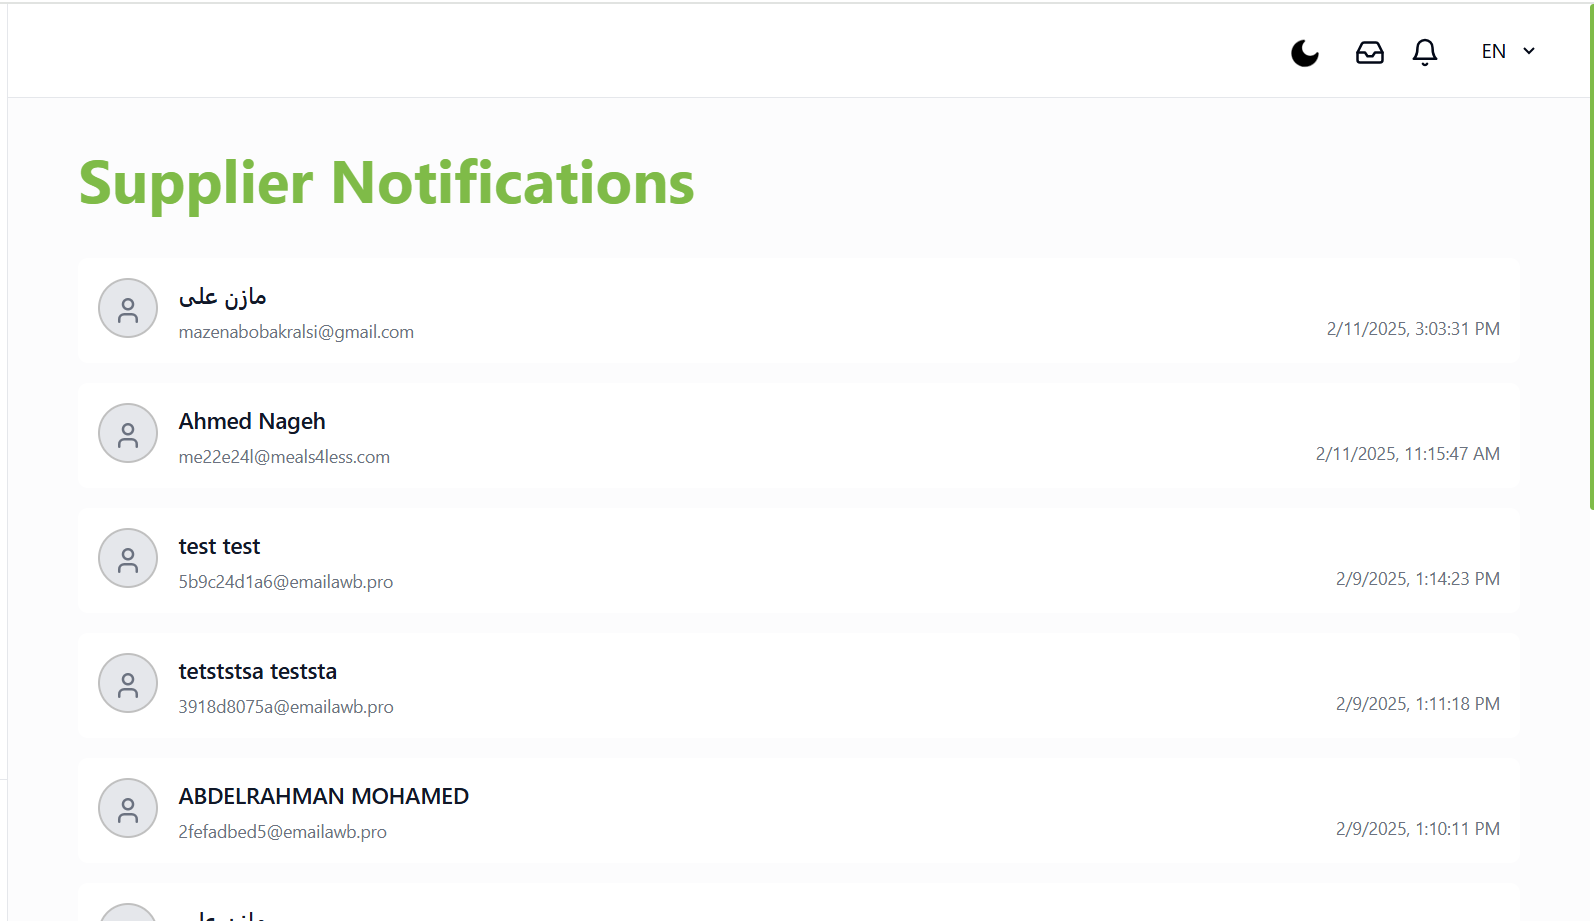
- The notification tab shows the supplier notification list with all actions made by them and approved by the admin.
Website introduction
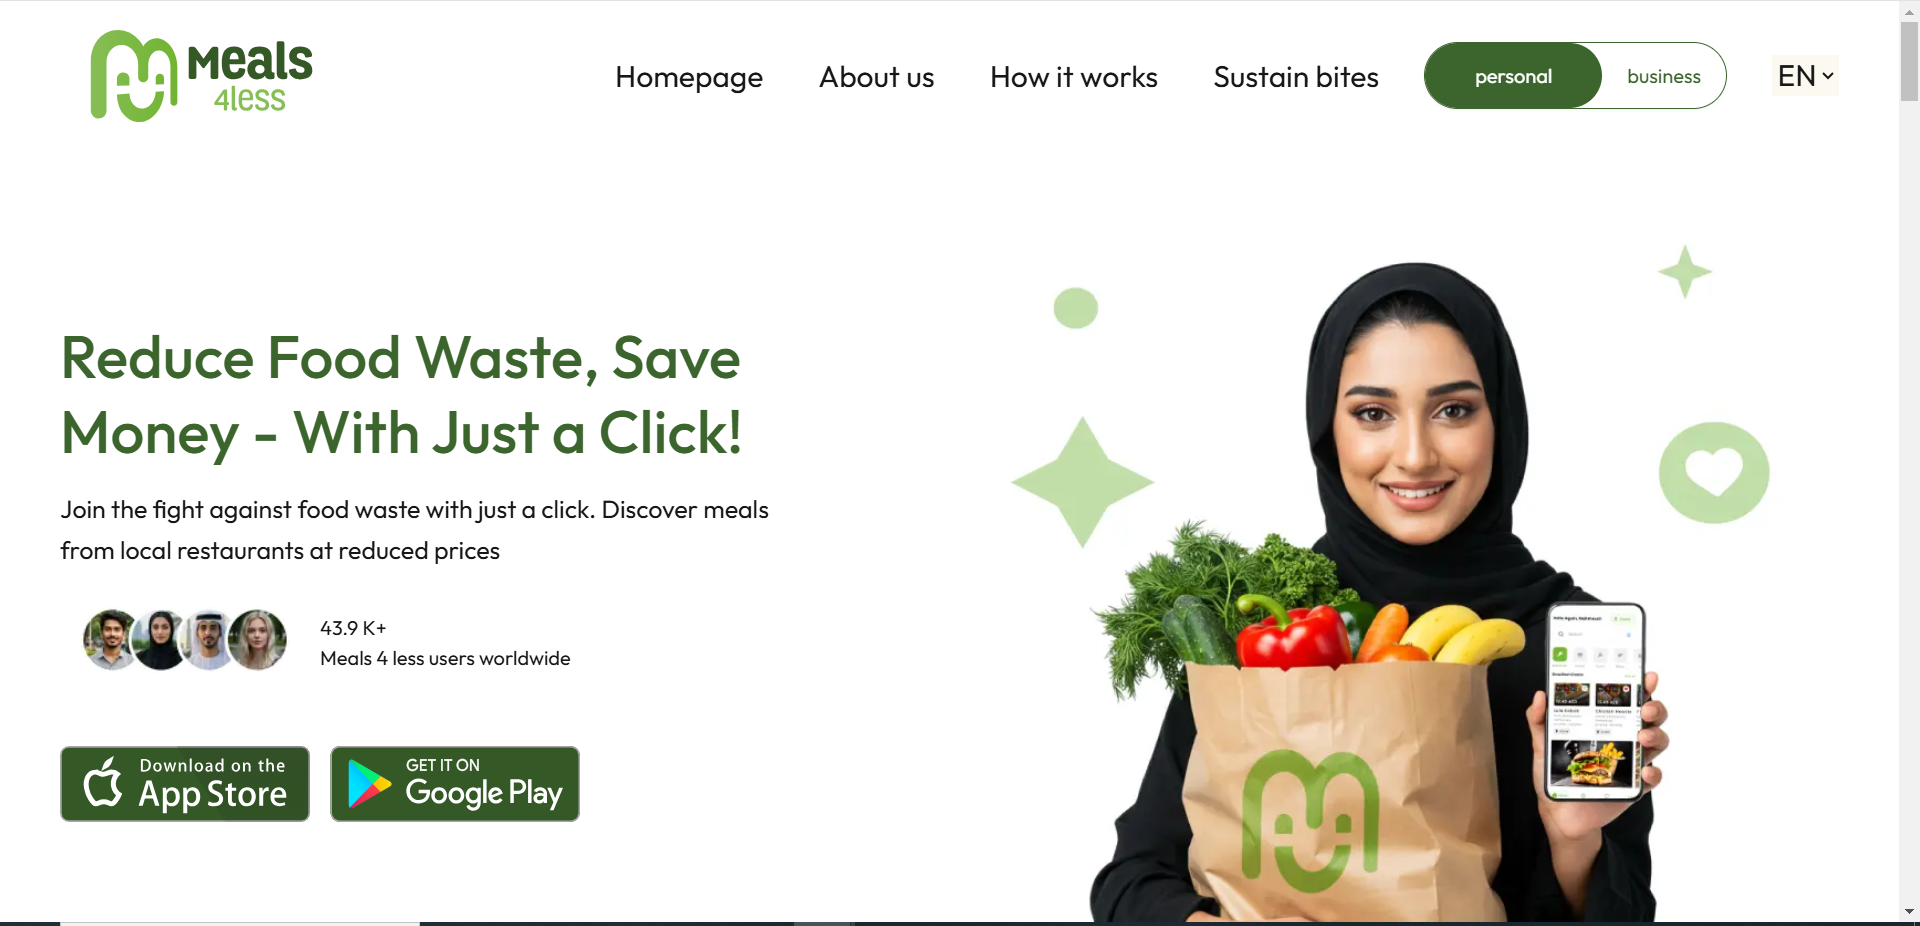
The Meals4Less website is specifically designed to provide information about Meals4Less and to introduce the services and activities it offers. It consists of several informational pages, such as the "About Us" , "blogs" and "Contact Us" pages, to give users a comprehensive overview of the brand and facilitate communication.
screenshots:
The technologies used in this project are
- Lumen micro-service from Laravel
- React-js, Next-js.
The website contains several pages, which are:
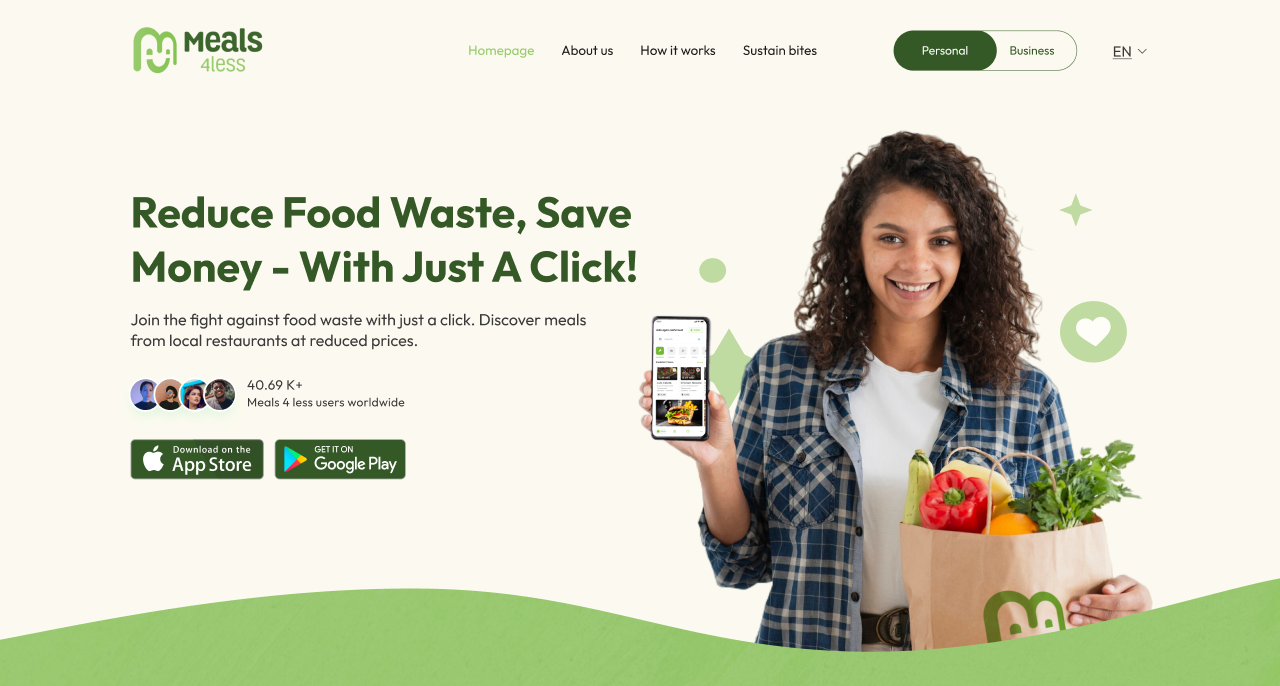
1-home page
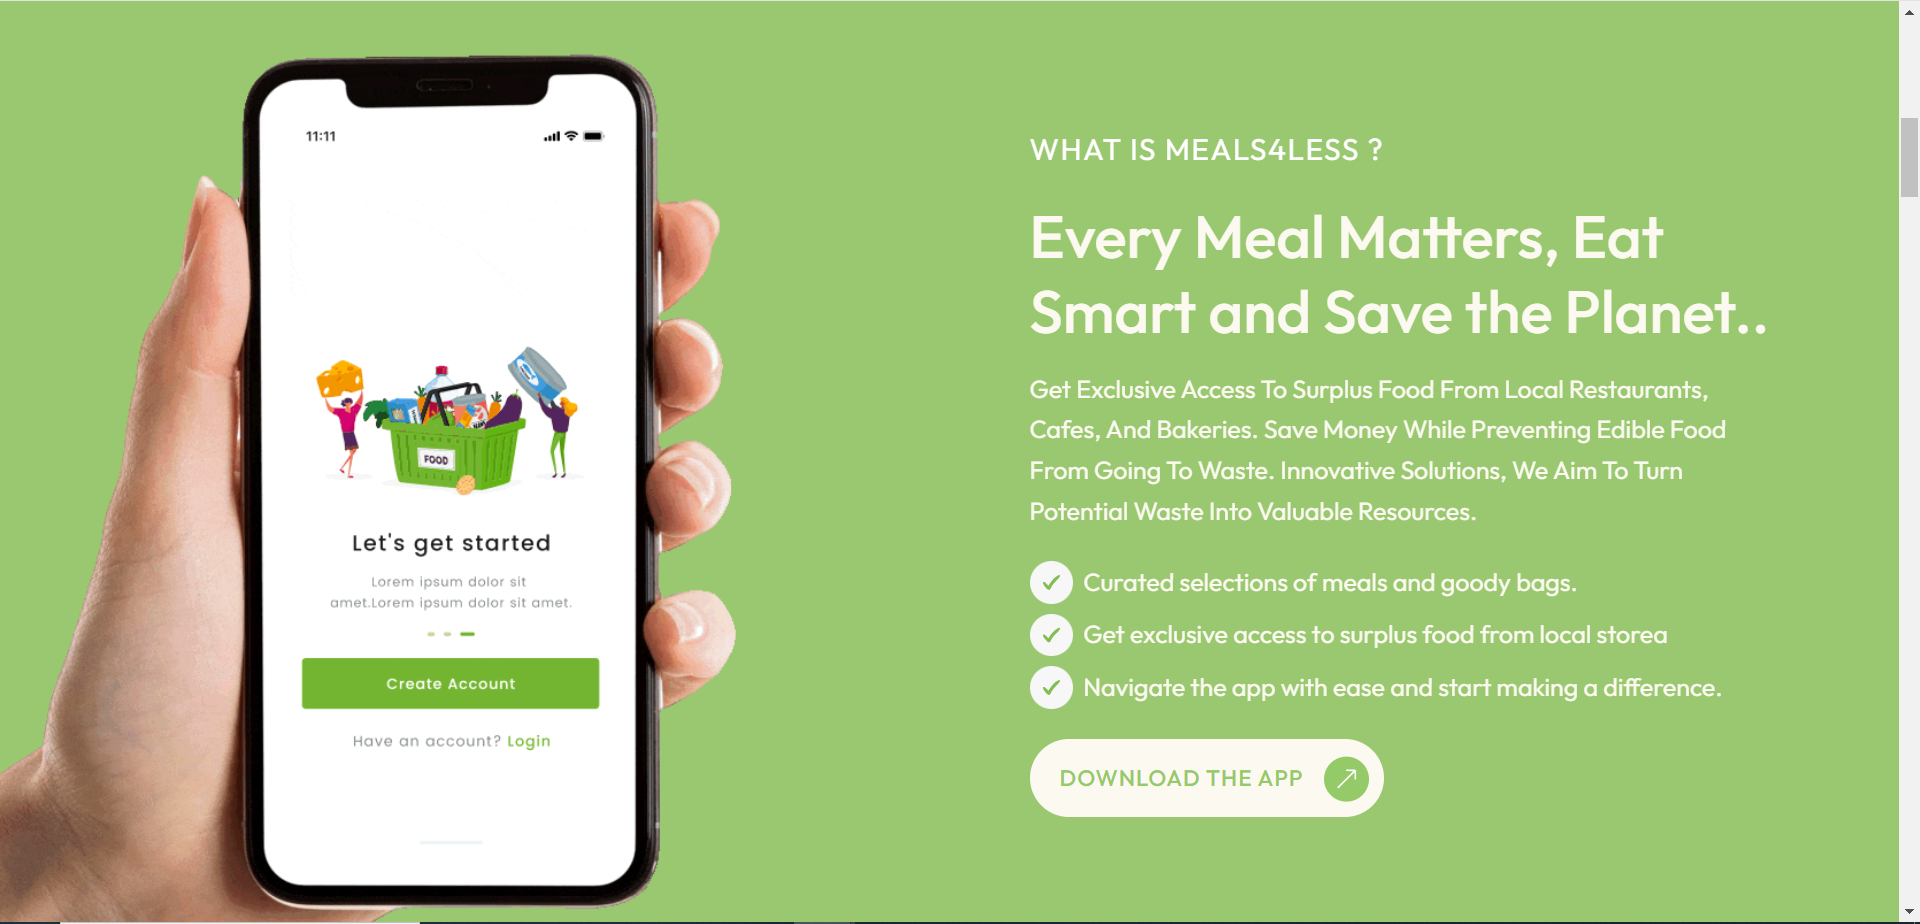
- Section Explaining All the Features and Benefits Offered by Meals4Less
- Statistics about Food Waste in the UAE
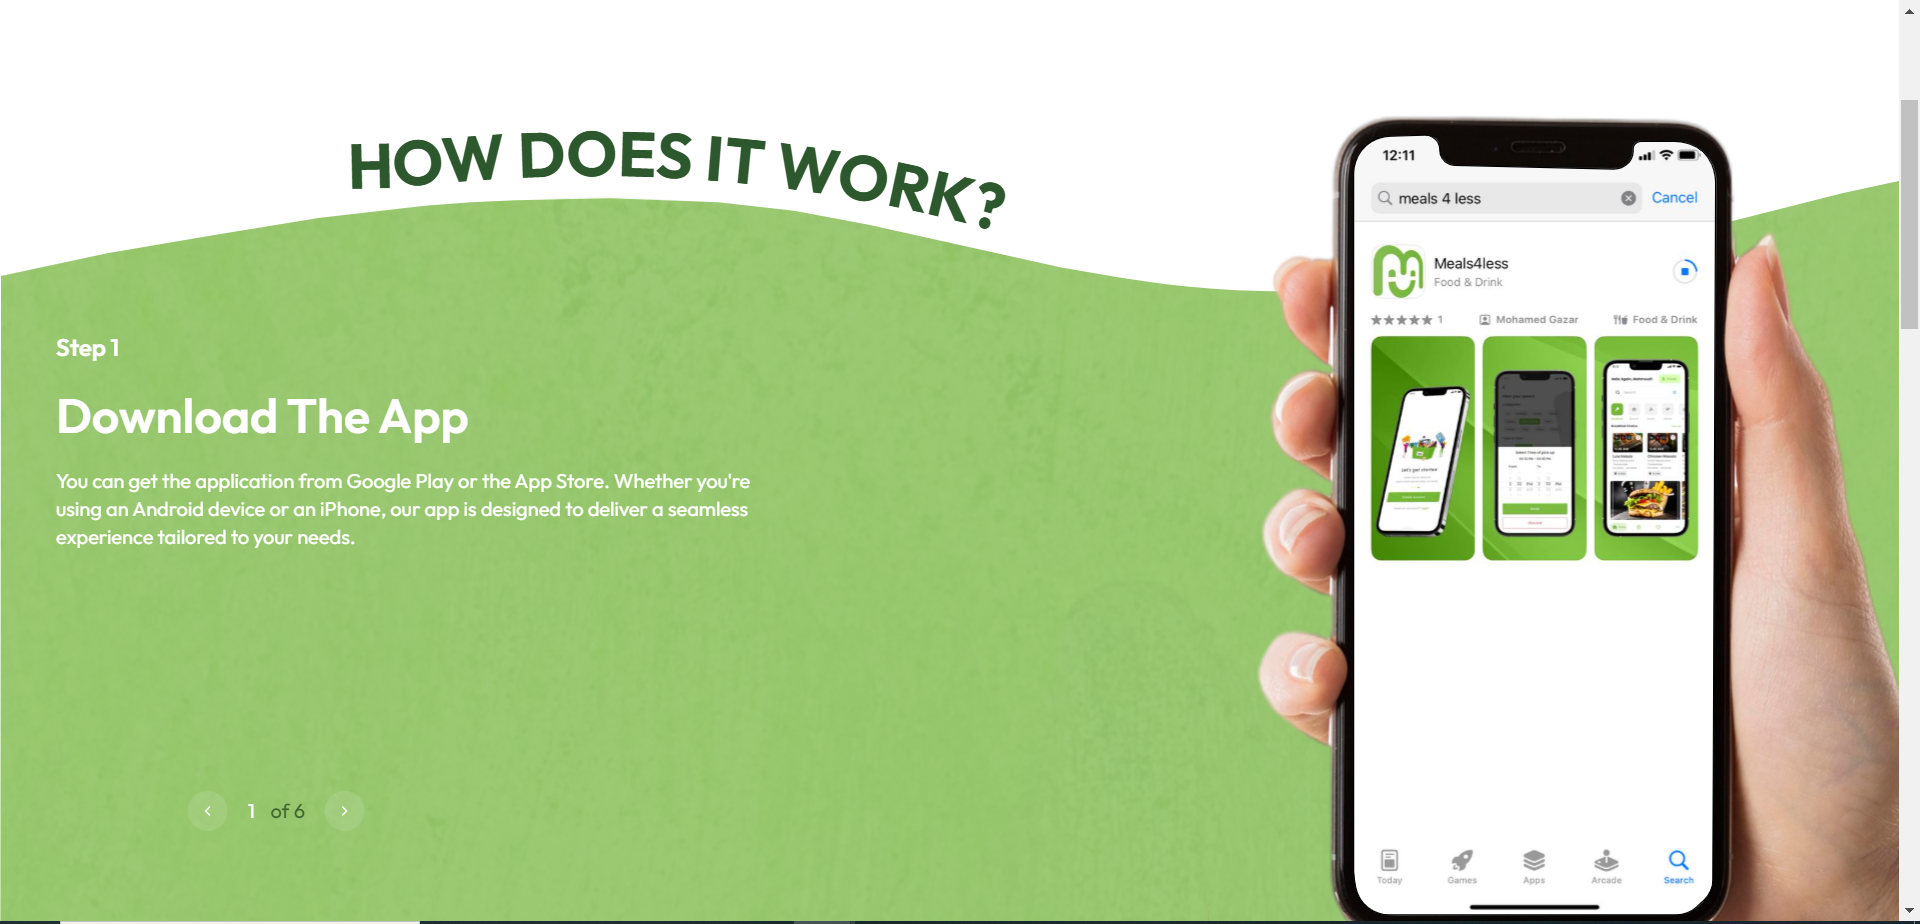
- (How Does It Work?) which explains with images how to use the Meals4Less app
- User Reviews Section in the Meals4Less App
- Partner Brands of Meals4Less in the UAE
2- about us
It consists of several sections that contain informational details about Meals4Less, such as:
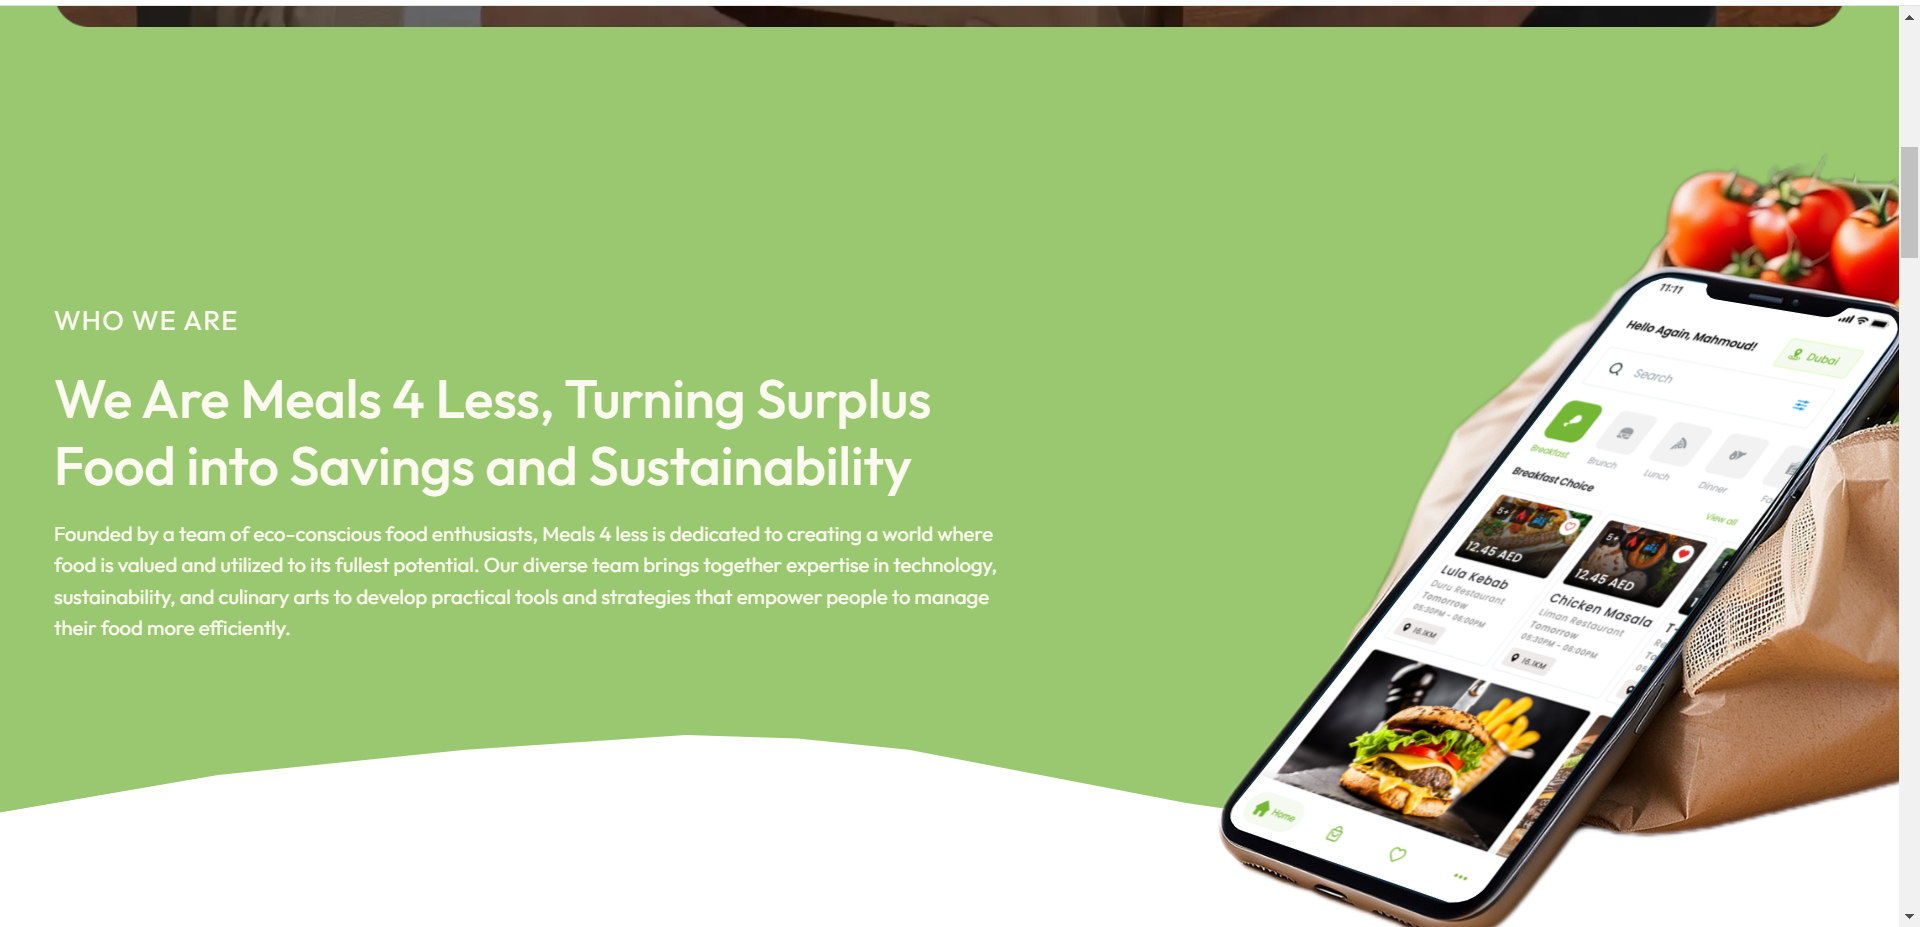
- who we are :contain informations about meals4less.
- our vision : contain the vision of meals4less
- Meals4less impact : Contains Statistics Reflecting the Impact of Meals4Less
- Meet our team : contain images for meals4less team members
3- be a partner page
- Displays some steps and details about the supplier, screenshots of the supplier's dashboard, and examples of existing partners.
4- how does it work
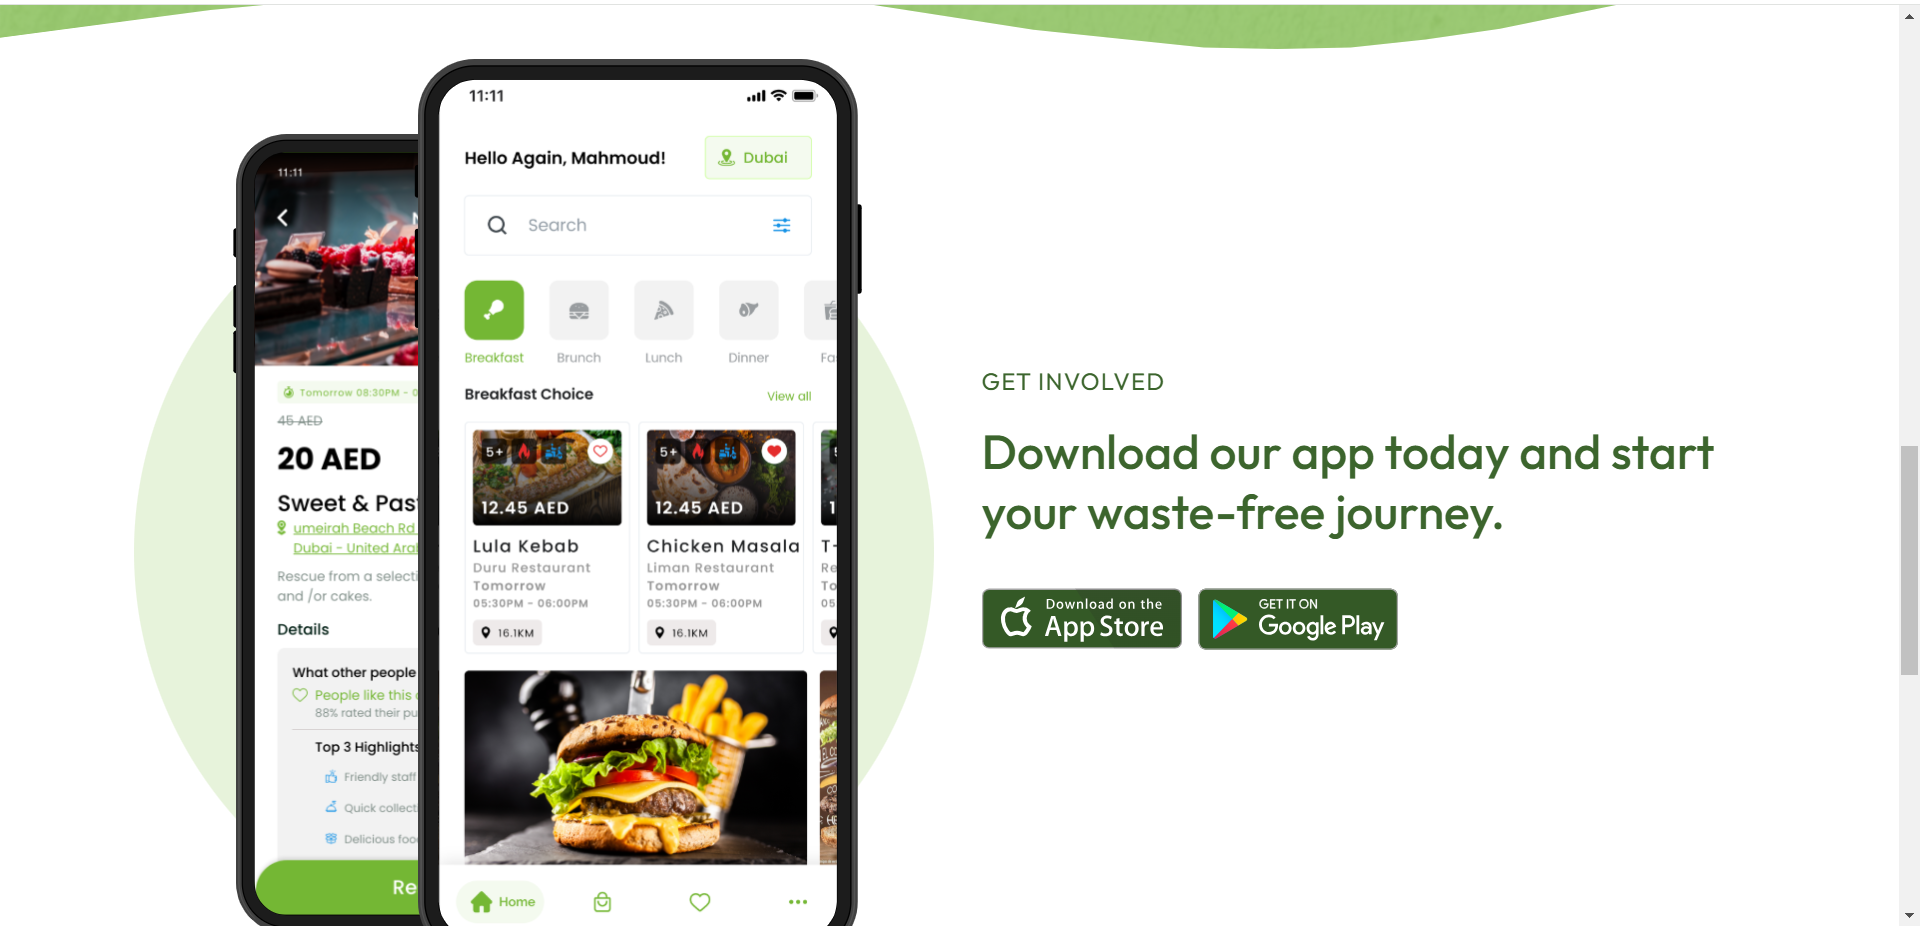
- Explains to the user how to download the app and place an order, and displays screenshots of the Meals4Less app.
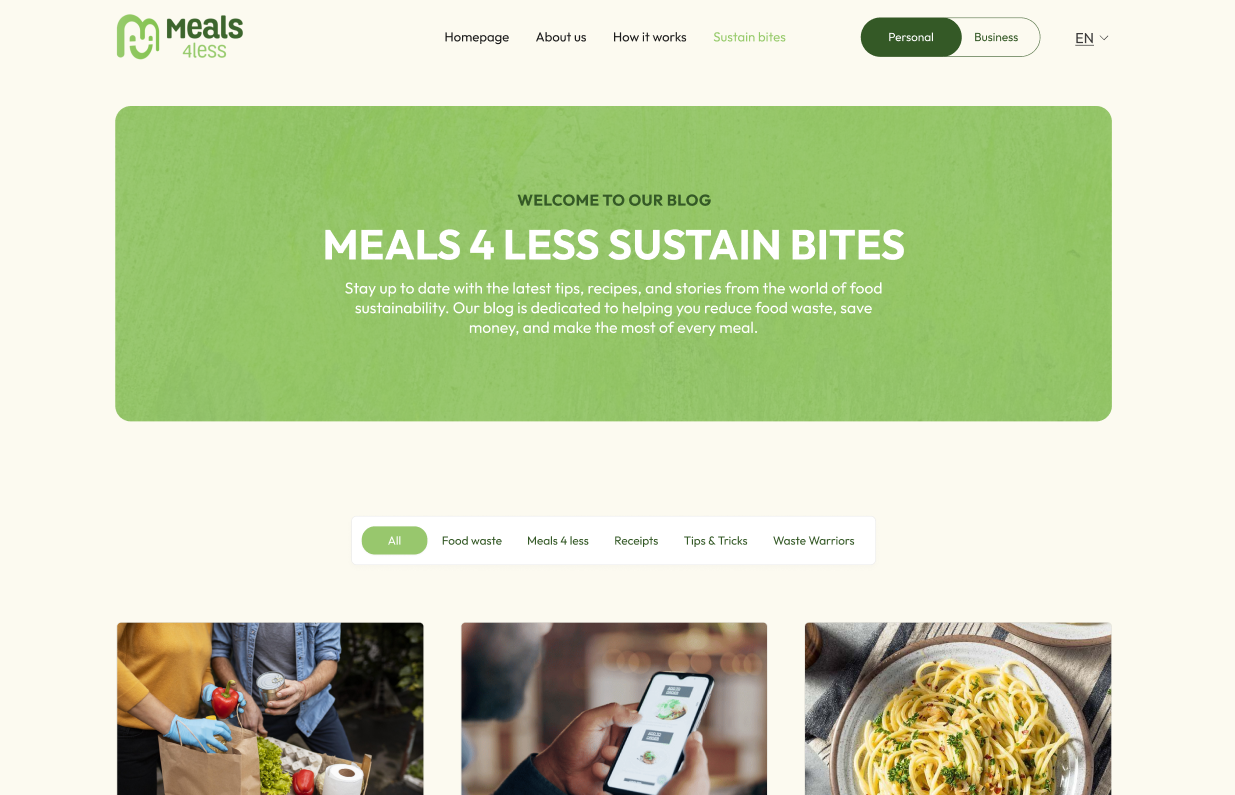
5-blogs
- contain all posts and categories in the website
6-contact us
- It shows customer support email and phone and work hours
- It shows the contact data for Business Inquiries
- It shows the mailing adress data and social media data
7- terms and conditions
8- policy privacy
9- Cookies Policy
Organization Introduction
The organization is a type of user that can include a group of users and can be created in the admin panel.
supplier can offer the meal for the organization, and therefore, it will appear to the users belonging to that organization.
screenshots:
Meals4less Admin
The meals4less admin API contains several models, the most important of which include:
-
In APIs, CRUD represents the basic operations that can be performed on data:
- Create: Adds new data or records.
- Read: Retrieves data or records.
- Update: Modifies existing data or records.
- Delete: Removes data or records.
-
Trash: This model has three main functions:
- Show all trash indexes
- Restore specific trash
- Both hard delete and soft delete options
In an API, an enum (short for "enumeration") is a data type that consists of a set of named values. Enums help to define a collection of constants with specific, fixed values that can be referenced within the code. This is useful for restricting certain fields or parameters to predefined options, reducing errors, and improving code readability.
Auth
-
Login request : An Authenticate login form where the amdin try to login with email to check if he is authenticated and has an email previously registerd in the admin panel as an admin.
-
Me request : Me Request checks the authority of the previous authenticated logged in admin and show his data.
-
Me token request : Me Request checks the authority of the previous authenticated logged in admin and returns the access token and show his data.
-
Logout request : (logout session on any device) is a process where a user initiates an action to log out from all devices they are currently logged into. This feature is often provided in applications or platforms to enhance security and user control, especially for scenarios where the user may have left sessions open on shared or public devices or simply wants to ensure that all active sessions are closed.
-
Forgot request : ( check email and send mail to forget password ) A "Forgot password" request allows users to reset their password if they can't remember it. When this request is made, the platform checks the user’s registered email address and sends a password reset link or code to that email. The user can then follow the link or use the code to create a new password and regain access to their account.
-
Forgot check request : (check or otp code after send mail by forgot request )
A "Forgot check" request is used to verify the OTP (One-Time Password) or code sent to a user’s email during a password reset process. After the user requests a password reset, they receive a code in their email. They enter this code on the platform, and if it matches, they’re allowed to proceed with creating a new password.
-
Reset password request : ( reset password after check otp code by forgot check request and update user password ) A "Reset password" request lets users create a new password after verifying their OTP code in the "Forgot check" process. Once the OTP is confirmed, the platform allows the user to enter a new password. This new password is then updated in their account, completing the reset process and restoring access.
Modules folder structure :-
-
Index : An Index request displays all records of selected models (data sets) with pagination. This means it retrieves a list of records from the database and shows them in manageable sections or pages. Users can navigate through pages to view all records without overloading a single view.
-
search : A "Search" request allows users to look up information within a specific column of a data model. This targeted search retrieves only records that match the search criteria in the designated column, making it quicker and more relevant. It’s especially useful when looking for specific data within large sets.
-
export : An "Export" request retrieves all records from selected models without pagination, providing the entire dataset in one go. This is useful for exporting data for offline use or analysis. The result is typically provided in a downloadable format like CSV or Excel for easy access to all records at once.
-
changeStatus : A "changeStatus" request updates the status of a specific record in a model. This function allows users to modify a particular status field, such as changing an order from "pending" to "completed." It’s commonly used to track and manage the state of records efficiently within the application.
-
notification module : A "Notification module" allows the creation and scheduling of notifications to be sent at specified times. It also manages notification cycles, determining when and how often notifications should be triggered. This helps automate reminders or updates to users based on predefined schedules.
-
Admin Module : An "Admin Module" allows the management of all administrators within the system after assigning user roles. It enables assigning specific roles and permissions to admins, controlling their access to different parts of the application. This ensures proper delegation of administrative tasks and maintains system security.
-
Order Module : An "Order Module" displays all customer orders and provides control over order records. It allows admins to view, manage, and update order statuses, such as processing or shipped. This module helps streamline order tracking and ensures efficient management of all order-related activities.
-
Supplier module : A "Supplier Module" manages all supplier-related requests, including CRUD (Create, Read, Update, Delete) operations. It enables functions like indexing, searching, and updating supplier statuses (changeStatus). This module helps streamline the process of handling supplier data, making it easy to manage and track supplier interactions.
-
Countries and Cities modules :
The "Countries and Cities Modules" manage all data related to countries and cities within the system. These modules allow for handling CRUD operations for countries and cities, such as adding, updating, or deleting records. They also provide functionality for organizing and retrieving country and city information efficiently.
-
Org Module The "Org Module" manages all organizational features, including CRUD operations for creating, reading, updating, and deleting organizational data. It also provides a trash mode to temporarily hold deleted records before permanent removal. This module helps streamline the organization and management of all business-related data within the system.
-
Page and Blog : The "Page and Blog" module allows users to create and manage custom pages and blog posts. It supports CRUD operations for creating, editing, deleting, and displaying pages and blogs. This module streamlines the content management process, enabling easy handling of both static pages and dynamic blog entries.
-
Roles and Permissions : The "Roles and Permissions" module allows assigning specific rules and access levels to administrators based on their roles. It defines which features or actions an admin can access or modify within the system. This ensures that only authorized admins can perform certain tasks, maintaining control and security.
-
Payments : The "Payments" module integrates with Stripe for processing transactions and managing payment records. It tracks payouts and payment history, ensuring accurate financial records. Additionally, it allows adding new payment methods or updating existing ones for smooth payment processing.
-
Reports :
The "Reports" module generates and displays reports for various features within the system. It provides insights and summaries, helping users track performance, activities, or metrics. This module allows for efficient analysis and decision-making based on the data from different parts of the system.
-
Settings : The "Settings" module allows administrators to manage all system configurations and preferences. It provides options for customizing the platform’s behavior, appearance, and security settings. This module ensures the system operates according to organizational requirements and user needs.
-
FAQ : The "FAQ" module allows the management of frequently asked questions and their responses. It enables administrators to add, update, or delete FAQ entries, ensuring users have access to relevant information. This module helps improve user experience by providing quick answers to common inquiries.
-
SEO : The "SEO" module allows administrators to manage all inputs required for search engine optimization in a website project. It includes adding meta tags, keywords, descriptions, and optimizing URLs to improve search engine rankings. This module helps enhance the website's visibility and searchability across search engines.
-
Custom Page : The "Custom Page" module allows the management of dynamic pages on the Meals4Less website. It enables administrators to create, edit, and update pages with customizable content based on user needs. This module helps maintain flexibility and control over the content displayed on various pages of the site.
Section Item 3.2
Vivamus efficitur fringilla ullamcorper. Cras condimentum
condimentum mauris, vitae facilisis leo. Aliquam sagittis purus
nisi, at commodo augue convallis id. Sed interdum turpis quis
felis bibendum imperdiet. Mauris pellentesque urna eu leo
gravida iaculis. In fringilla odio in felis ultricies porttitor.
Donec at purus libero. Vestibulum libero orci, commodo nec arcu
sit amet, commodo sollicitudin est. Vestibulum ultricies
malesuada tempor.
Section Item 3.3
Vivamus efficitur fringilla ullamcorper. Cras condimentum
condimentum mauris, vitae facilisis leo. Aliquam sagittis purus
nisi, at commodo augue convallis id. Sed interdum turpis quis
felis bibendum imperdiet. Mauris pellentesque urna eu leo
gravida iaculis. In fringilla odio in felis ultricies porttitor.
Donec at purus libero. Vestibulum libero orci, commodo nec arcu
sit amet, commodo sollicitudin est. Vestibulum ultricies
malesuada tempor.
Section Item 3.4
Vivamus efficitur fringilla ullamcorper. Cras condimentum
condimentum mauris, vitae facilisis leo. Aliquam sagittis purus
nisi, at commodo augue convallis id. Sed interdum turpis quis
felis bibendum imperdiet. Mauris pellentesque urna eu leo
gravida iaculis. In fringilla odio in felis ultricies porttitor.
Donec at purus libero. Vestibulum libero orci, commodo nec arcu
sit amet, commodo sollicitudin est. Vestibulum ultricies
malesuada tempor.
Stripe payment
Step 1: Install Stripe PHP SDK
First, install the Stripe PHP SDK using Composer:
composer require stripe/stripe-php
Step 2: Configure API Keys in .env
Sign up for a Stripe account and get your publishable and secret keys. Then, add them to your .env file:
STRIPE_KEY=your_publishable_key
STRIPE_SECRET=your_secret_key
Step 3: Configure Stripe in config/services.php
Add the Stripe configuration in your config/services.php to load keys from .env:
'stripe' => [
'key' => env('STRIPE_KEY'),
'secret' => env('STRIPE_SECRET'),
],
Step 4: Create a Stripe Service Class for Payment Logic
Create a service class to handle Stripe operations like creating a customer and processing payments:
// app/Services/StripeService.php

  namespace App\Services;

  use Stripe\Stripe;
  use Stripe\Customer;
  use Stripe\PaymentIntent;

  class StripeService
  {
      public function __construct()
      {
          Stripe::setApiKey(config('services.stripe.secret'));
      }

      public function createCustomer($email, $name)
      {
          return Customer::create([
              'email' => $email,
              'name' => $name,
          ]);
      }

      public function createPaymentIntent($customerId, $amount)
      {
          return PaymentIntent::create([
              'customer' => $customerId,
              'amount' => $amount * 100,
              'currency' => 'usd',
              'payment_method_types' => ['card'],
          ]);
      }
  }
Step 5: Set Up a Controller for Payment Actions
Create a controller to handle requests for customer creation and payment intent:
// app/Http/Controllers/StripeController.php

namespace App\Http\Controllers;

use App\Services\StripeService;
use Illuminate\Http\Request;

class StripeController extends Controller
{
    protected $stripeService;

    public function __construct(StripeService $stripeService)
    {
        $this->stripeService = $stripeService;
    }

    public function createCustomer(Request $request)
    {
        $customer = $this->stripeService->createCustomer($request->email, $request->name);
        return response()->json(['customer' => $customer]);
    }

    public function createPaymentIntent(Request $request)
    {
        $intent = $this->stripeService->createPaymentIntent($request->customer_id, $request->amount);
        return response()->json(['client_secret' => $intent->client_secret]);
    }
}
Step 6: Add Routes
Define the routes for creating a customer and a payment intent in routes/web.php:
  use App\Http\Controllers\StripeController;

  Route::post('/stripe/create-customer', [StripeController::class, 'createCustomer']);
  Route::post('/stripe/create-payment-intent', [StripeController::class, 'createPaymentIntent']);
Step 7: Set Up Stripe Webhooks to Collect Customer Data
Set up a webhook to listen for Stripe events, such as payment success, and collect customer data in real-time.
// routes/web.php
Route::post('/stripe/webhook', [StripeController::class, 'handleWebhook']);
Then, implement the handleWebhook method in your StripeController:
// app/Http/Controllers/StripeController.php

          public function handleWebhook(Request $request)
          {
              $payload = $request->all();
              $event = $payload['type'] ?? '';

              if ($event === 'payment_intent.succeeded') {
                  $paymentIntent = $payload['data']['object'];
                  $customerId = $paymentIntent['customer'];
                  $amountReceived = $paymentIntent['amount_received'];
                  // Save payment data or update customer status
              }

              return response()->json(['status' => 'success']);
          }
Set up your webhook URL in the Stripe Dashboard (e.g., https://yourapp.com/stripe/webhook).
Step 8: Frontend Integration (Optional)
Use Stripe’s JavaScript library to handle payment methods and confirm payment with the client_secret returned by your backend. Check out Stripe Elements for building a customizable payment form.
Conclusion
With this setup, your Laravel project can manage Stripe customers, process payments, and listen for webhook events, allowing real-time tracking and storage of customer data.
pusher realtime
1. Set up Pusher
-
Create a Pusher account and create a new app in the Pusher dashboard.
-
Take note of your App ID, Key, Secret, and Cluster. These will be used in both Laravel and Next.js.
2. Install Pusher in Laravel
Run the following command to install the Pusher PHP SDK:
composer require pusher/pusher-php-server
3. Configure Broadcasting in Laravel
-
Open the .env file and add your Pusher credentials:
  BROADCAST_DRIVER=pusher

PUSHER_APP_ID=your-app-id
PUSHER_APP_KEY=your-app-key
PUSHER_APP_SECRET=your-app-secret
PUSHER_APP_CLUSTER=your-cluster
Update the broadcasting.php config file (config/broadcasting.php):
  'connections' => [
  'pusher' => [
      'driver' => 'pusher',
      'key' => env('PUSHER_APP_KEY'),
      'secret' => env('PUSHER_APP_SECRET'),
      'app_id' => env('PUSHER_APP_ID'),
      'options' => [
          'cluster' => env('PUSHER_APP_CLUSTER'),
          'useTLS' => true,
      ],
  ],
  // other connections...
],
Set up broadcasting events. For example, create an event:
php artisan make:event MessageSent
Inside the generated MessageSent event class (app/Events/MessageSent.php), implement the ShouldBroadcast interface:
  use Illuminate\Contracts\Broadcasting\ShouldBroadcast;

class MessageSent implements ShouldBroadcast
{
    public $message;

    public function __construct($message)
    {
        $this->message = $message;
    }

    public function broadcastOn()
    {
        return ['chat'];
    }
}
You can then broadcast events using:
event(new MessageSent('Hello, world!'));
4. Set up Pusher in Next.js
- Install the Pusher JavaScript client:
npm install pusher-js
Initialize Pusher in your frontend code. For example, in a React component:
import { useEffect } from 'react';
import Pusher from 'pusher-js';
export default function Chat() {
useEffect(() => {
const pusher = new Pusher('your-app-key', {
cluster: 'your-cluster',
});
const channel = pusher.subscribe('chat');
channel.bind('MessageSent', function (data) {
console.log('New message:', data.message);
});
return () => {
channel.unbind_all();
channel.unsubscribe();
};
}, []);
return <div>Check the console for new messages!</div>;
}
5. Test the Integration
-
Start your Laravel backend:
php artisan serve
-
Run your Next.js frontend:
npm run dev
-
Trigger an event in Laravel and ensure it is received in the Next.js app.
Optional: Use Laravel Echo (Recommended)
Laravel Echo simplifies working with WebSockets and Pusher. You can install it with:
npm install laravel-echo pusher-js
Then configure Echo in your Next.js app:
  import Echo from 'laravel-echo';
import Pusher from 'pusher-js';

const echo = new Echo({
  broadcaster: 'pusher',
  key: 'your-app-key',
  cluster: 'your-cluster',
  forceTLS: true,
});

echo.channel('chat')
    .listen('MessageSent', (e) => {
        console.log('New message:', e.message);
    });
This approach integrates seamlessly with Laravel broadcasting.
Advantages of Using Pusher
- Instant Updates: Real-time delivery of updates to users without needing page reloads or manual refreshes.
- Easy to Set Up: Pusher simplifies the process of adding real-time functionality to your application.
- Scalable: Pusher can handle large volumes of real-time connections, making it suitable for applications with many users.
- Cross-platform: Pusher supports many platforms (e.g., web, iOS, Android) allowing for cross-platform integration.
Summary
Pusher provides an easy-to-use and scalable service for adding real-time functionality to your applications. By using channels and events, you can update your users' interface in real-time, making your applications more interactive and engaging. Whether it's for chat apps, live notifications, or real-time data updates, Pusher simplifies the process of adding real-time features to any project.
Google Map
To integrate Google Maps into a Next.js project,
you can use the Google Maps JavaScript API and the @react-google-maps/api library.
Here's a step-by-step guide on how to set it up:
Step 1: Set Up Google Cloud and Get an API Key
-
Go to the Google Cloud Console.
-
Create a new project or select an existing one.
-
Enable the Google Maps JavaScript API in the API Library.
-
Navigate to APIs & Services > Credentials to create an API key.
-
Copy the API key to use in your Next.js project.
Step 2: Install the @react-google-maps/api Library
Install the @react-google-maps/api package to handle Google Maps integration in React.
npm install @react-google-maps/api
Step 3: Configure the API Key in .env.local
to keep the API key secure, store it in a .env.local file in the root of your Next.js project:
NEXT_PUBLIC_GOOGLE_MAPS_API_KEY=your-google-maps-api-key
Replace your-google-maps-api-key with the actual API key you obtained from Google Cloud.
Step 4: Create the Map Component
Create a Map.js component inside a components folder.
import React from 'react';
import { GoogleMap, LoadScript, Marker } from '@react-google-maps/api';
const containerStyle = {
width: '100%',
height: '400px',
};
const center = {
lat: 37.7749,
lng: -122.4194,
};
const Map = () => {
return (
<LoadScript googleMapsApiKey={process.env.NEXT_PUBLIC_GOOGLE_MAPS_API_KEY}>
<GoogleMap
mapContainerStyle={containerStyle}
center={center}
zoom={10}
>
<Marker position={center} />
</GoogleMap>
</LoadScript>
);
};
export default Map;
This component:
- Uses the LoadScript component to load the Google Maps API with your API key.
- Sets a default location (center) and zoom level for the map.
- Places a Marker at the center of the map.
Step 5: Use the Map Component in a Page
Now, use the Map component on a page, such as the homepage (pages/index.js).
import React from 'react';
import Map from '../components/Map';
const Home = () => {
return (
<div>
<h1>Google Map Integration</h1>
<Map />
</div>
);
};
export default Home;
Step 6: Run the Application
Start the development server to see the integration in action
npm run dev
Step 7: Customize the Map (Optional)
You can customize the map by adding more markers, changing the style,
or using other Google Maps features. For example, to add more markers,
you can add additional Marker components:
<Marker position={{ lat: 37.8044, lng: -122.2711 }} />
Integration with TinyMCE Editor
To integrate TinyMCE (a rich text editor) into a Next.js project,
you can use the @tinymce/tinymce-react package, which provides a straightforward way to use TinyMCE in React applications.
Here’s a step-by-step guide:
Step 1: Install TinyMCE for React
First, install the @tinymce/tinymce-react package:
npm install @tinymce/tinymce-react
Step 2: Set Up the TinyMCE API Key
TinyMCE offers a cloud-based service, so you can sign up for a free API key at
TinyMCE API Key if you need access to premium features.
You can also use TinyMCE without an API key, but certain premium features may not be available.
Step 3: Create the Editor Component
Create a new component called RichTextEditor.js in the components folder:
import React, { useRef } from 'react';
import { Editor } from '@tinymce/tinymce-react';
const RichTextEditor = () => {
const editorRef = useRef(null);
const logContent = () => {
if (editorRef.current) {
console.log(editorRef.current.getContent());
}
};
return (
<div>
<Editor
onInit={(evt, editor) => (editorRef.current = editor)}
initialValue="<p>Start typing...</p>"
init={{
height: 400,
menubar: false,
plugins: [
'advlist autolink lists link image charmap print preview anchor',
'searchreplace visualblocks code fullscreen',
'insertdatetime media table paste code help wordcount'
],
toolbar:
'undo redo | formatselect | bold italic backcolor | \
alignleft aligncenter alignright alignjustify | \
bullist numlist outdent indent | removeformat | help'
}}
/>
<button onClick={logContent}>Log Editor Content</button>
</div>
);
};
export default RichTextEditor;
Step 4: Use the Editor Component in a Page
You can now import and use the RichTextEditor component in any Next.js page, like the homepage (pages/index.js):
  // pages/index.js
  import React from 'react';
  import RichTextEditor from '../components/RichTextEditor';

  const Home = () => {
    return (
      <div>
        <h1>TinyMCE Integration with Next.js</h1>
        <RichTextEditor />
      </div>
    );
  };

  export default Home;
Step 5: Run the Application
Start the development server to test the integration:
npm run dev
Optional: Add Custom Configurations or Plugins
You can further configure TinyMCE by adding more plugins, custom styles, or toolbar options in the
init configuration of the Editor component. You can also include an API key if you’re using premium features:
  init={{
    apiKey: 'your-tinymce-api-key',
    // other configurations
  }}
Conclusion
With this setup, you have successfully integrated TinyMCE into your Next.js project. This editor can now be customized further
or extended to meet your project’s requirements.
Pages
The data on the website is entered through the admin panel.
There is a designated section for website pages,
and the pages are divided into sections where data is dynamically entered.
The website has five main pages:
the Home page, the About page, the Contact Us page, the Blog page, and the Become a Partner page ,
There are also other pages, such as the Privacy Policy, Terms and Conditions pages, and the Single Article page
Home page
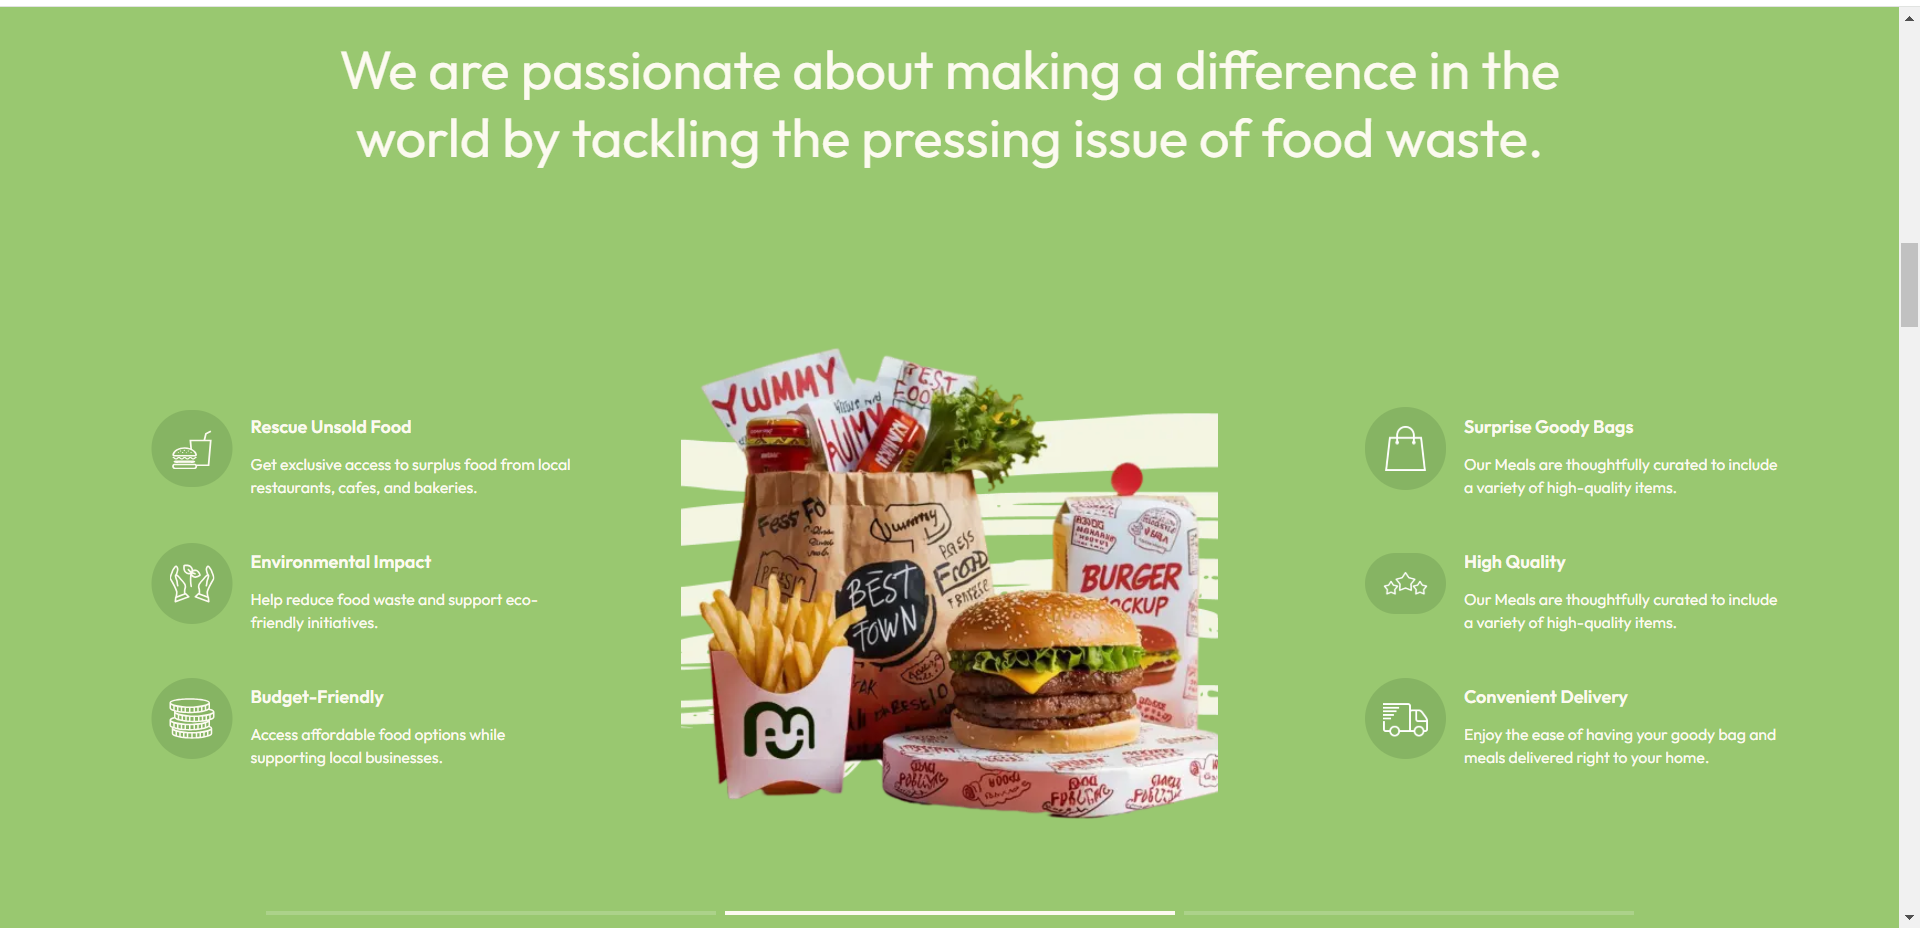
The homepage contains introductory sections, links to download the Meals4Less app, registration steps, statistics and figures, customer reviews, and a showcase of the brands collaborating with us.
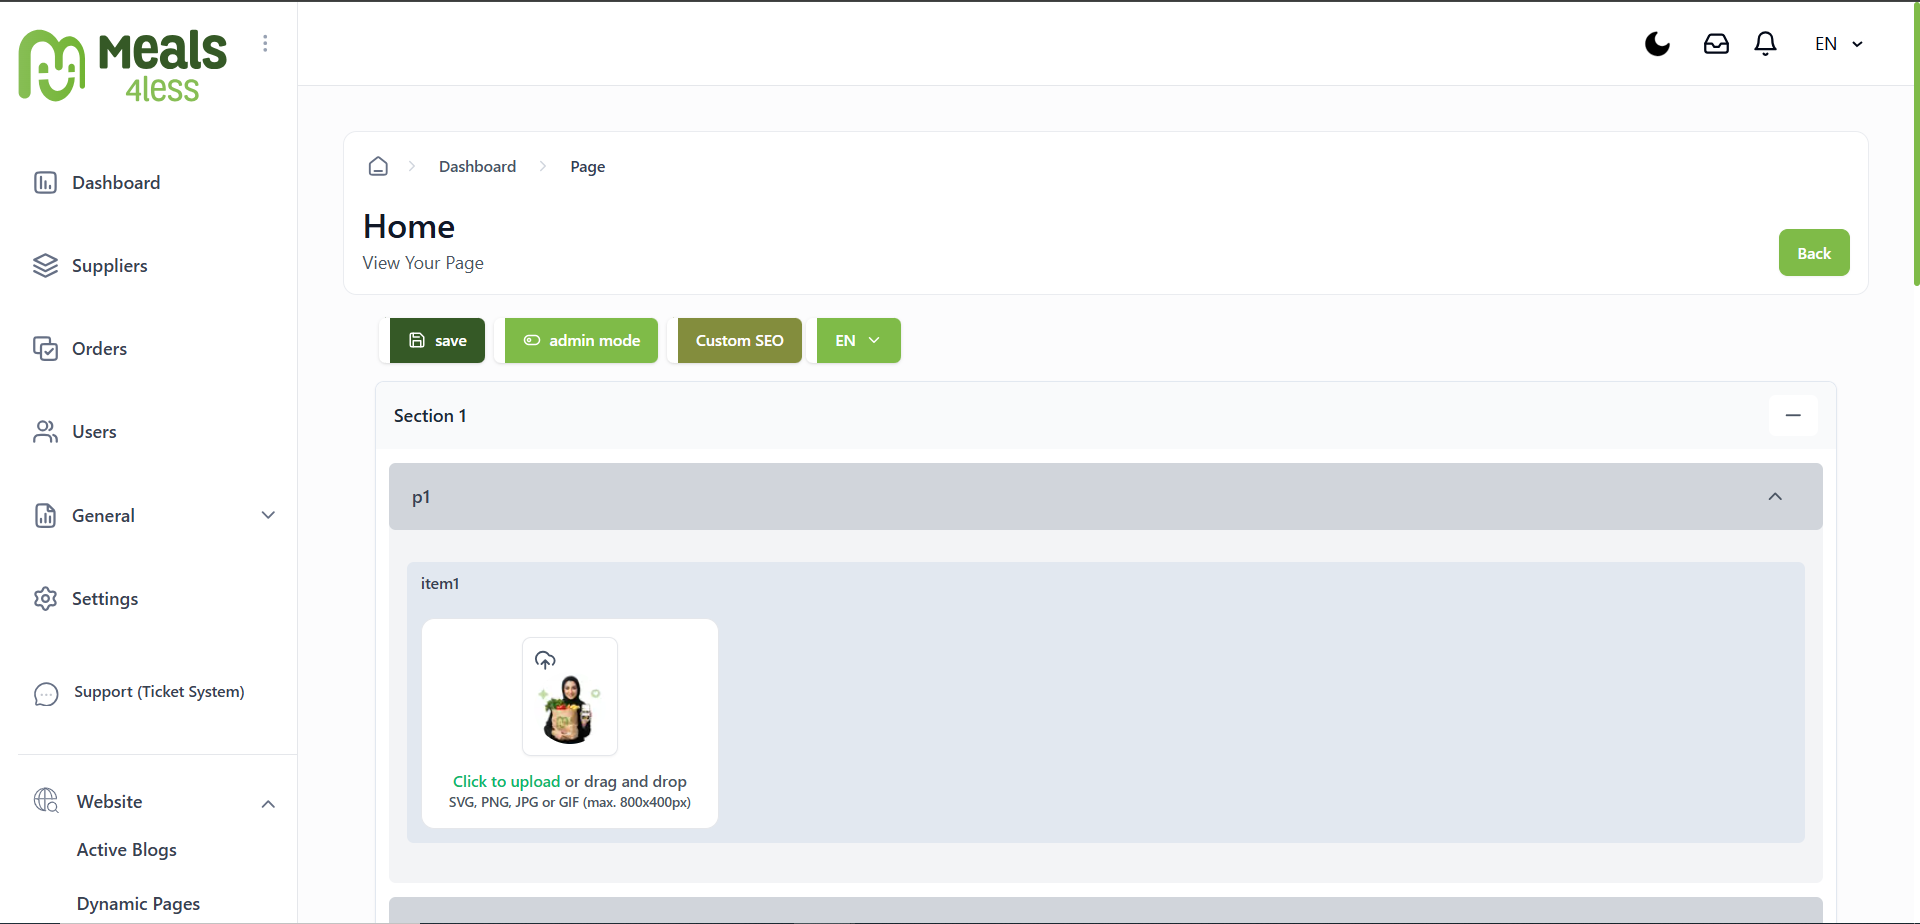
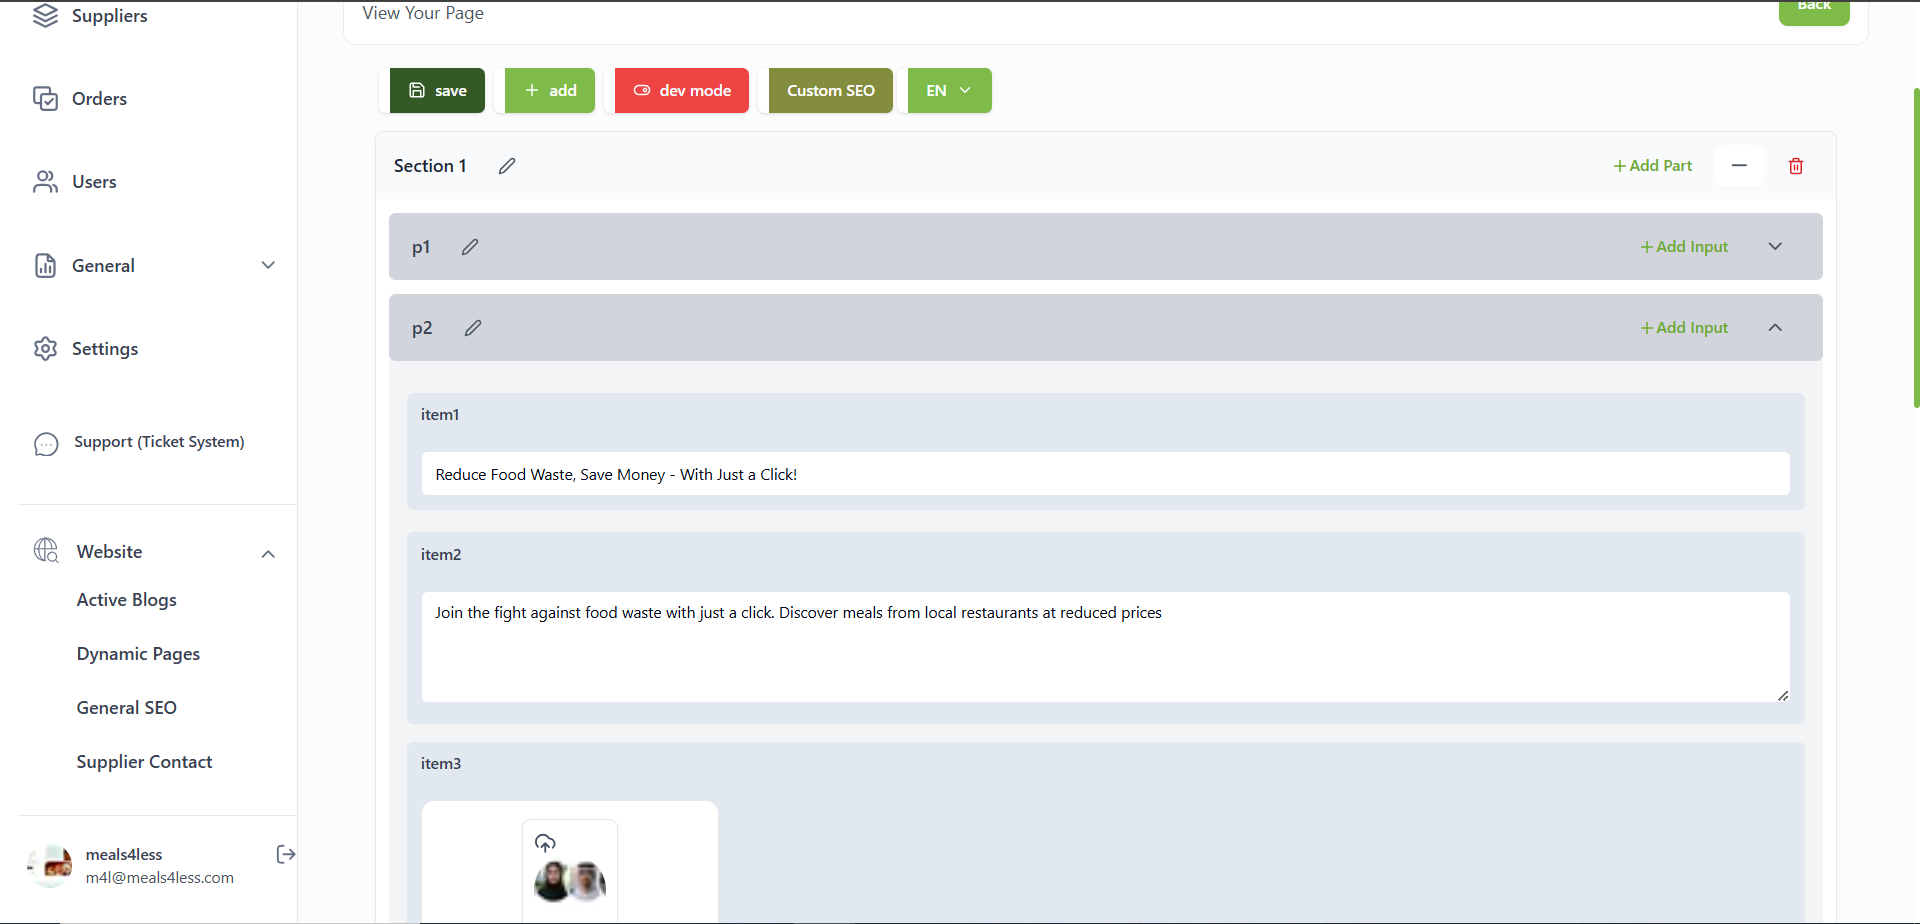
Home page in admin panel
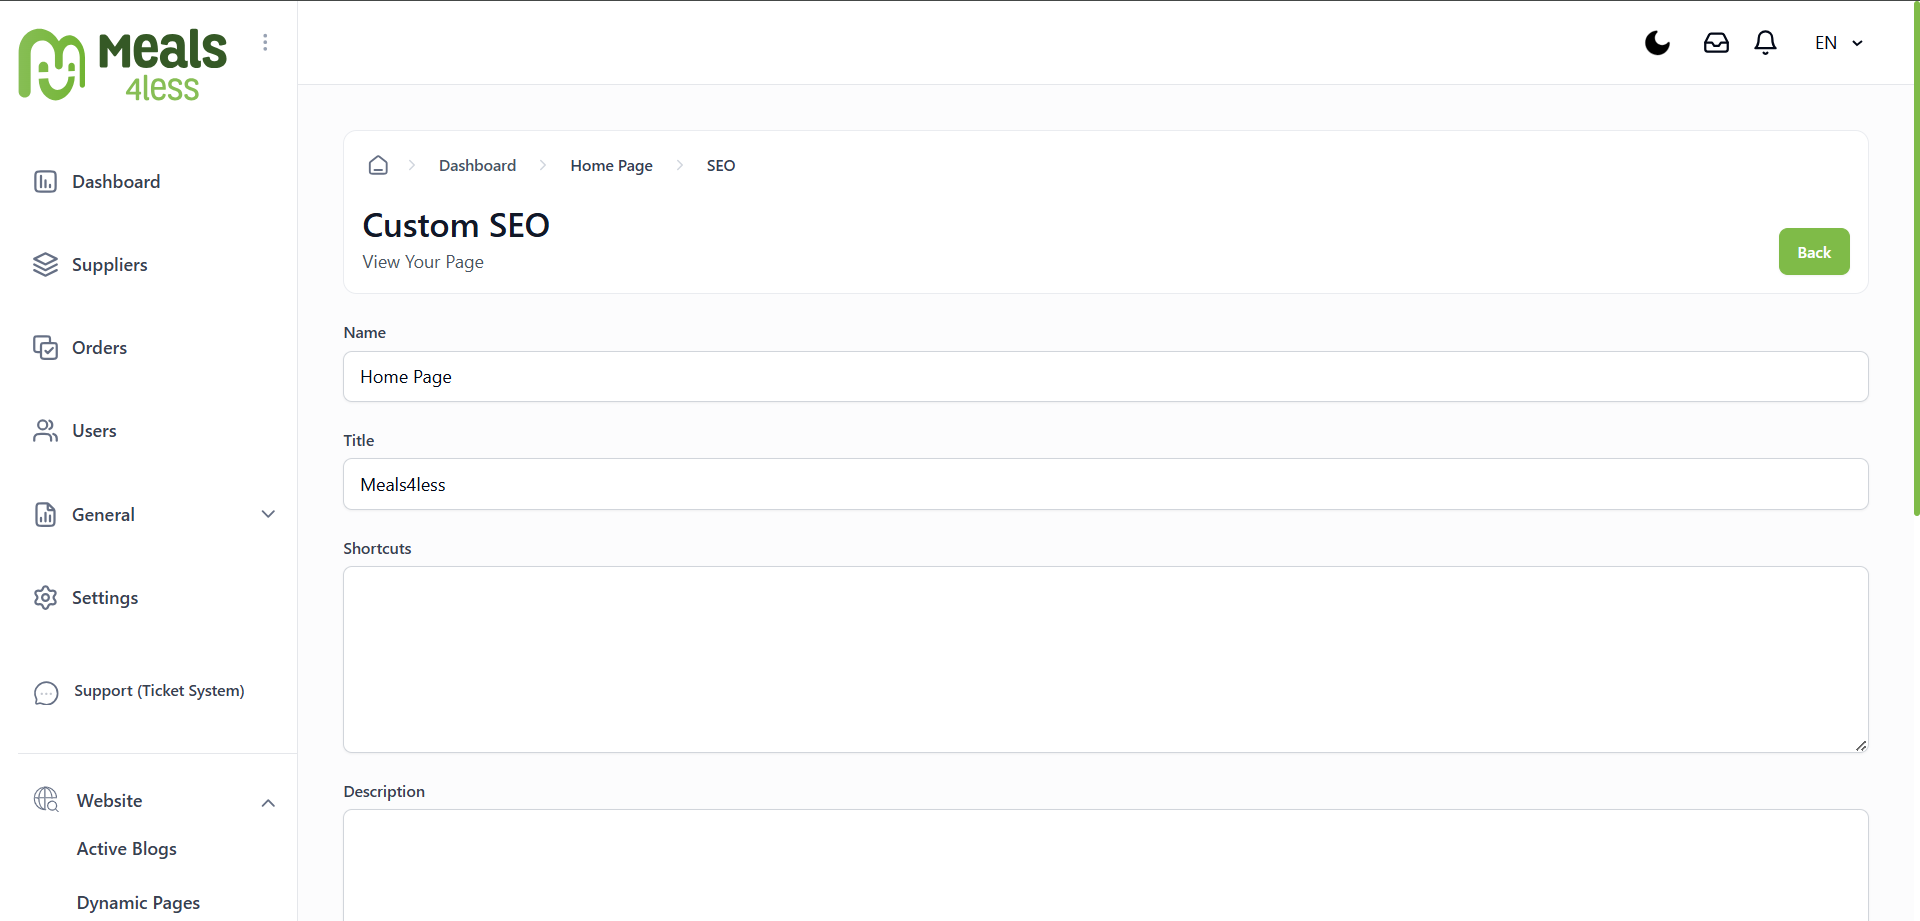
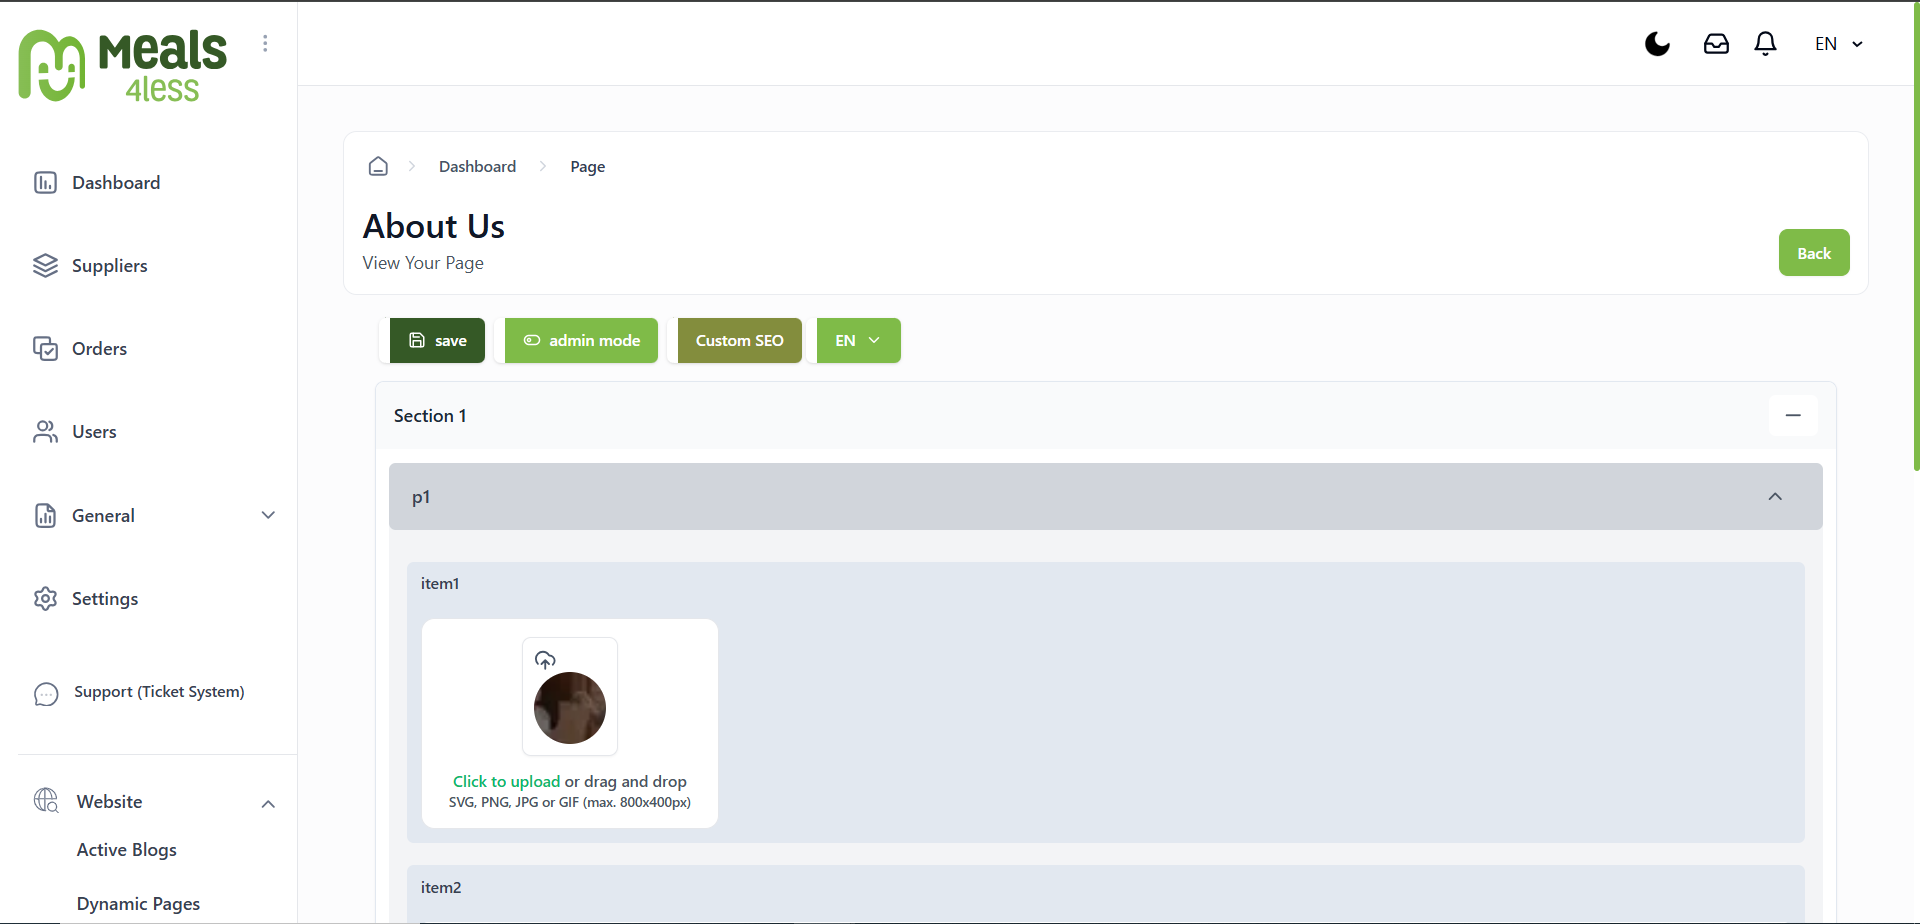
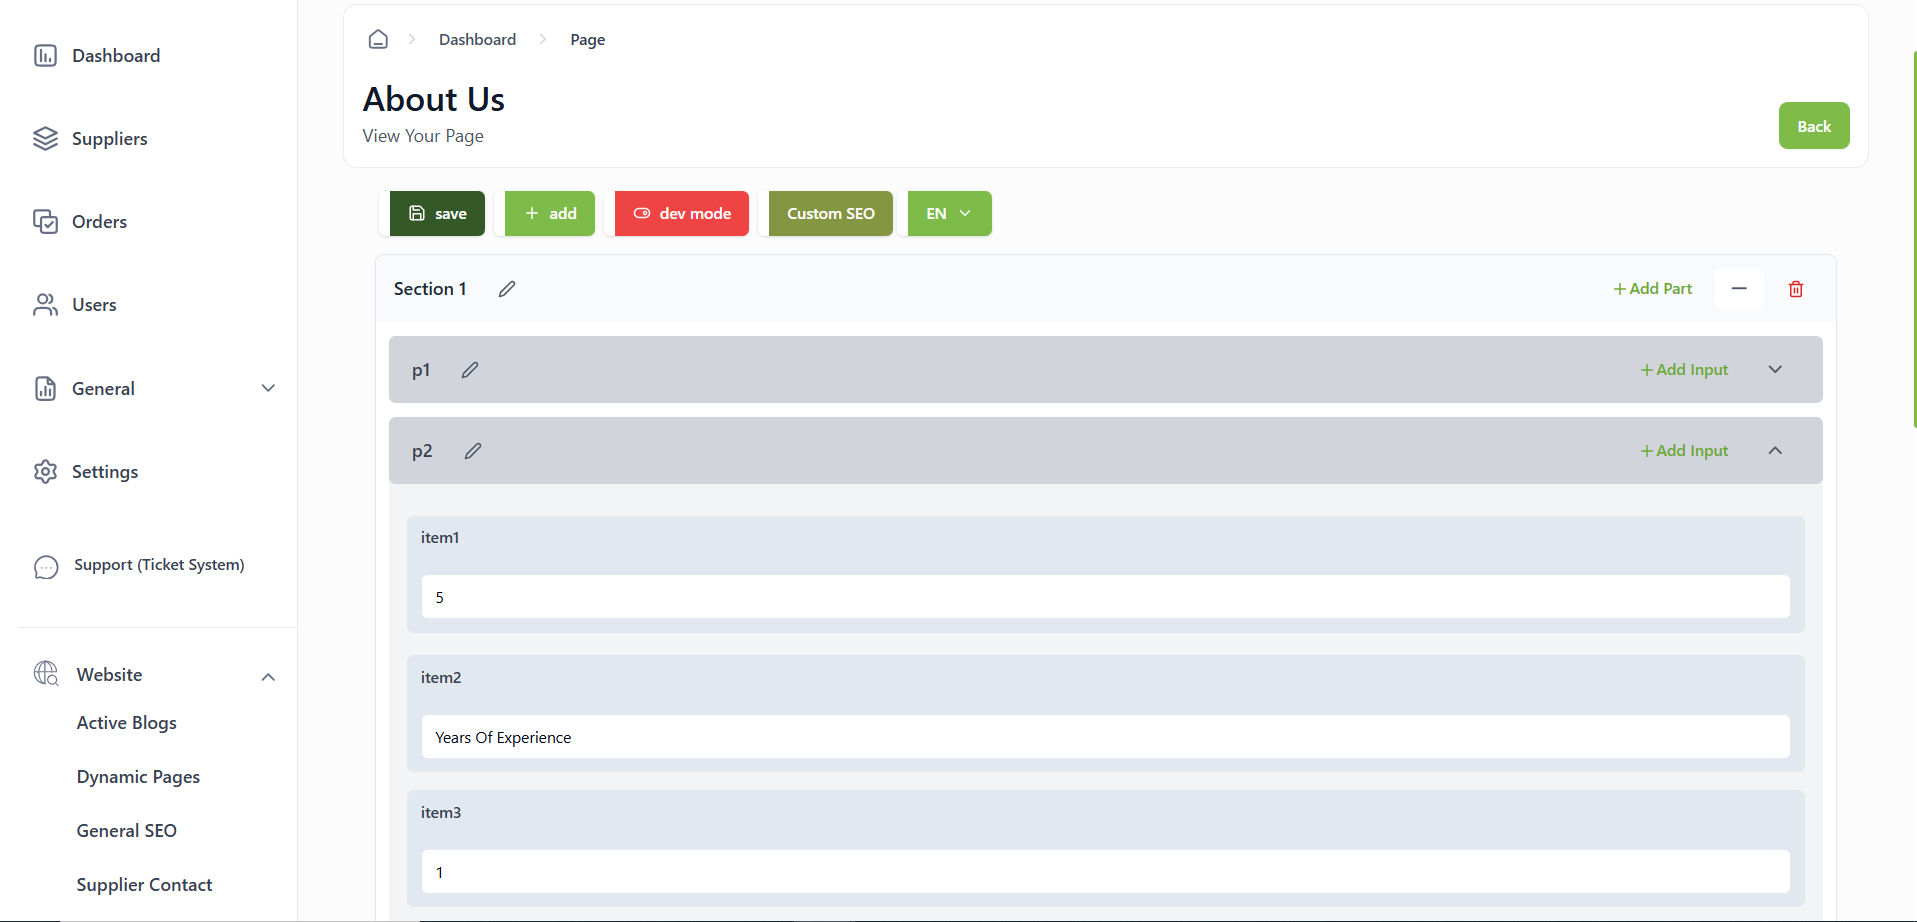
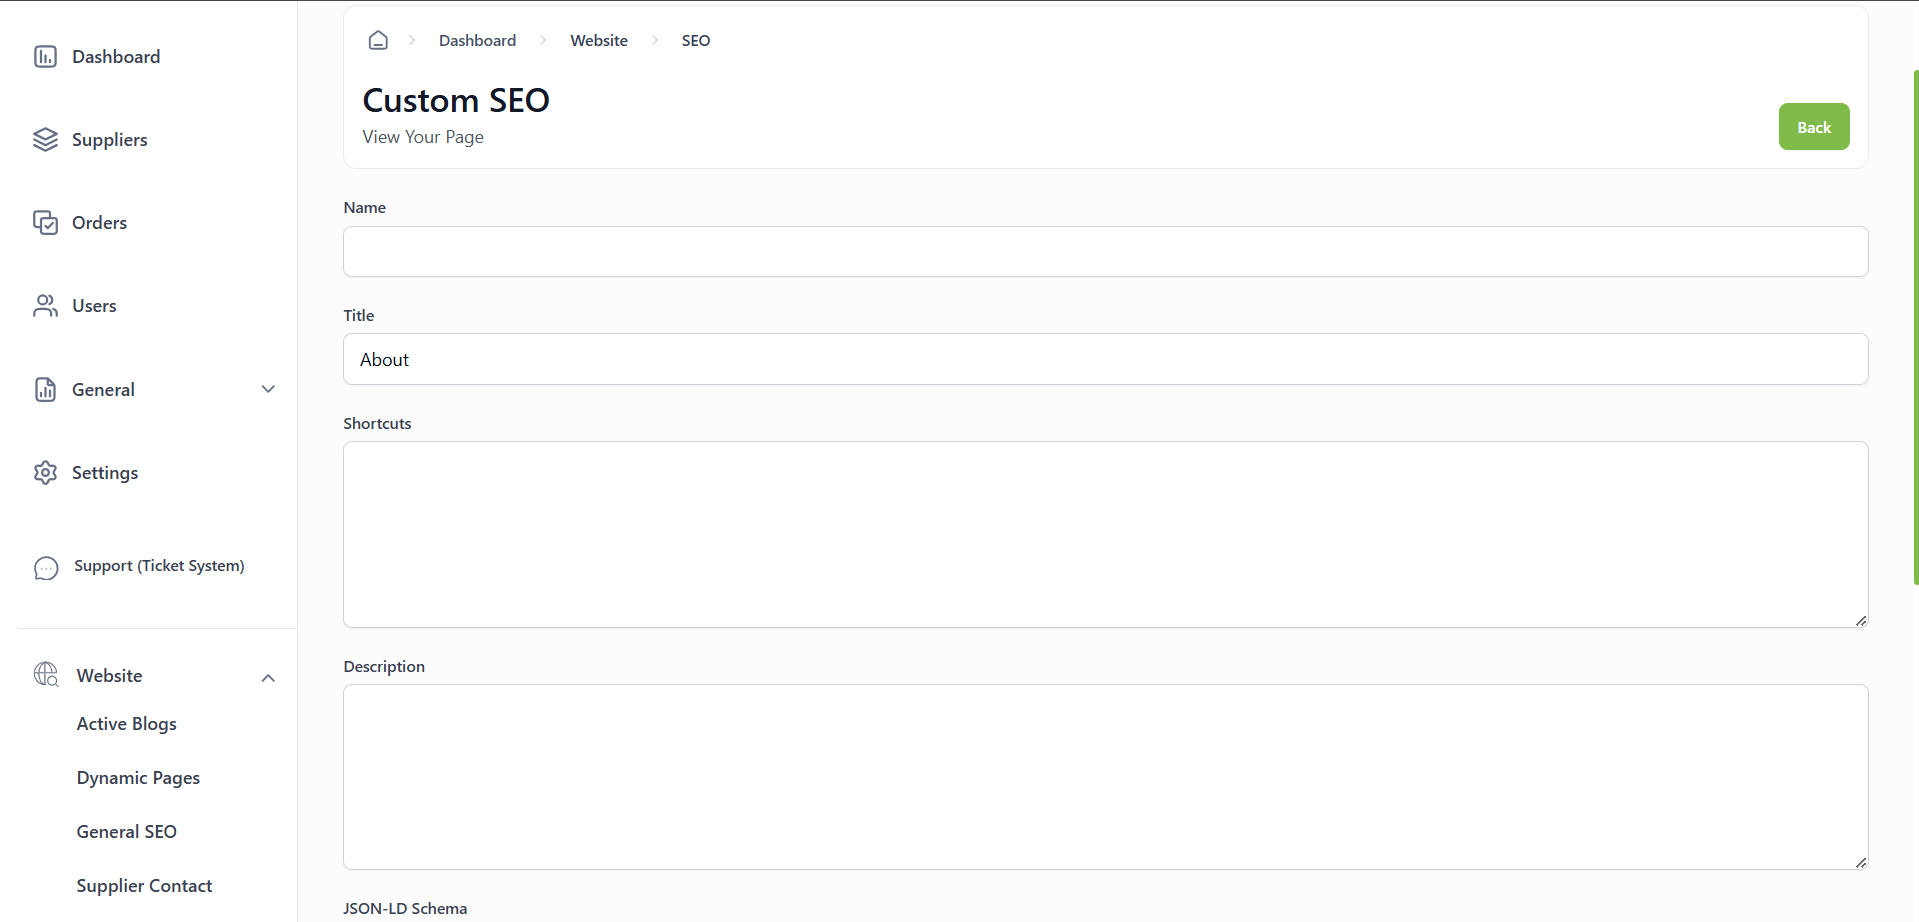
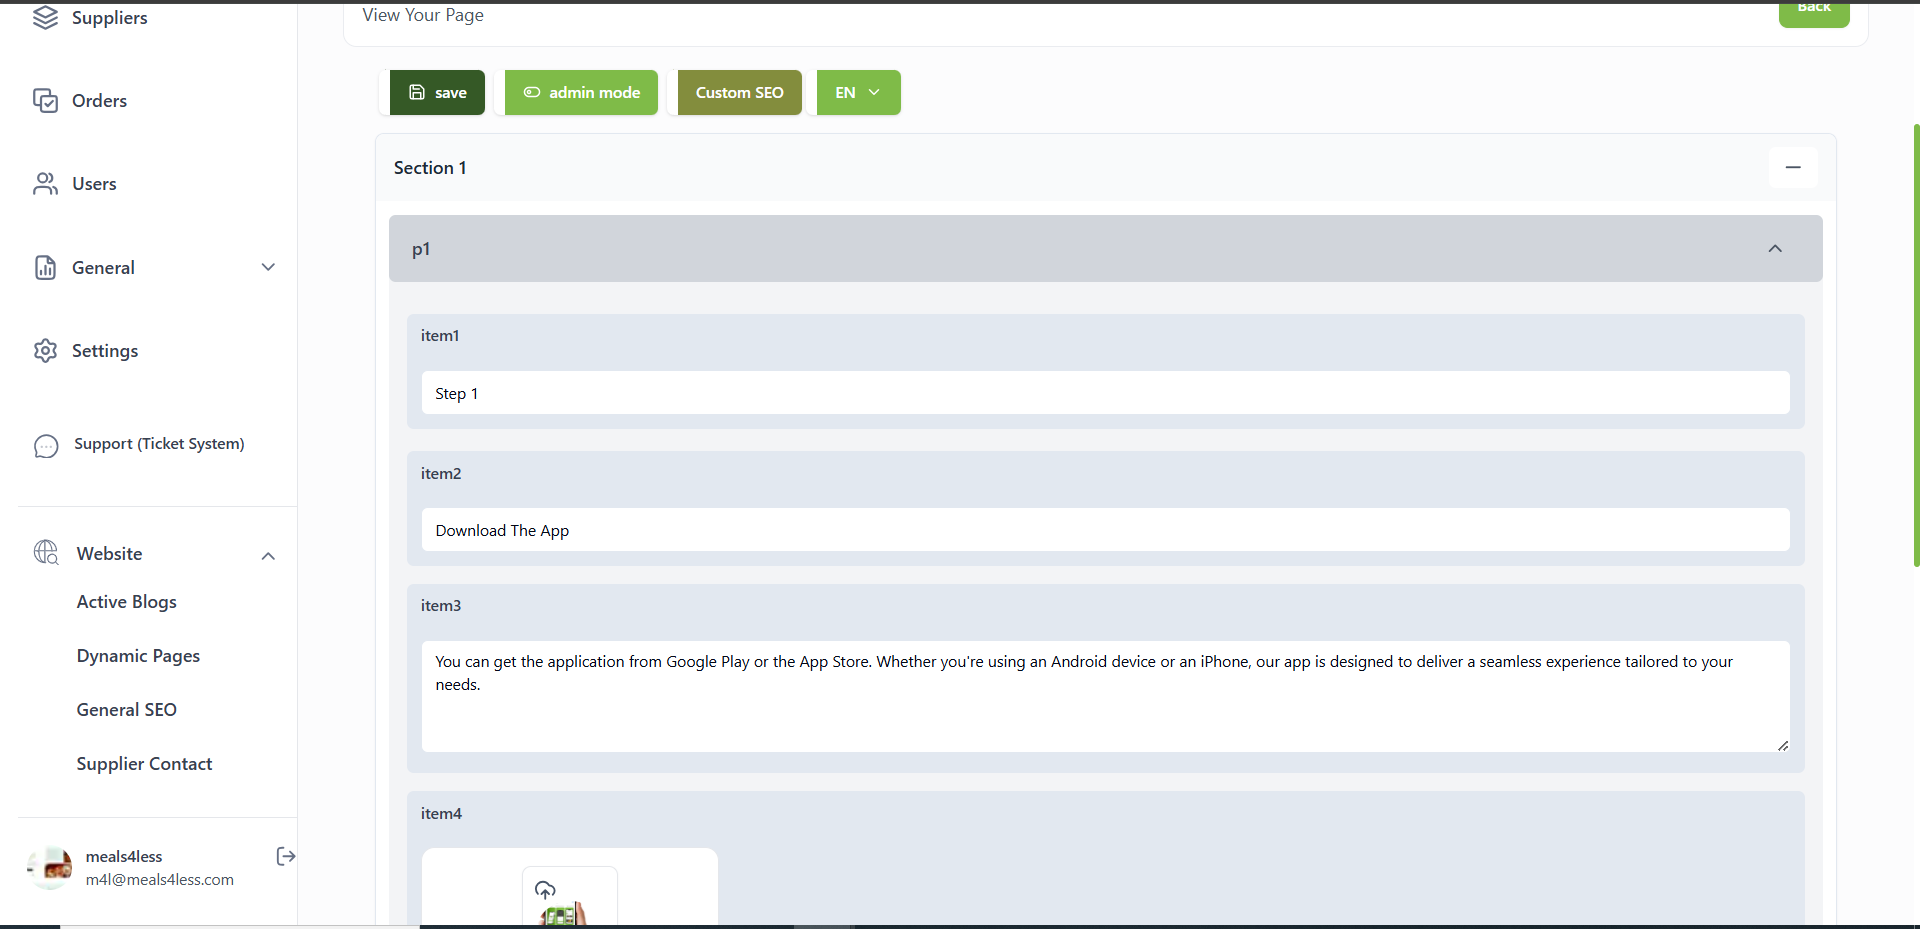
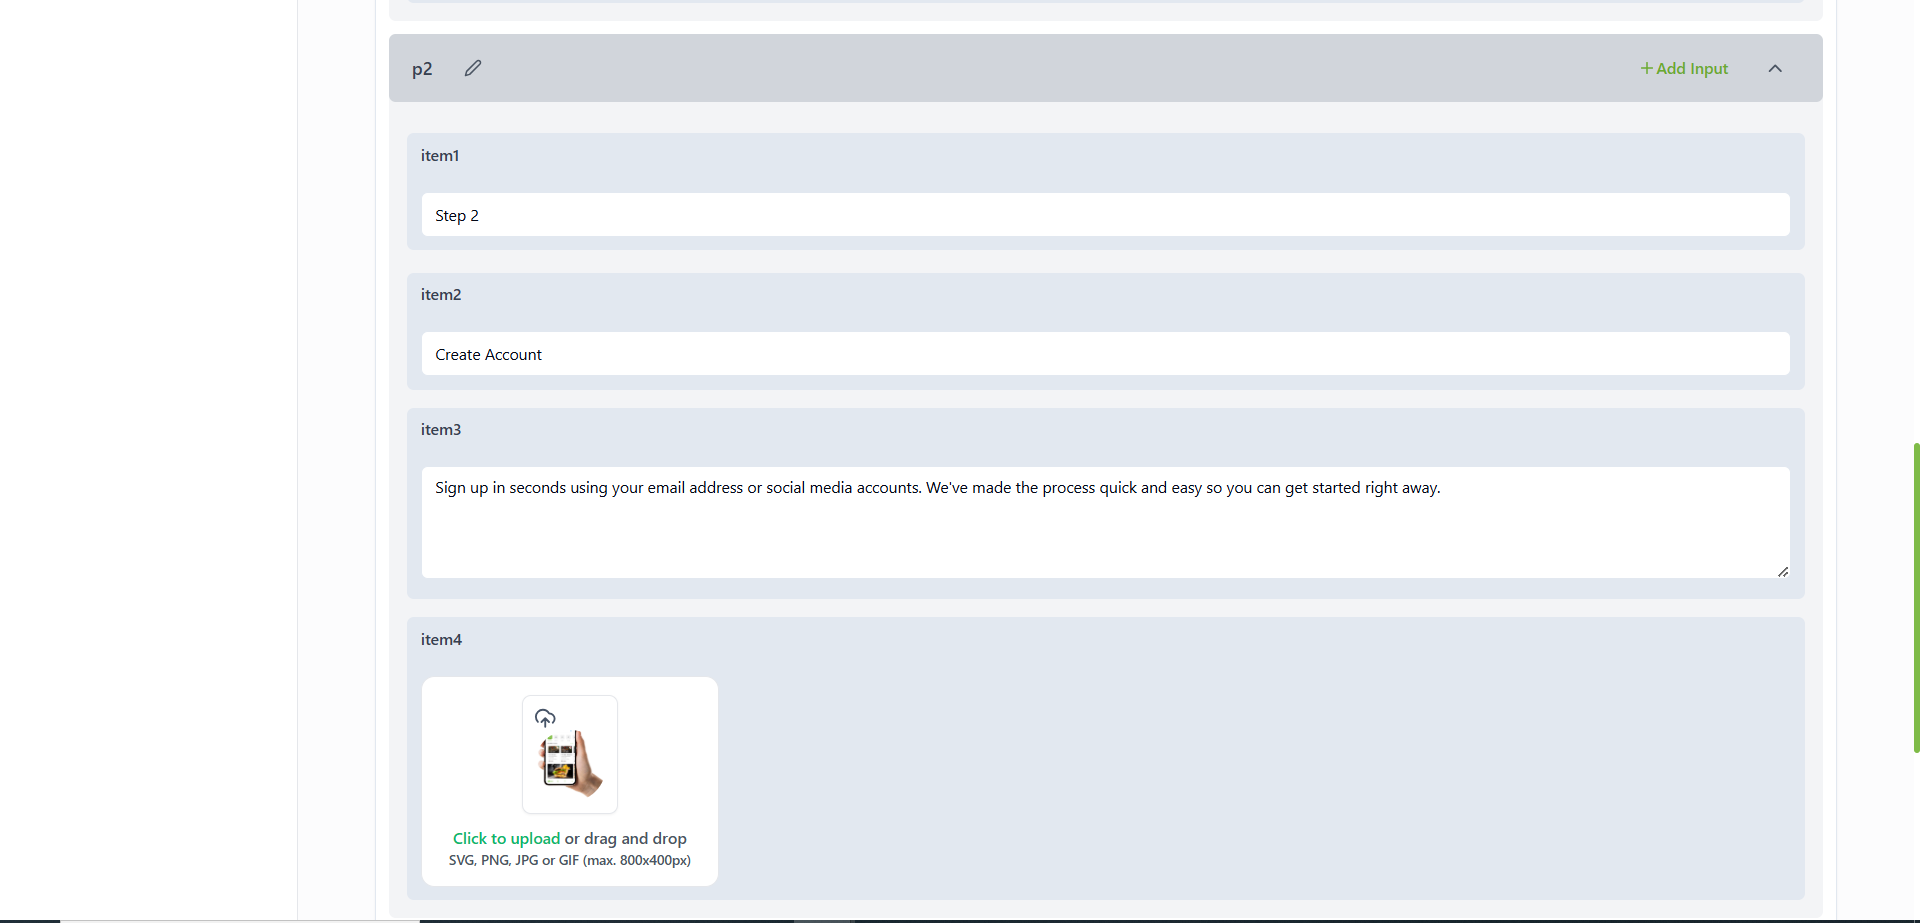
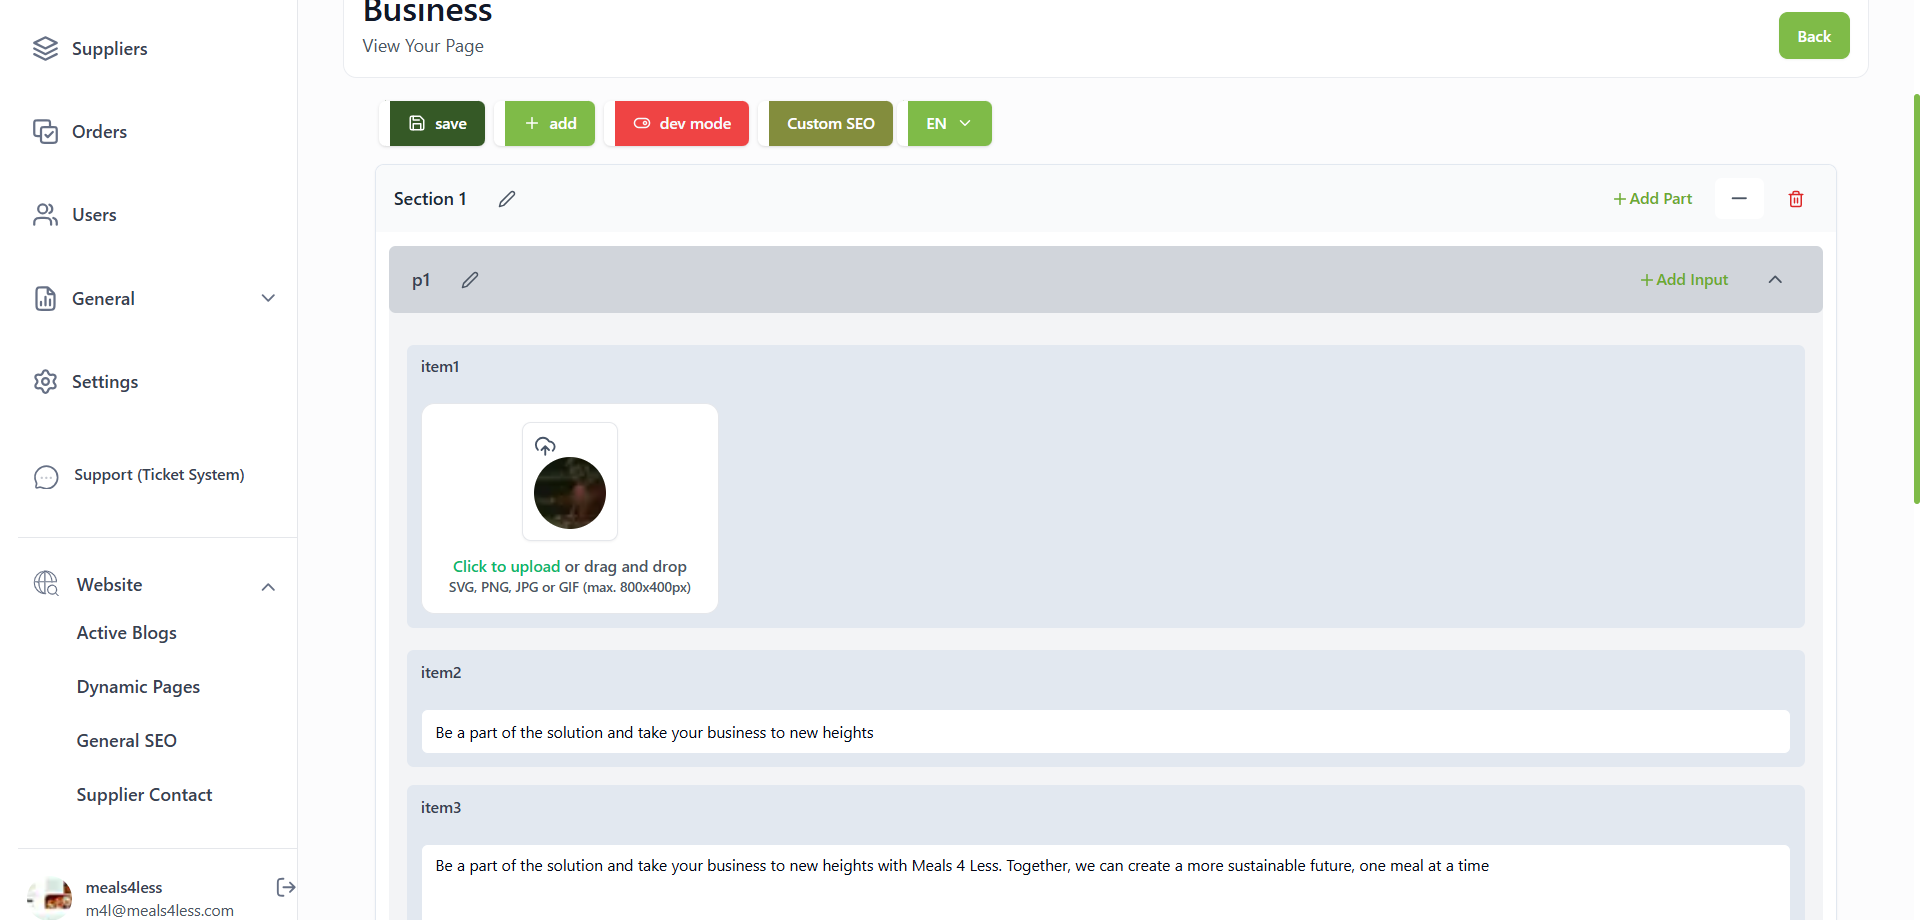
The admin panel allows managing and editing all page content dynamically, including texts, images, and links. It also supports adding custom SEO settings for each page.
About us
The About Us page includes sections for the vision, mission, some figures, and images of the partner brands.
About us in admin panel
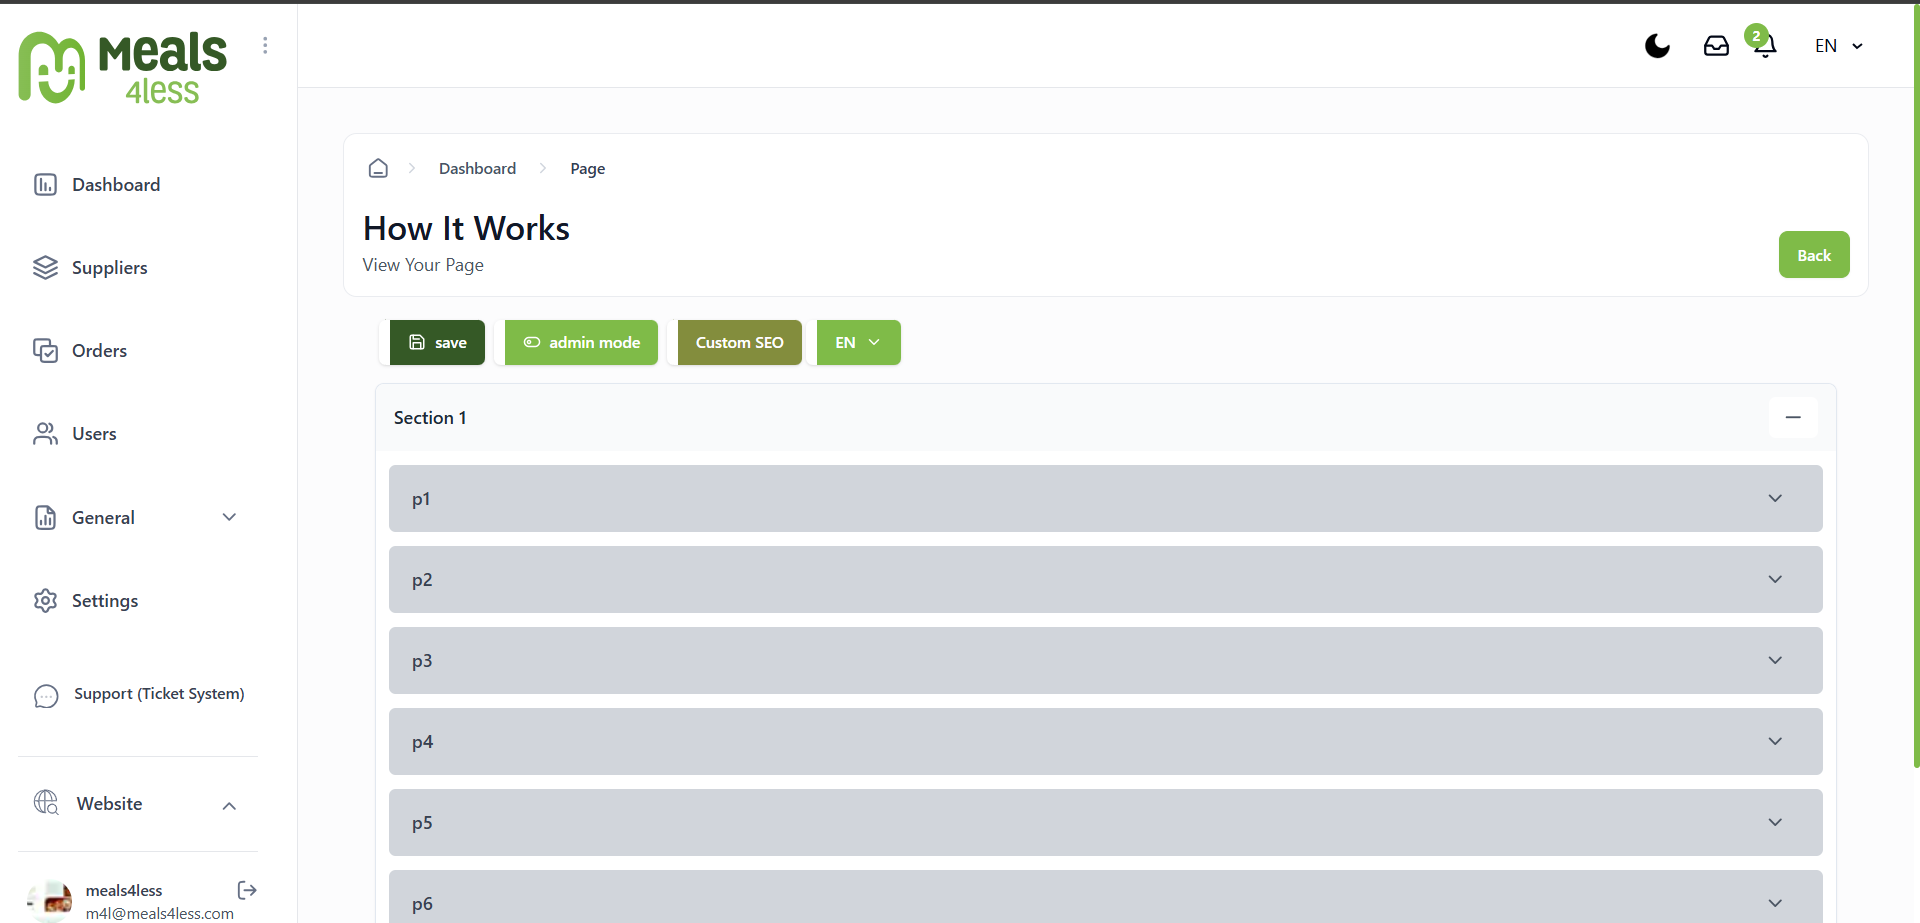
how it works
It contains screenshots of the app along with an explanation of how to register and use the app.
how it works in admin panel
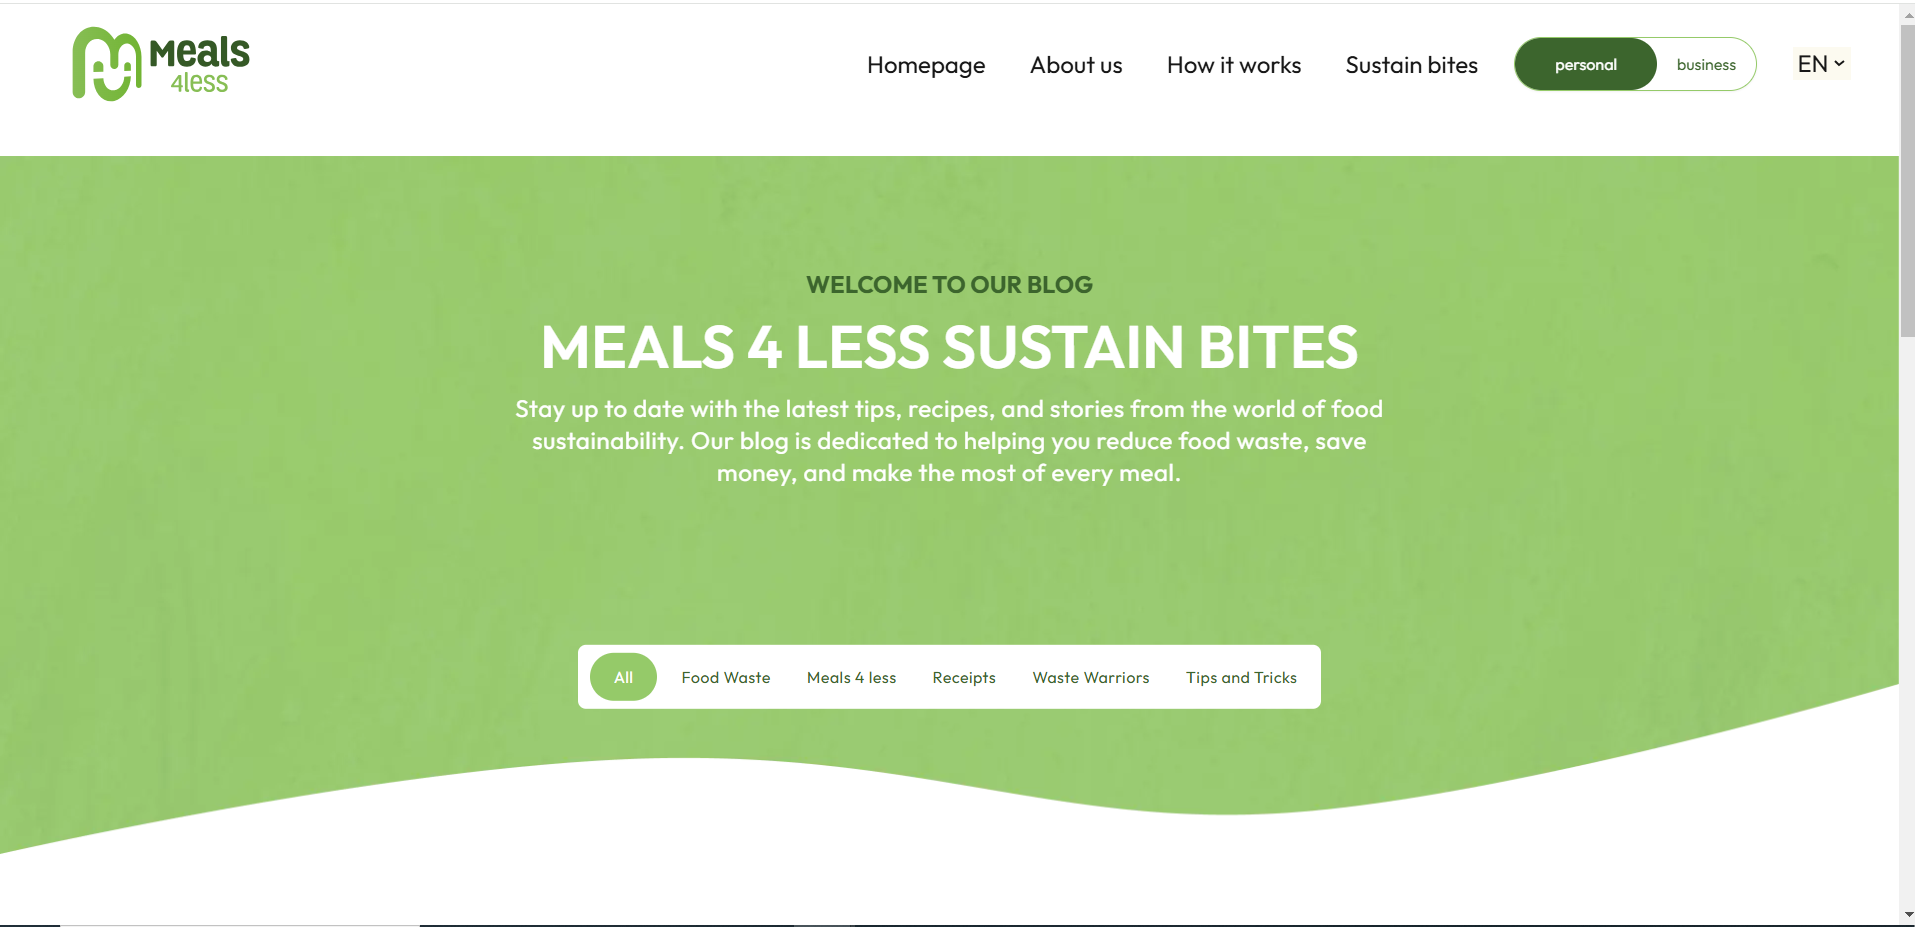
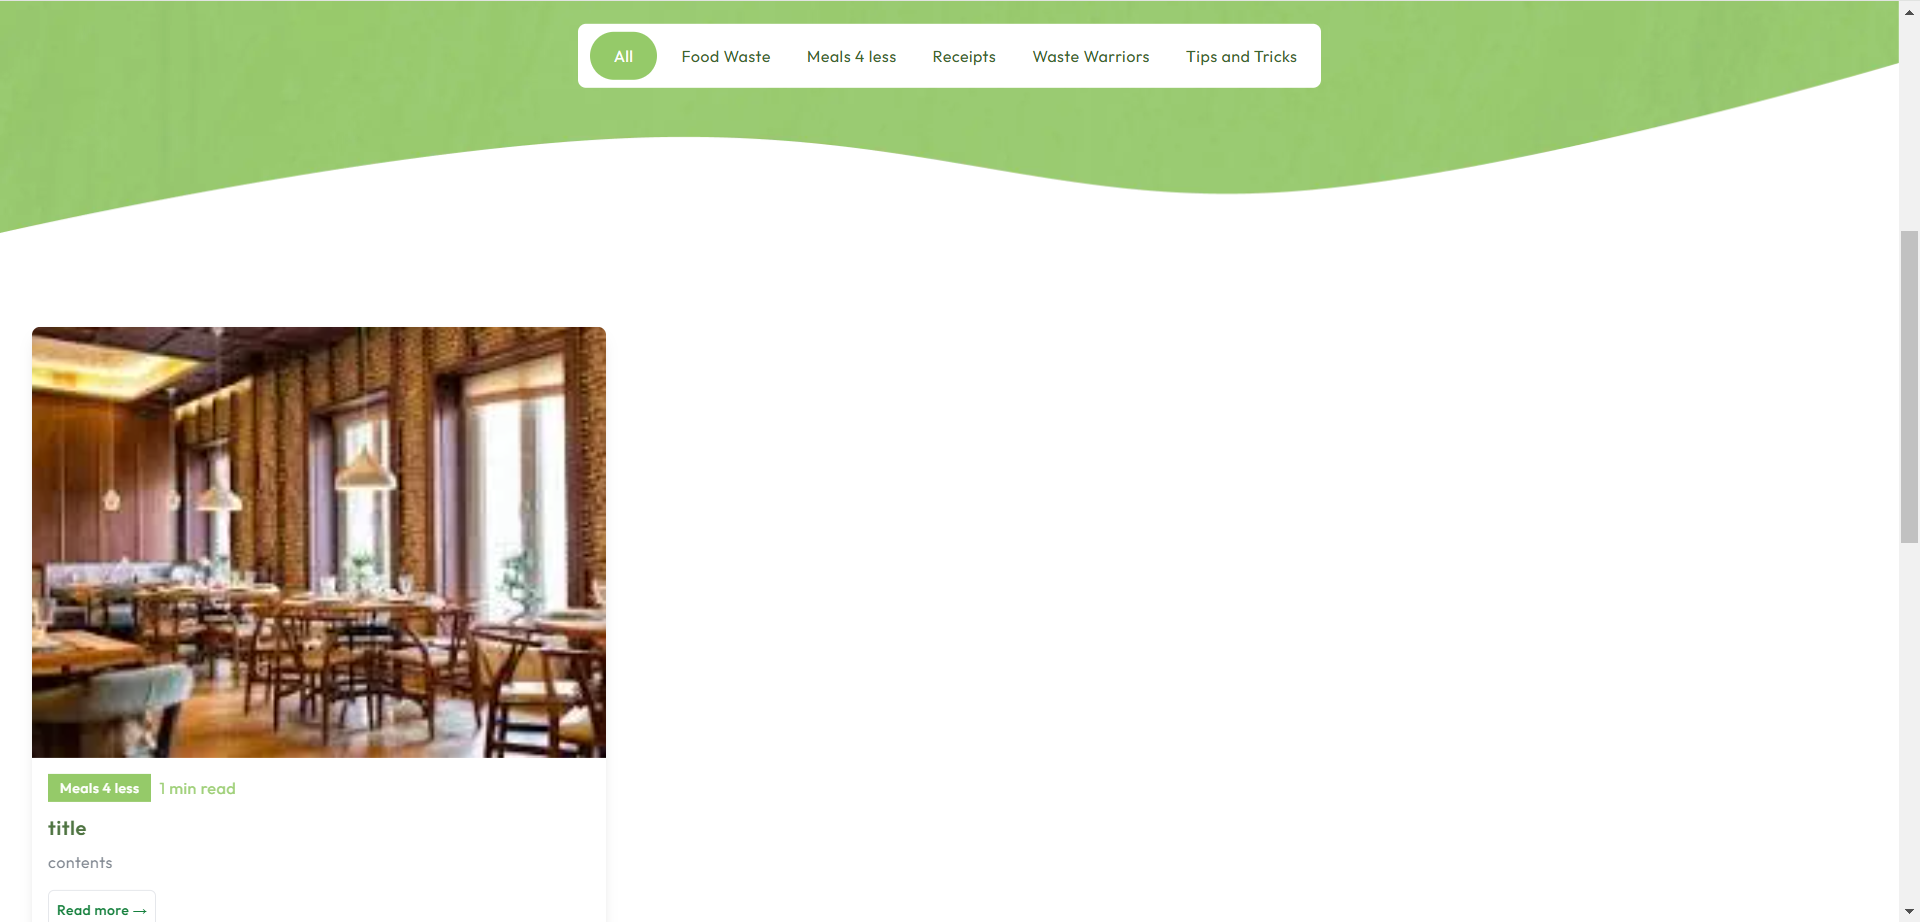
Sustain bites
The articles on the website are displayed categorized by categories.
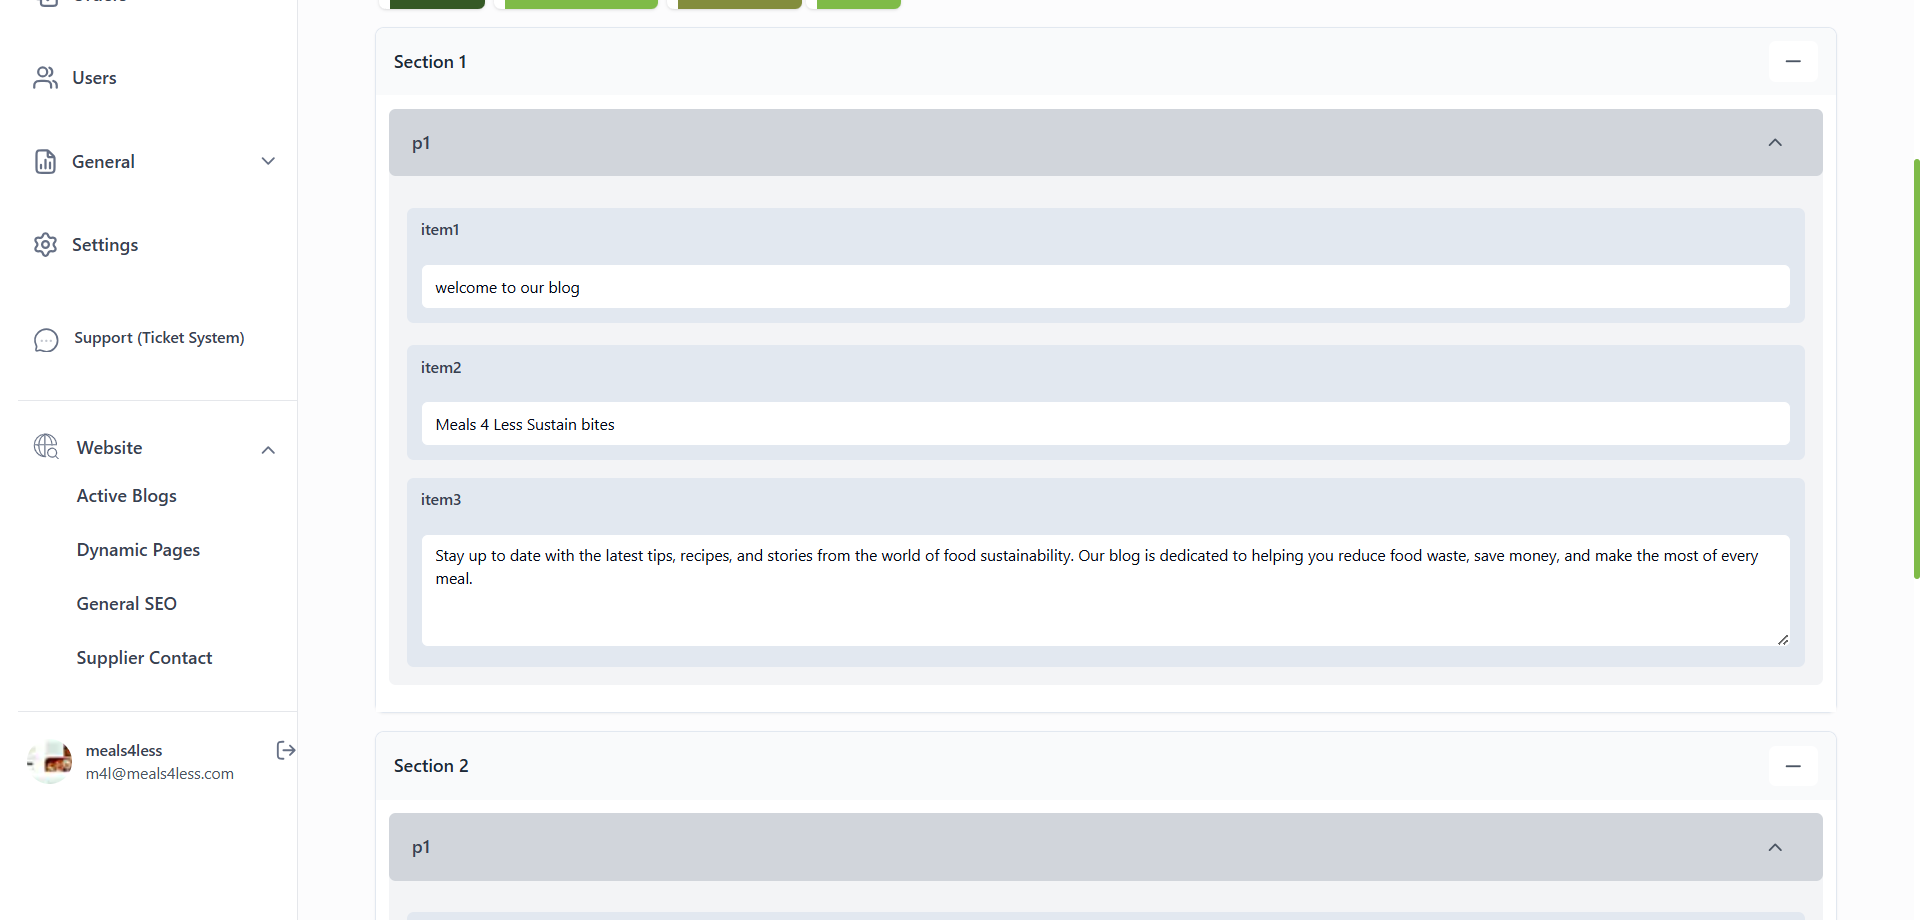
Sustain bites in admin panel
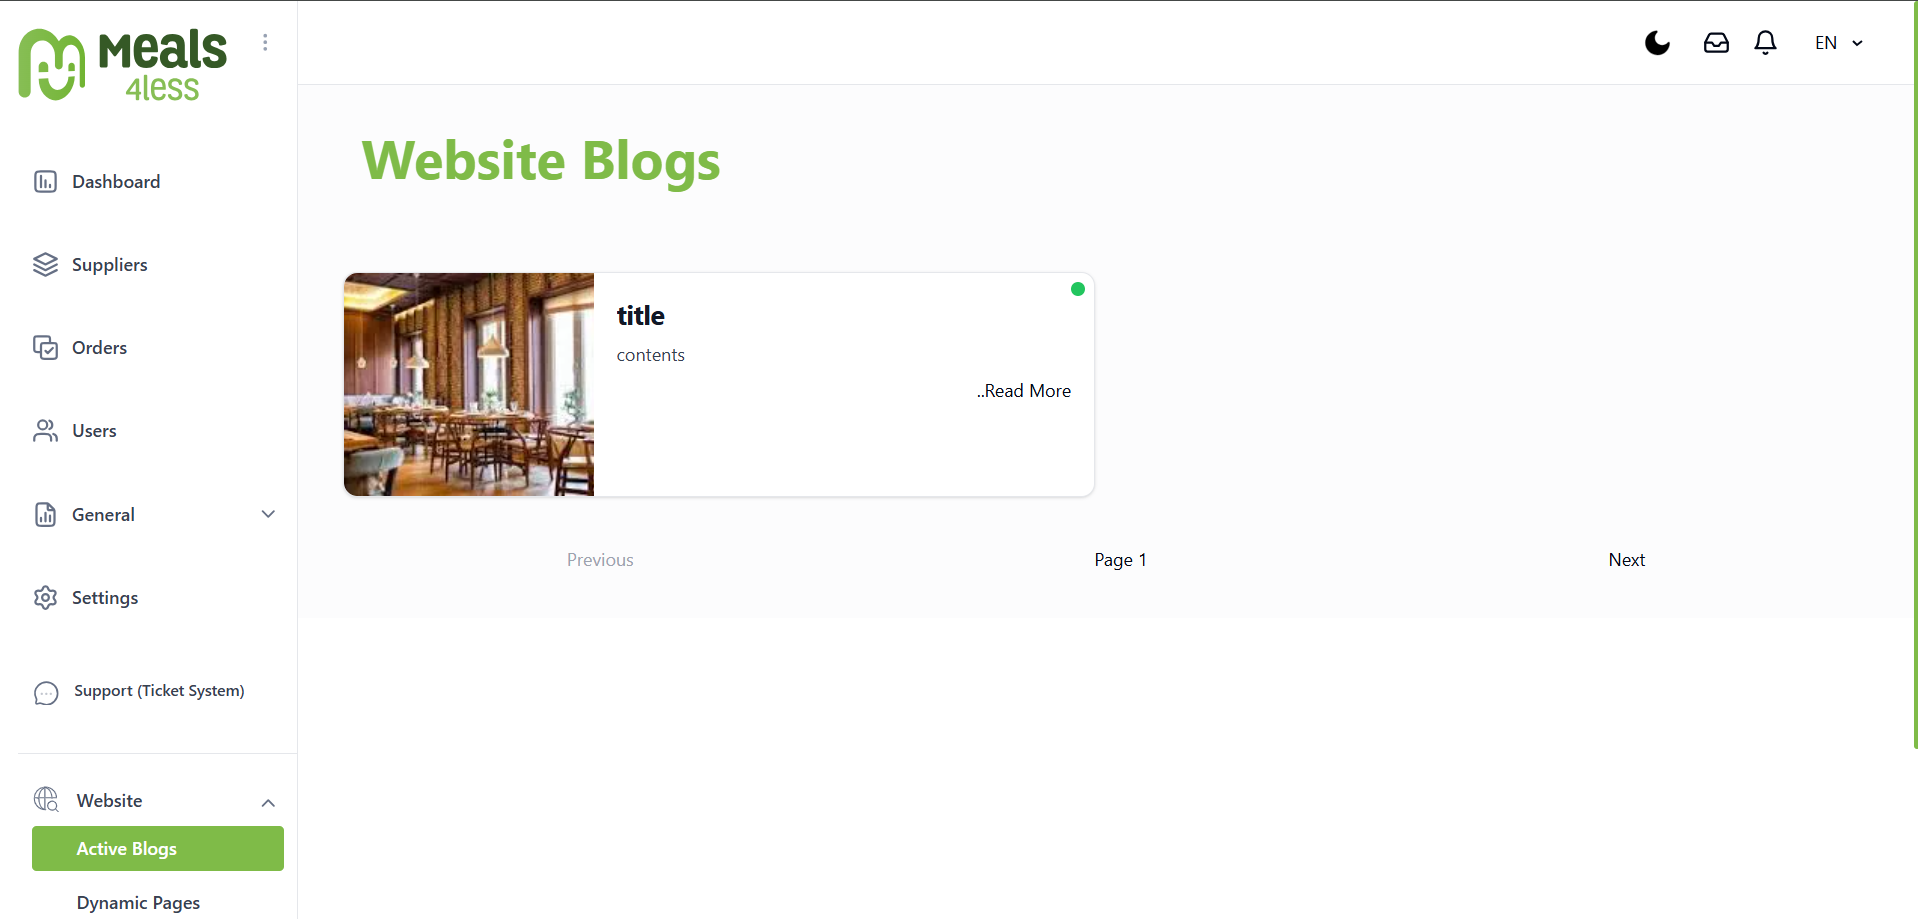
The content of the articles is entered through the Active Blogs page.
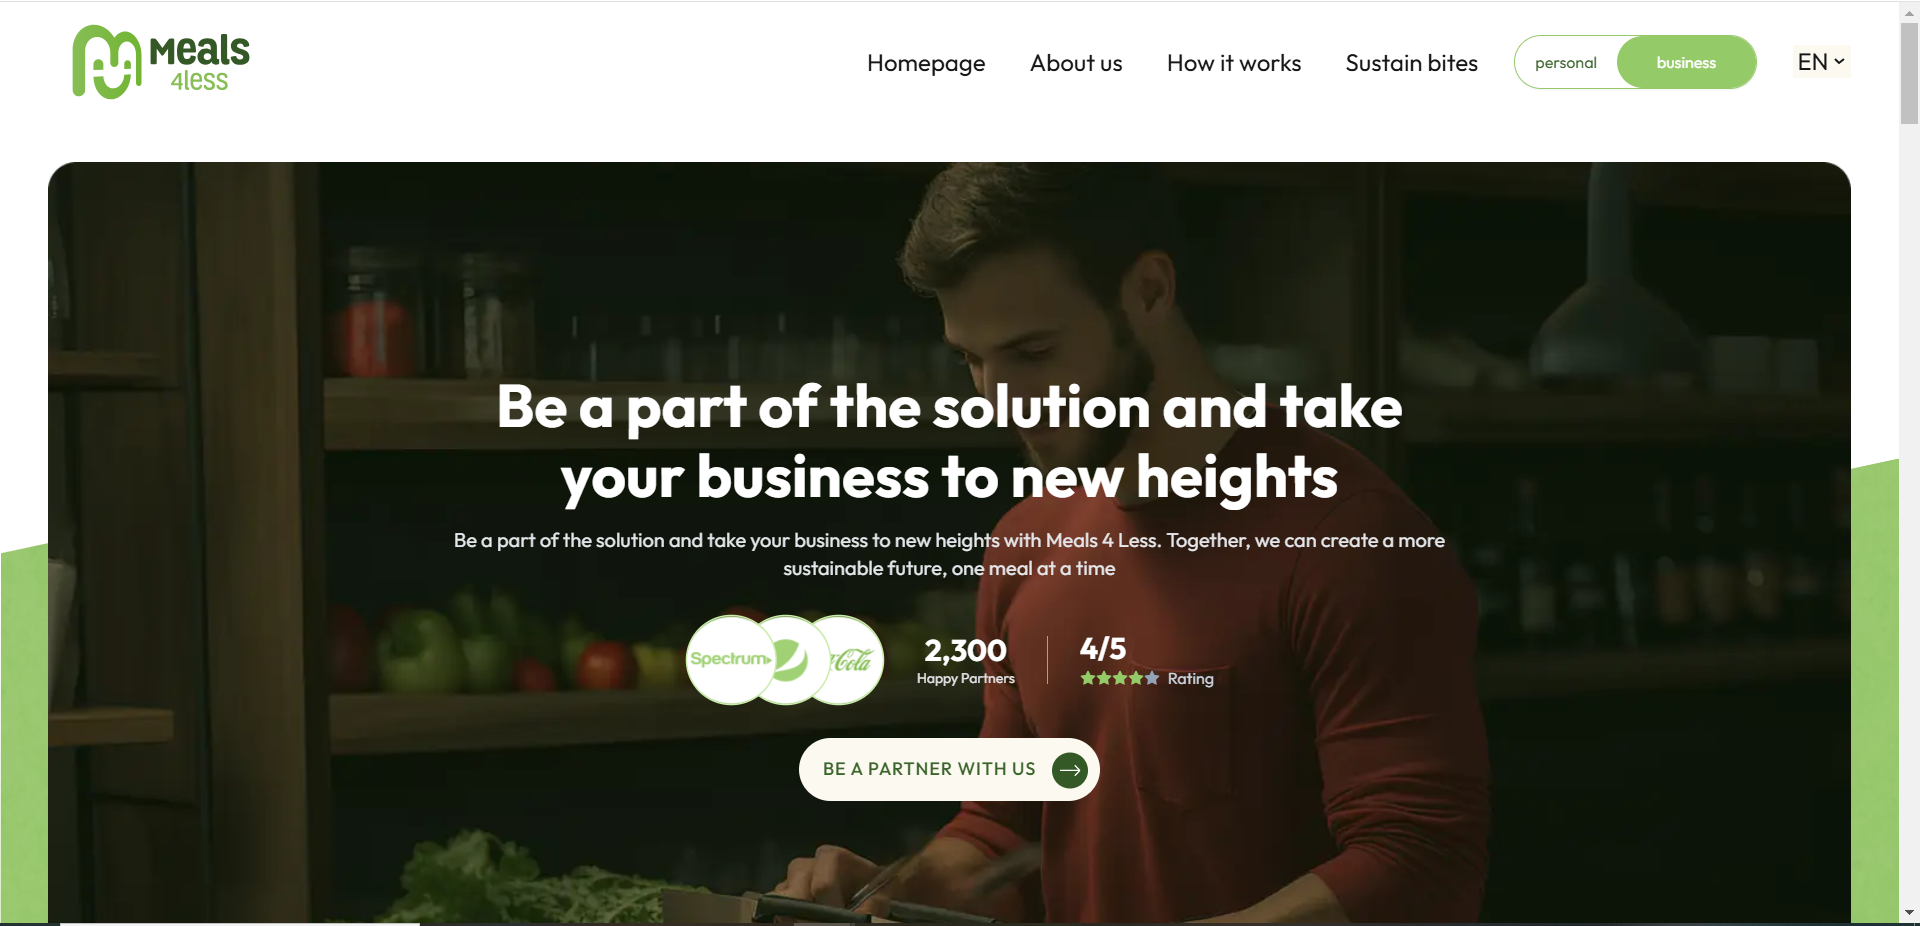
business
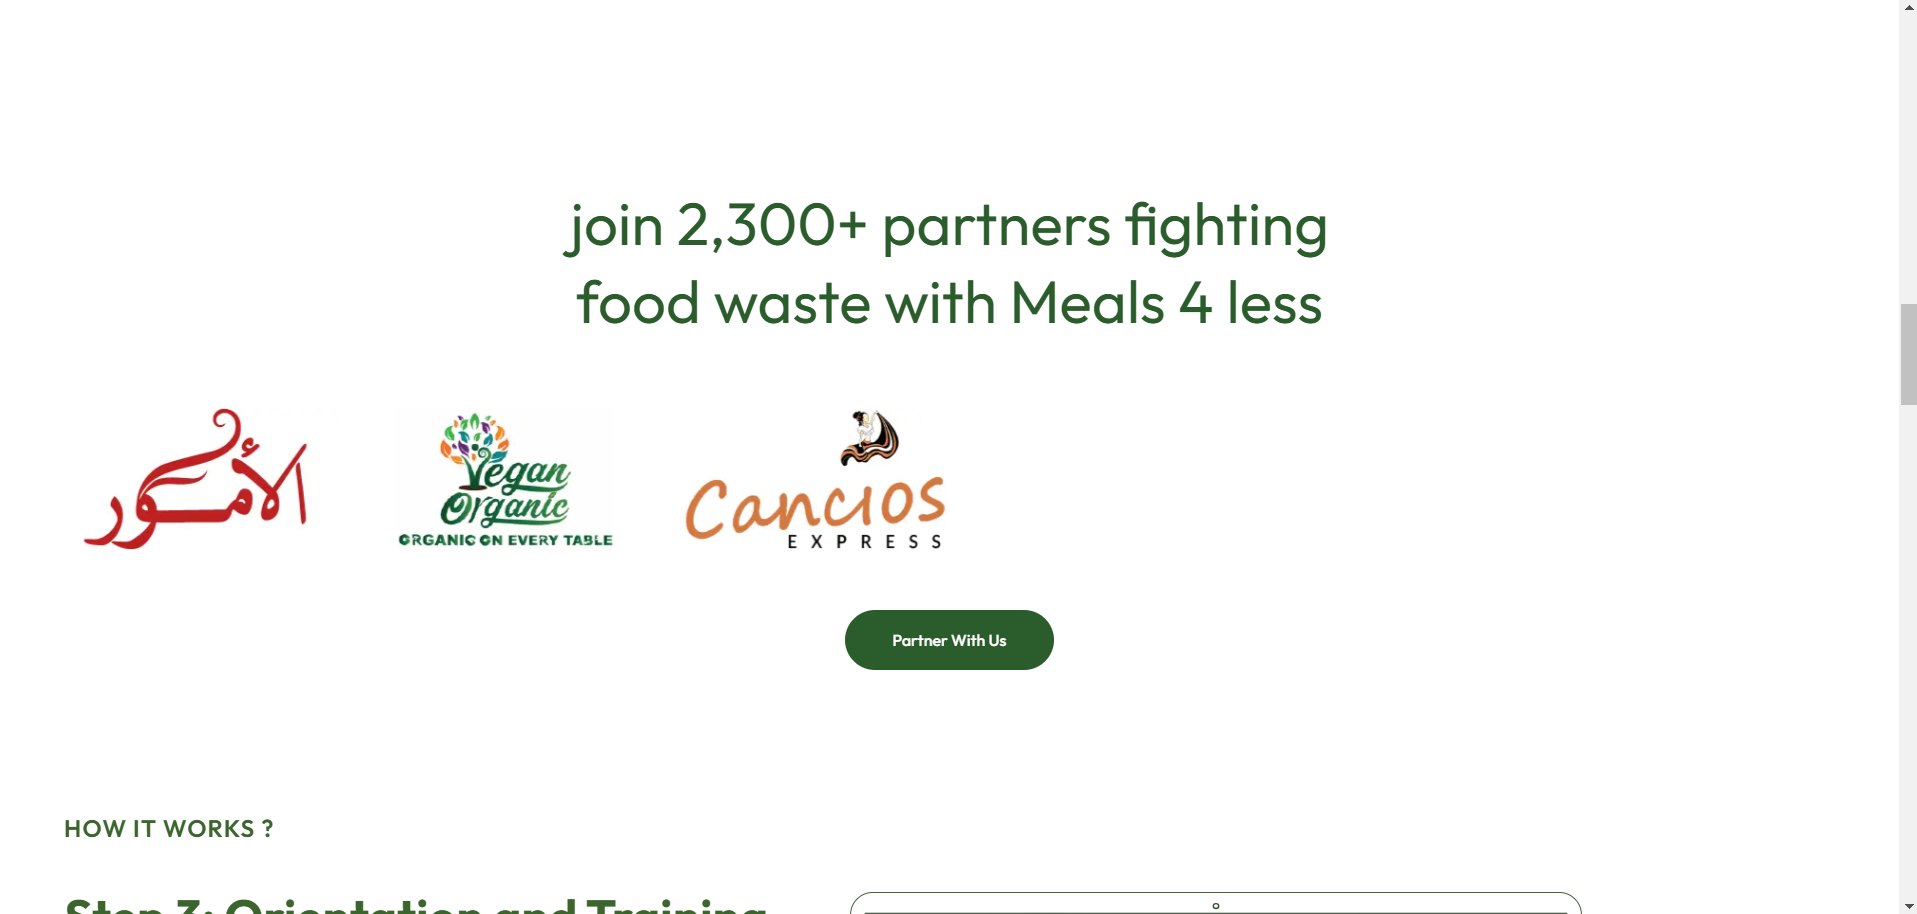
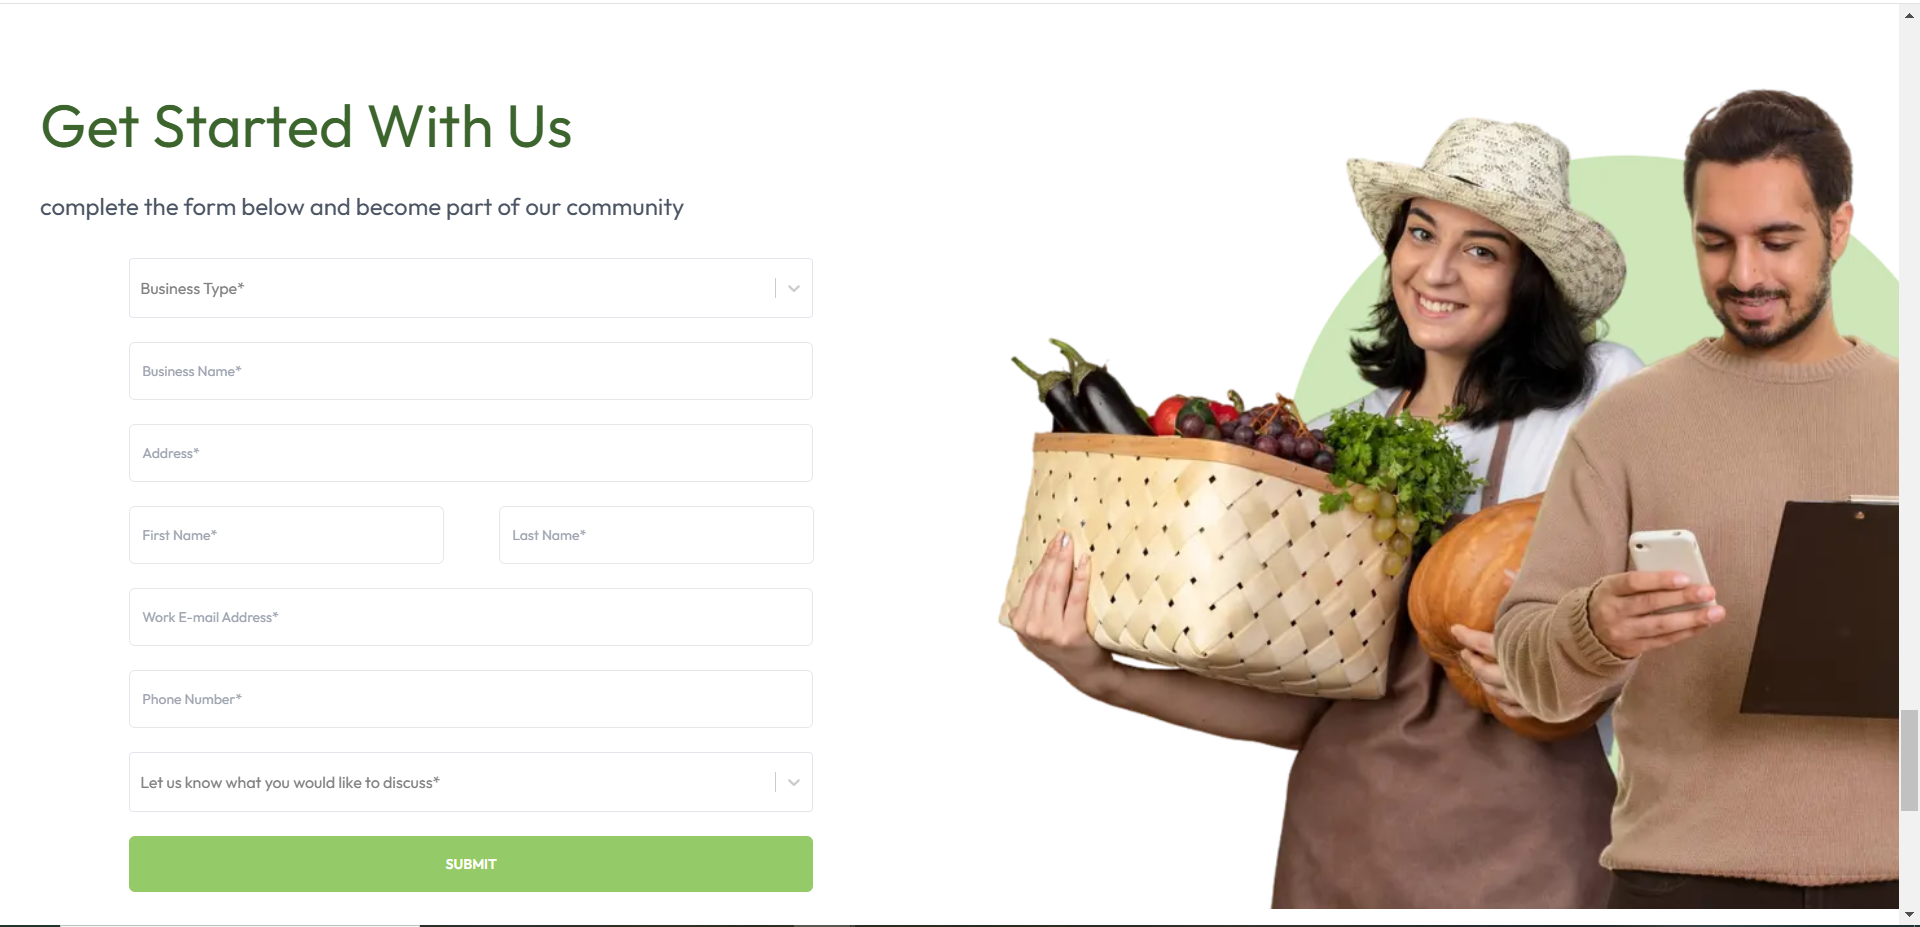
The Business page includes everything related to the supplier, showcasing their dedicated dashboard through which they can create their own offers. It also features a registration form for Meals4Less.
business in admin panel
Header
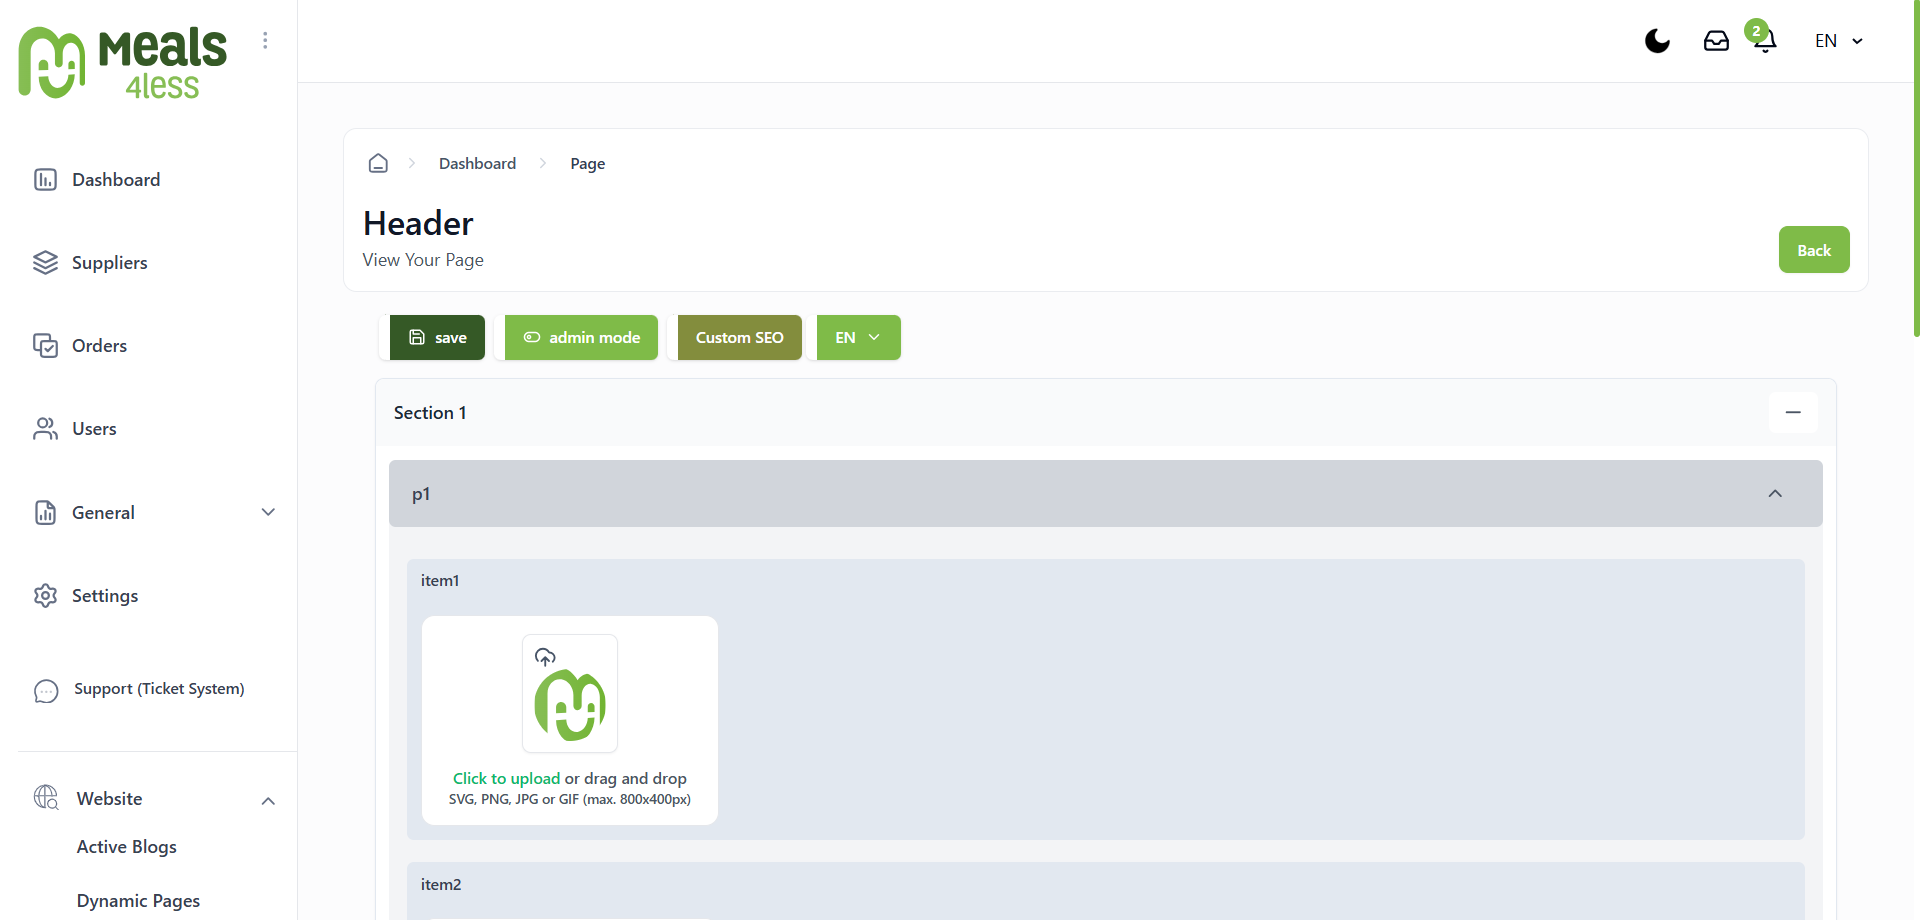
The header contains a logo, a menu with page links, and a language switcher.
footer
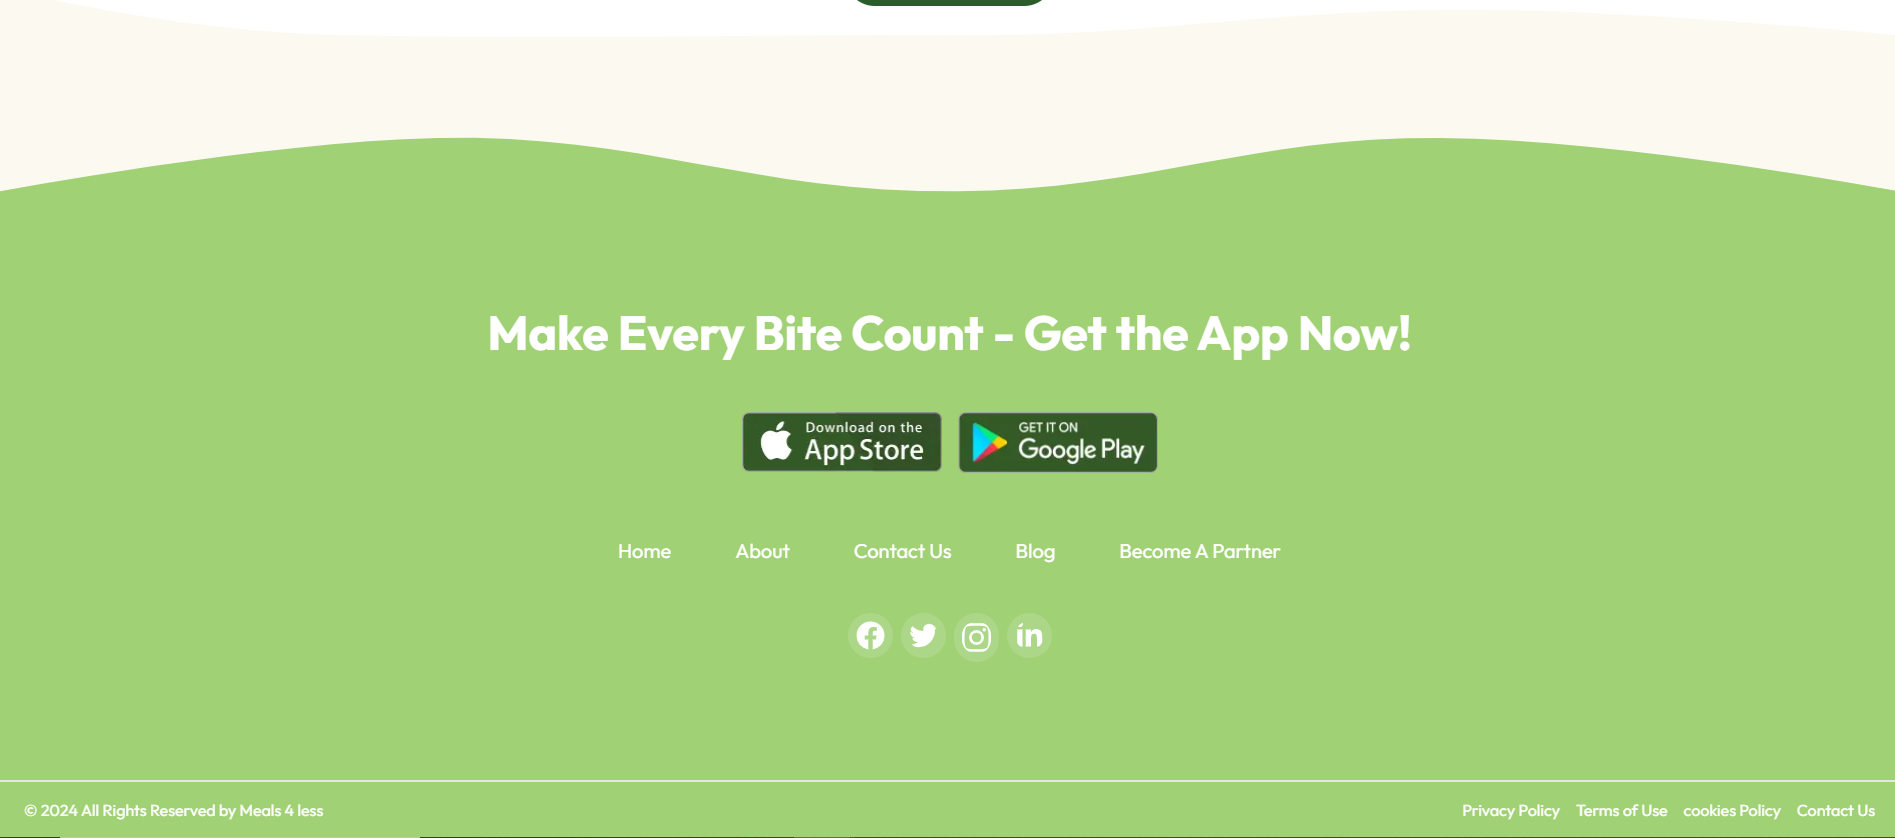
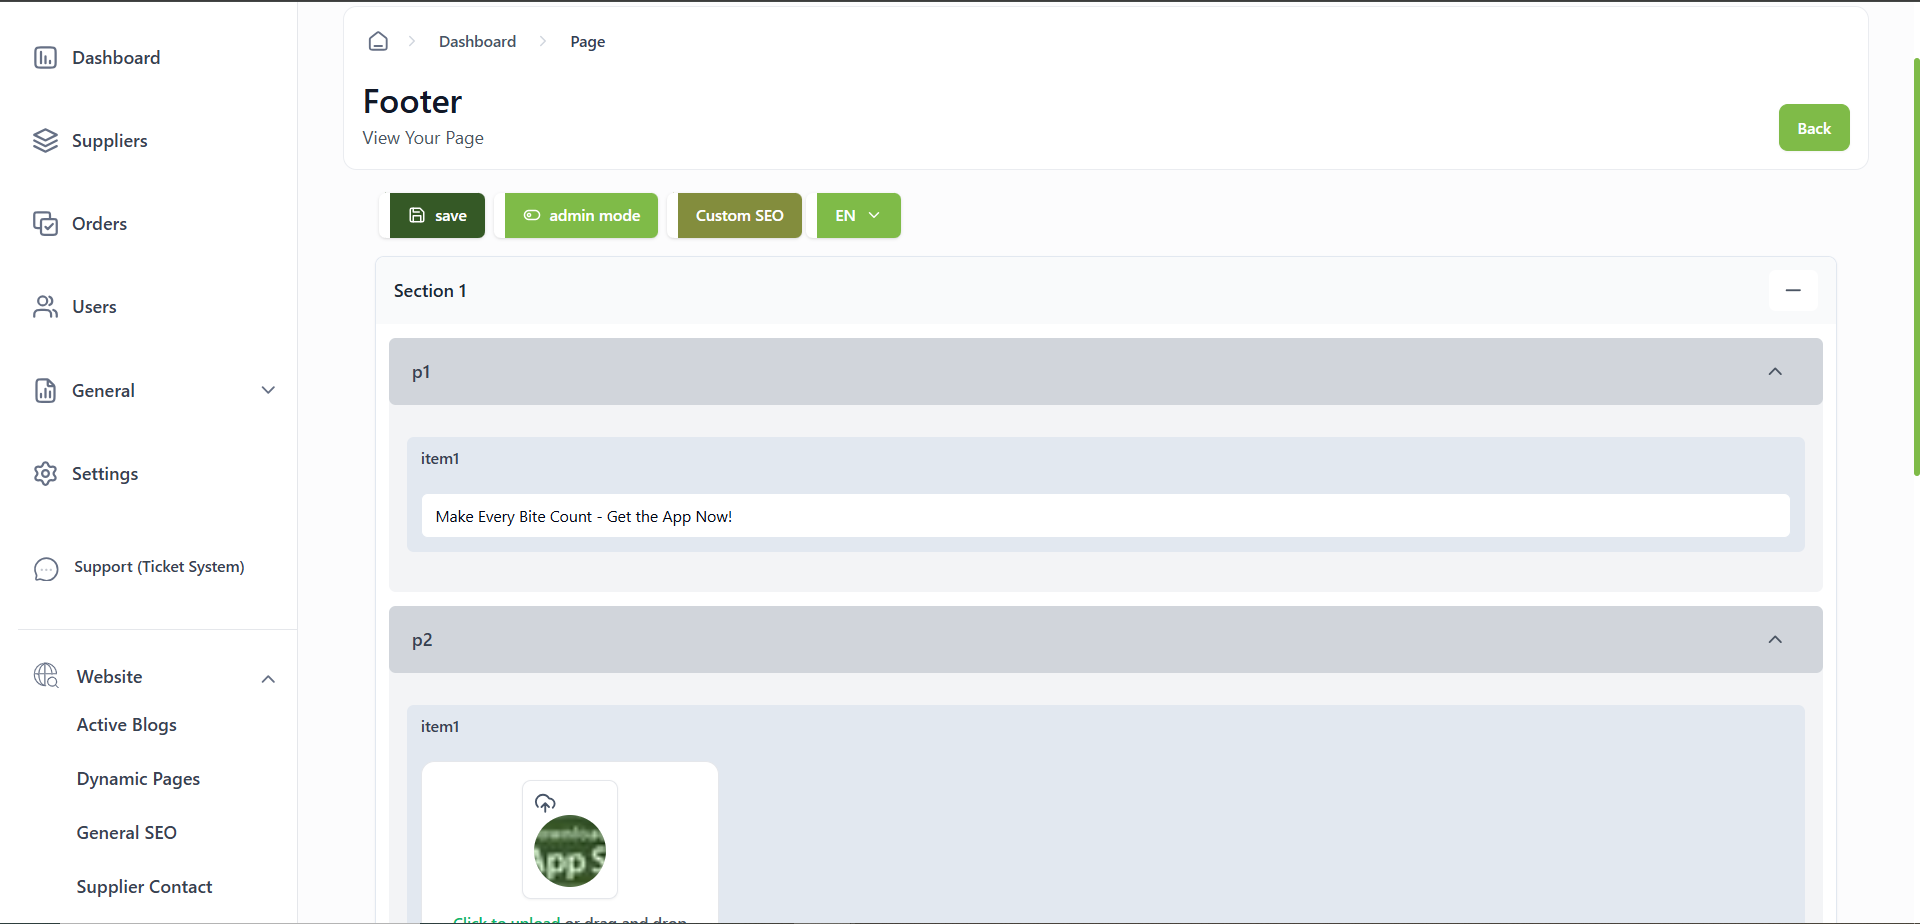
The footer contains download application links , a menu with page links, and a social icons.
There are other pages with general information, such as Contact Us , Privacy Policy, Terms of Use , cookies Policy and Contact Us
languages
The website supports three languages: Arabic, English, and German. Content can be entered separately by switching the language through the language switcher in the admin page.
Hints
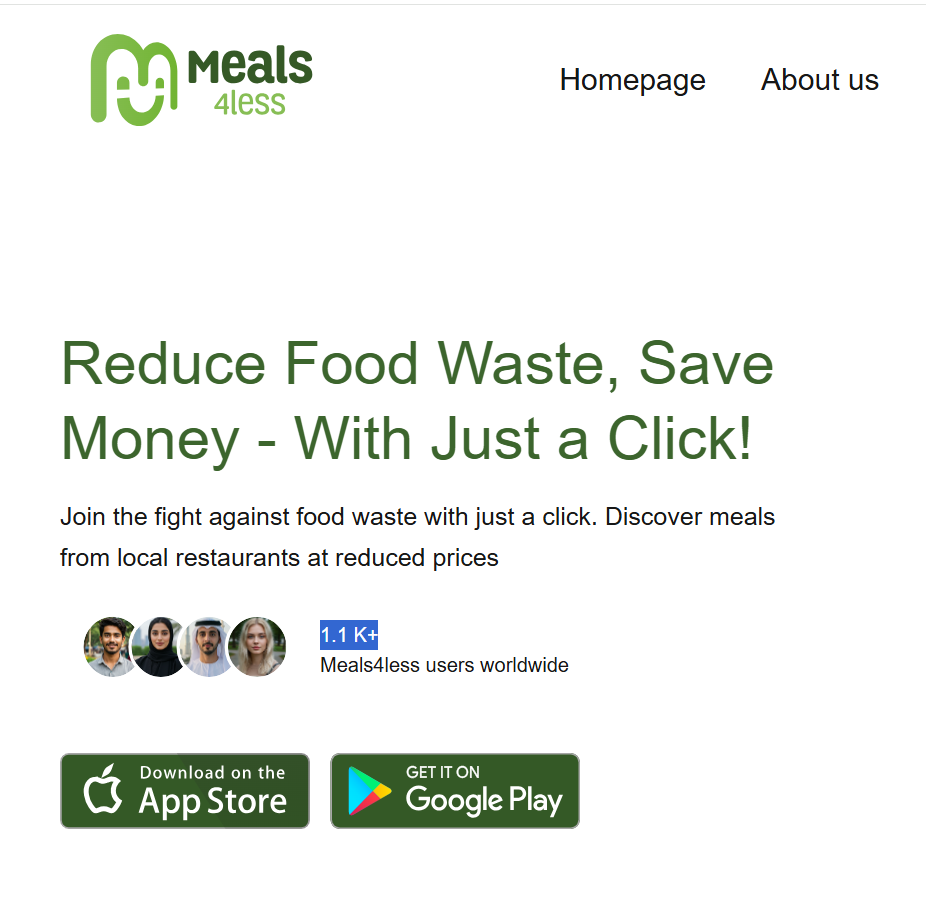
Some numbers on the website are dynamically fetched from the backend and combined with additional numbers entered by the admin through the admin panel. For example, the number 1.1 in the first section represents the actual number of users plus an additional number entered by the admin. Similarly, the number 2300 on the Business page is a combination of the actual number of suppliers and an additional number from the admin's input.
dashboard
The dashboard is the main page in the admin panel and displays several reports, including:
-
The number of suppliers
-
The number of users
-
The number of saved pages
-
Total Income
-
Total KGs rescued
-
Total CO2 emissions saved
Additionally, it includes a table showing the most recent bookings in the system.
Suppliers
The Suppliers page contains a table with the data of the suppliers in the system,
a button to add a new supplier,
a button to export suppliers data to a CSV file,
and a trash button that stores deleted suppliers.
It also allows editing any supplier's data through the edit icon
and changing the supplier's status from active to inactive and vice versa.
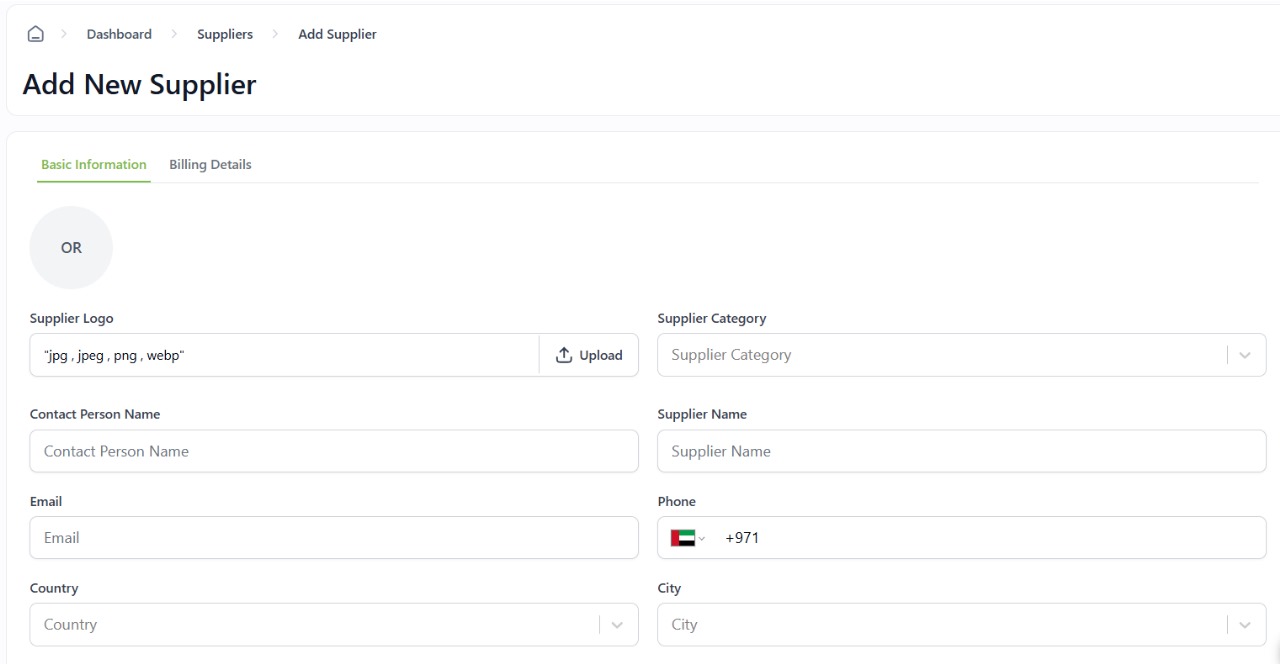
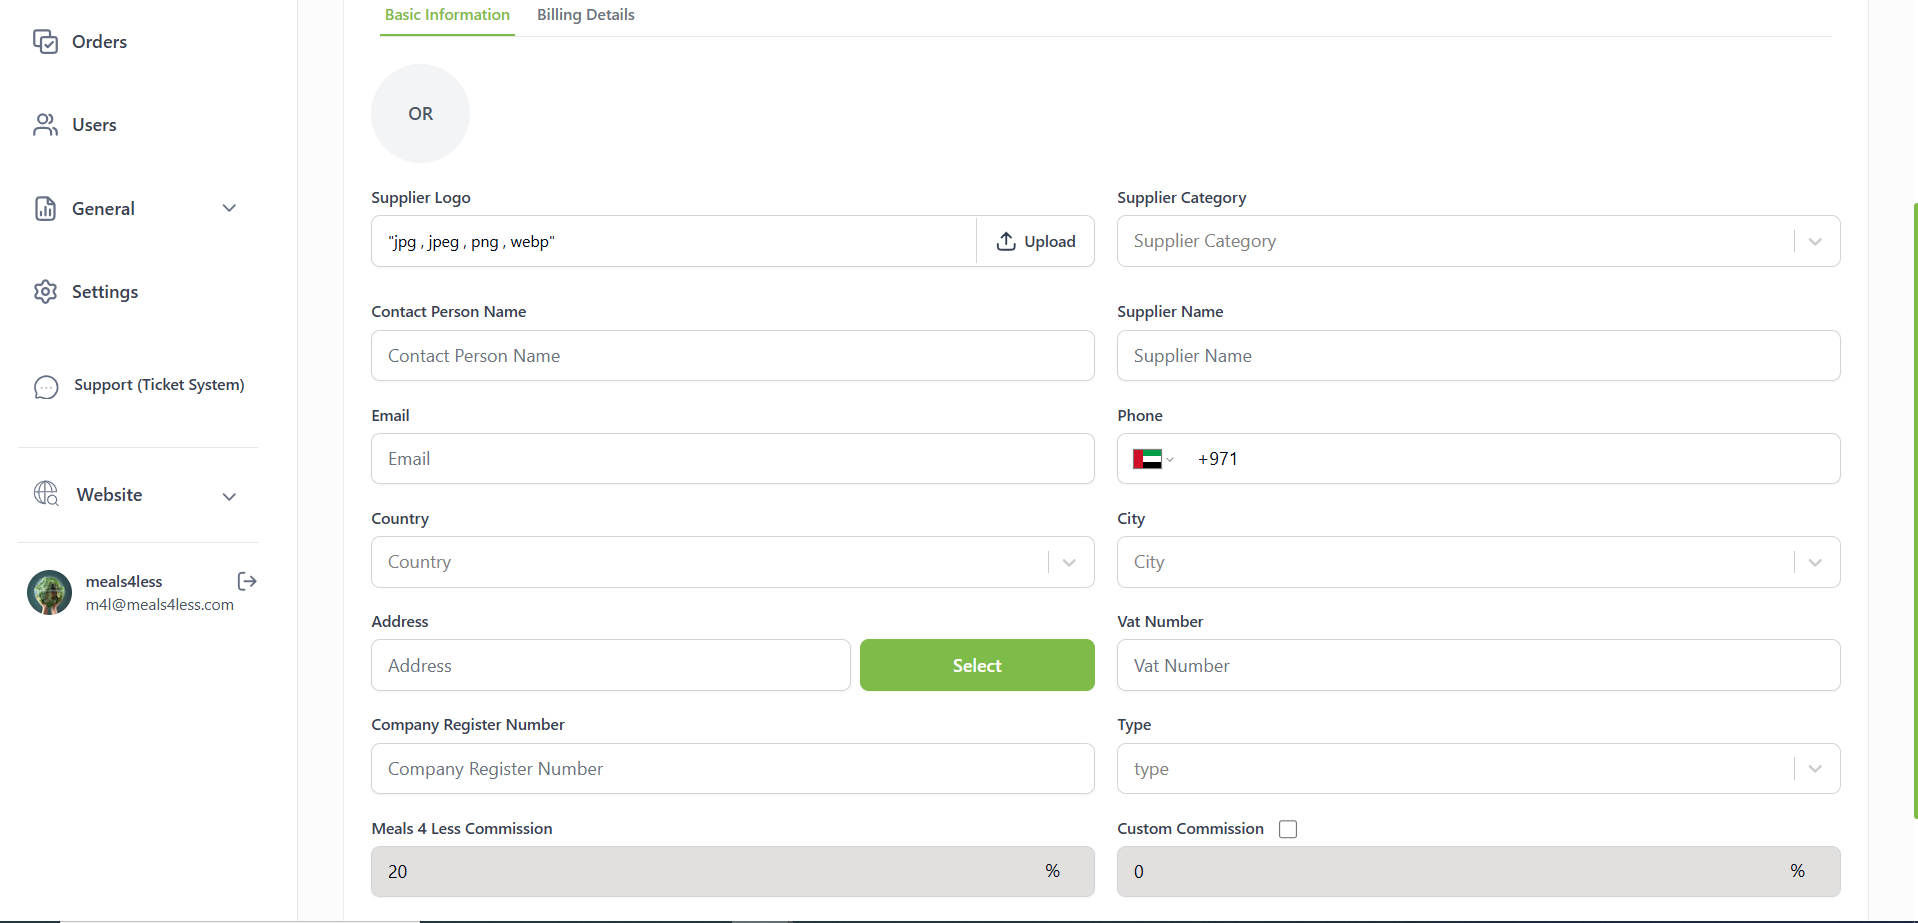
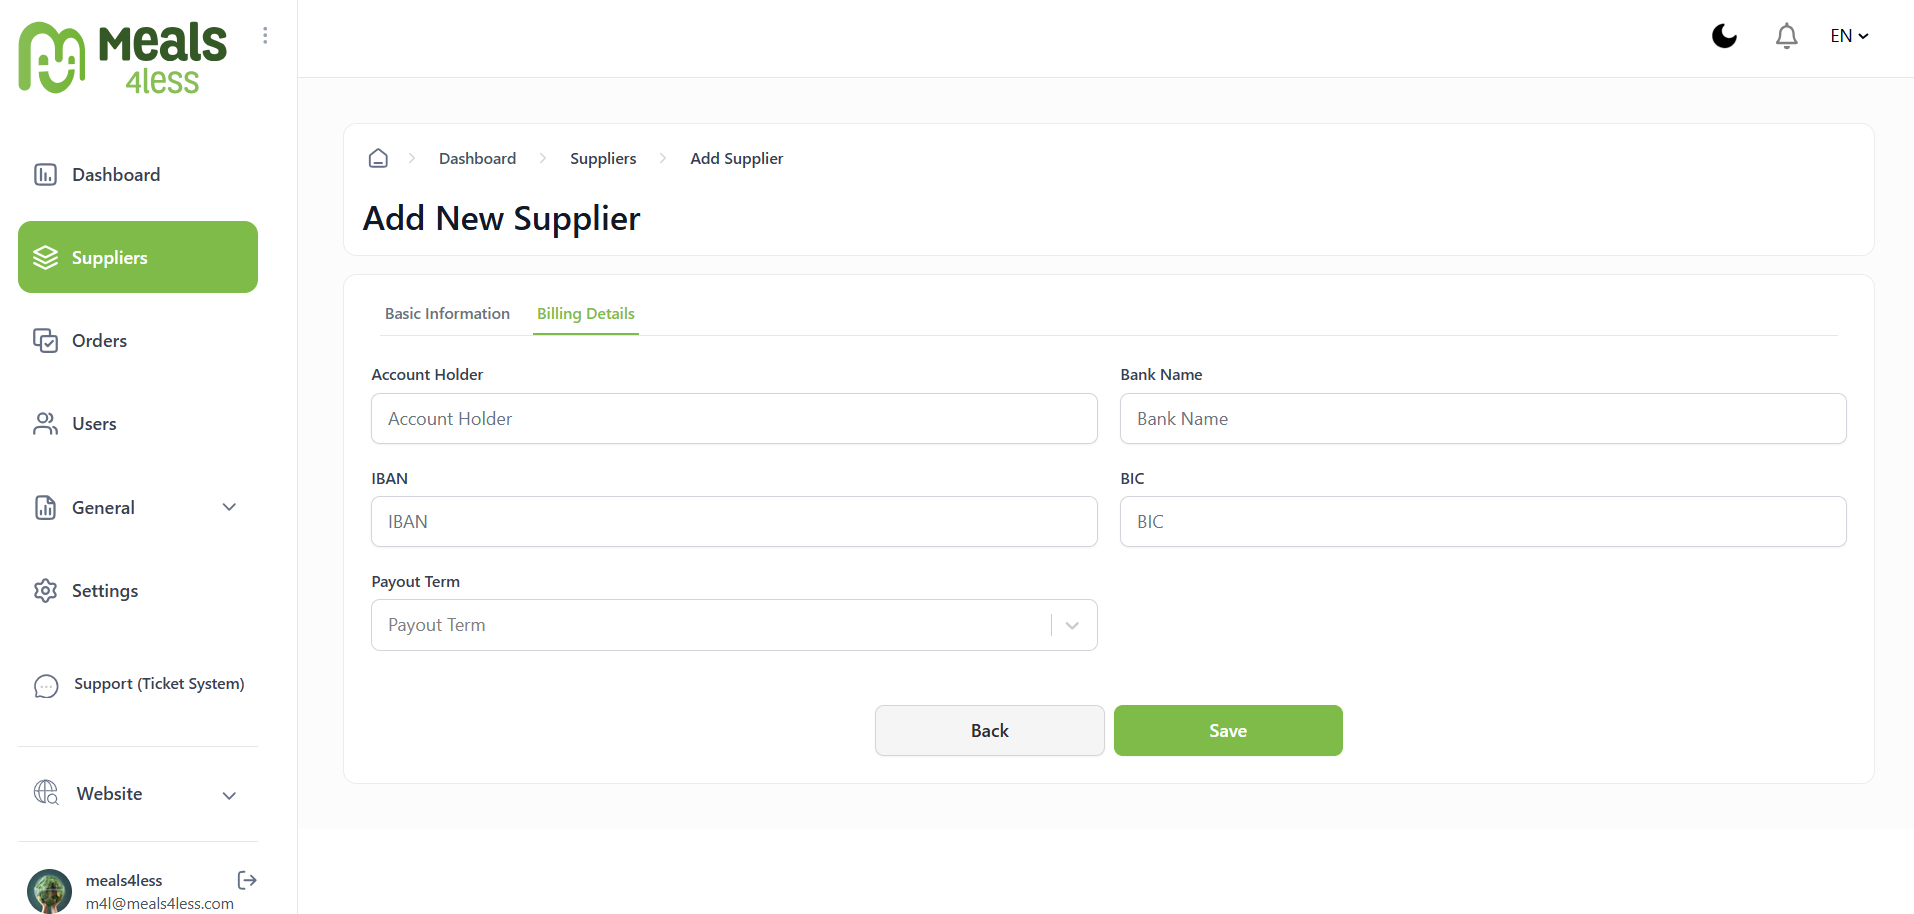
Adding a new supplier is done in two stages:
-
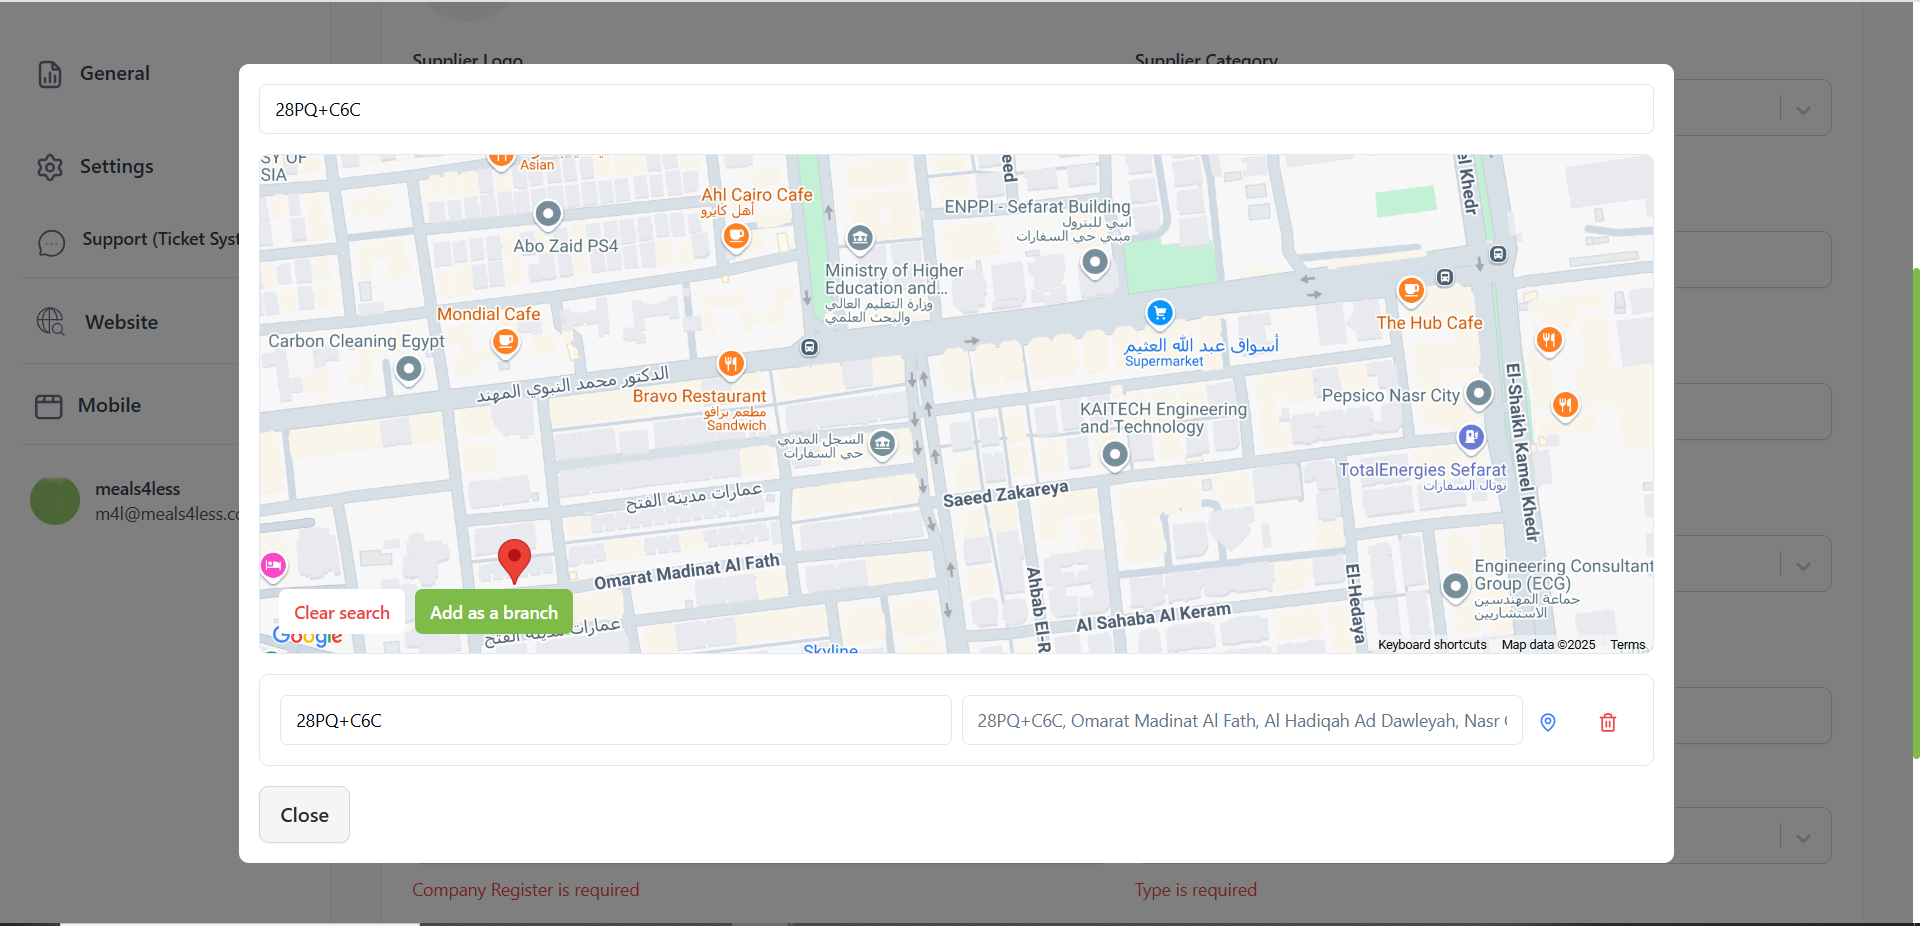
First Stage: Adding basic information such as the supplier's name, image, address, email, and phone number.
-
Second Stage: Adding billing details such as the bank name, IBAN, BIC, and payout information.
notes:
The admin can add branches for the supplier when creating and editing it.
Orders
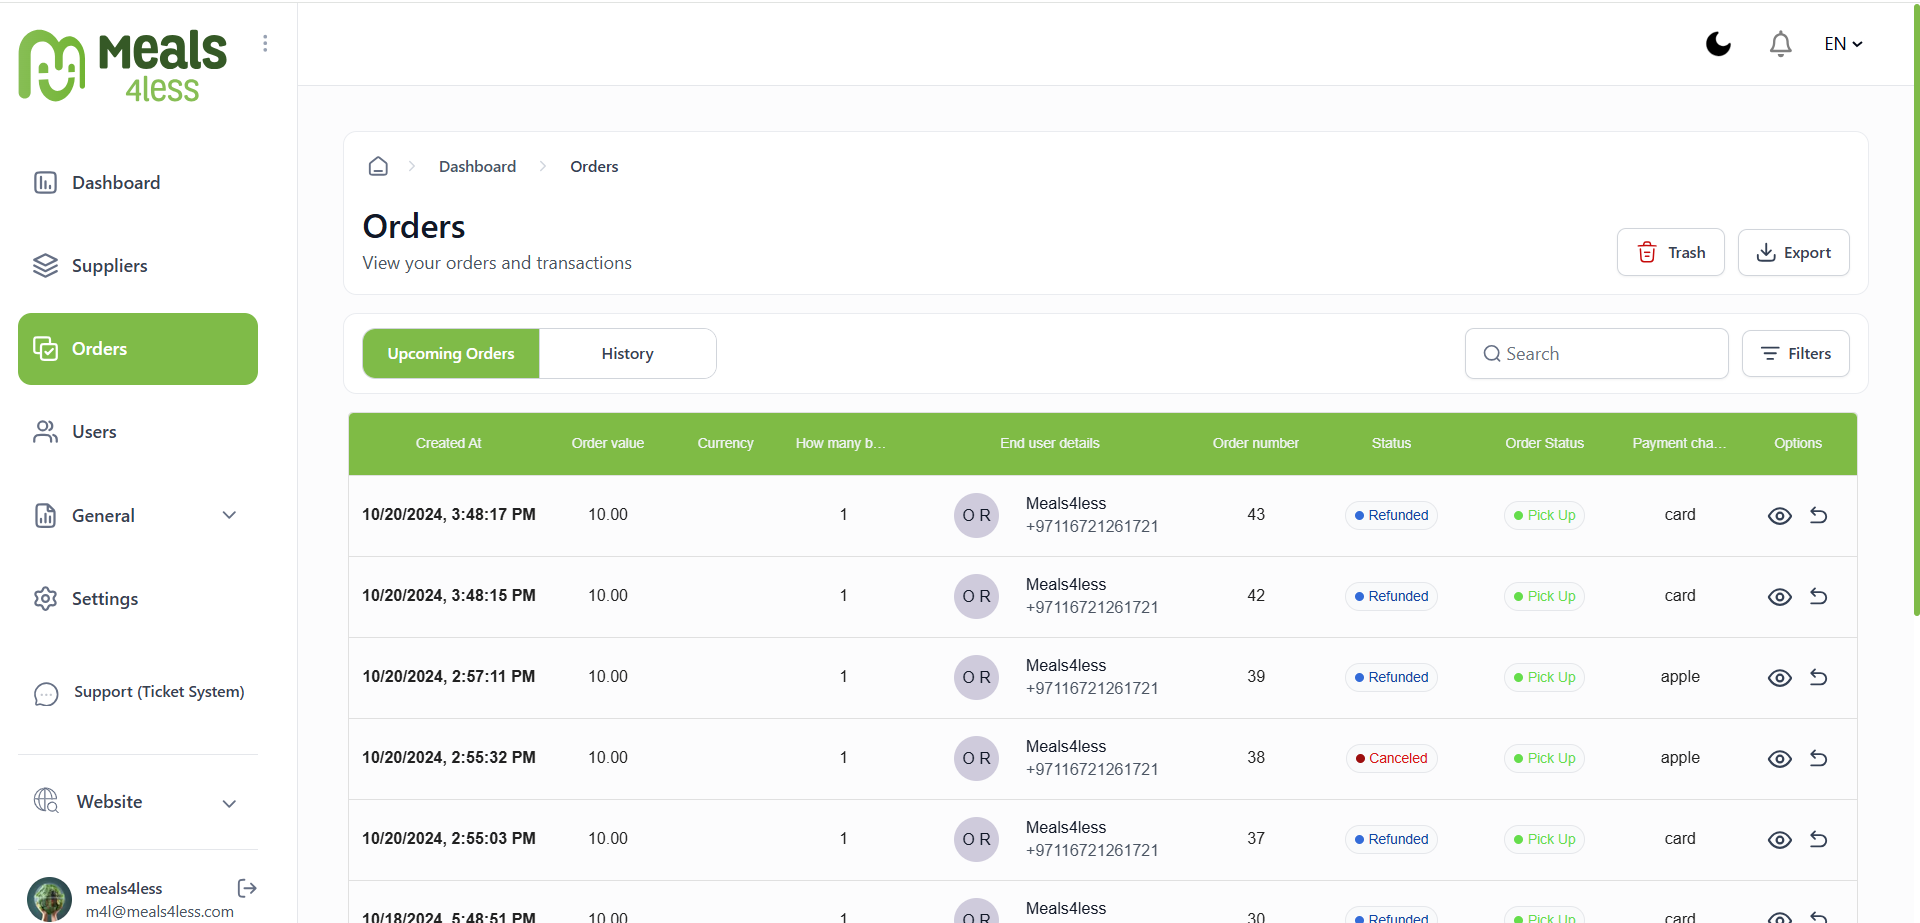
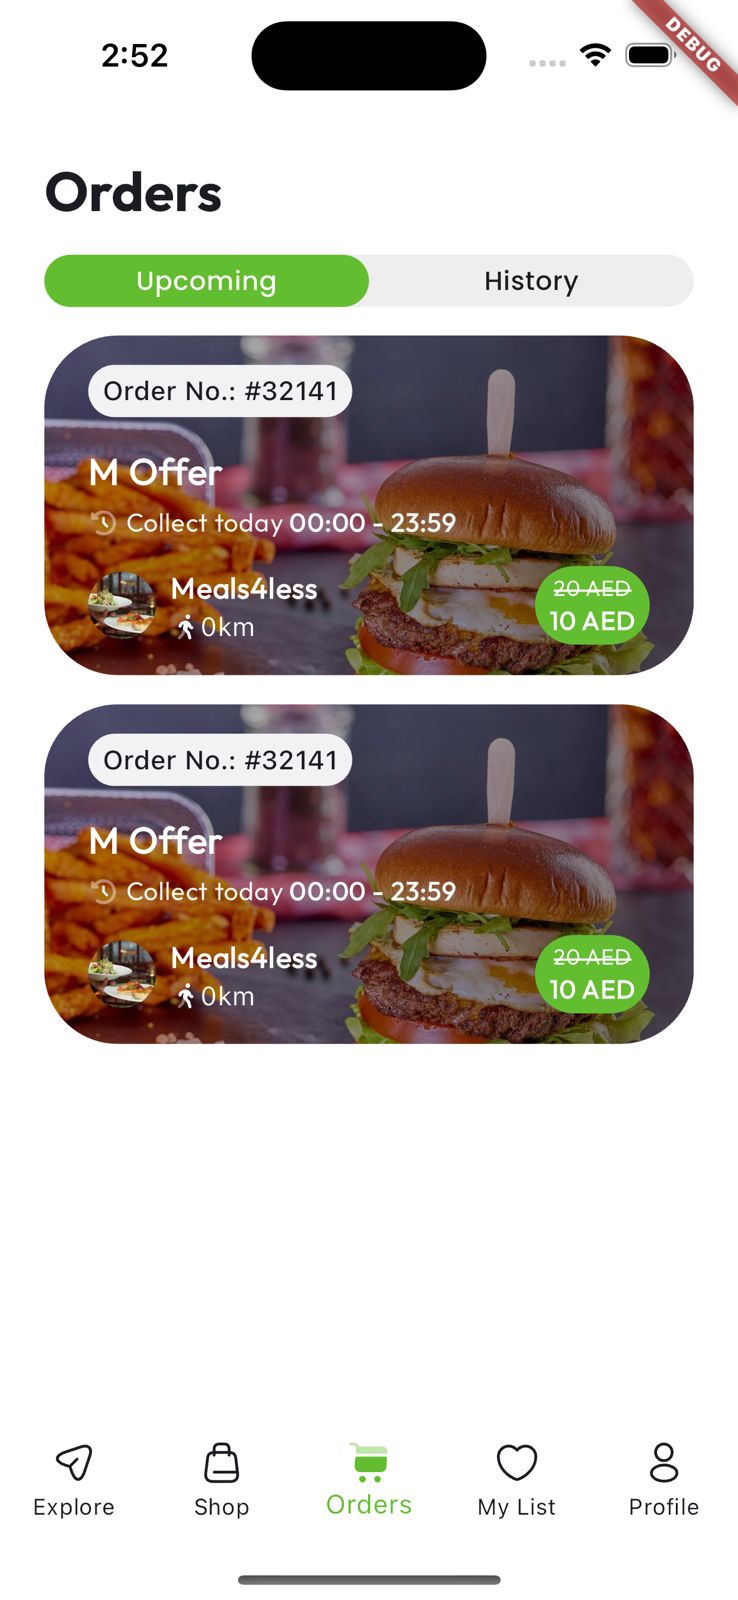
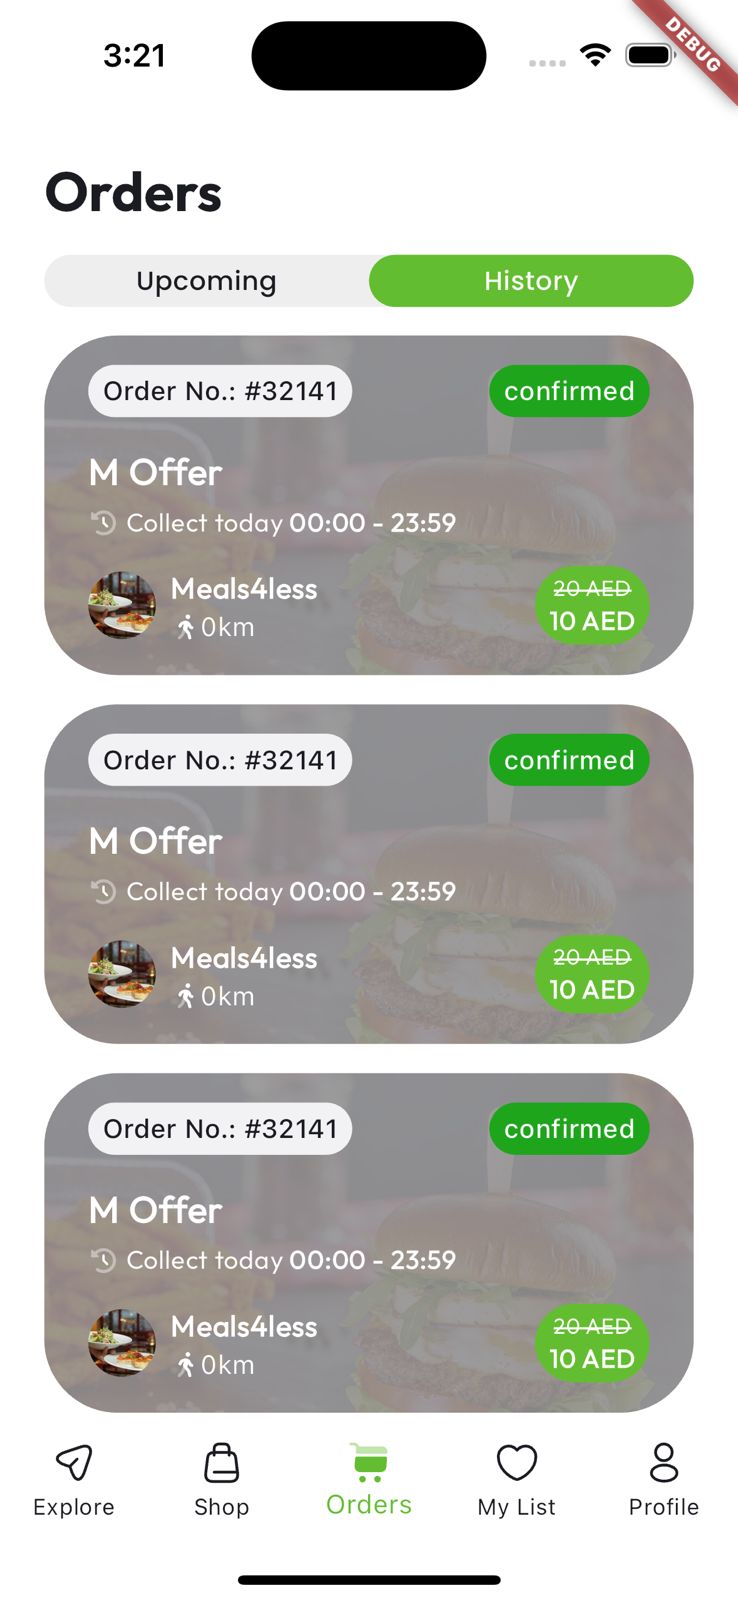
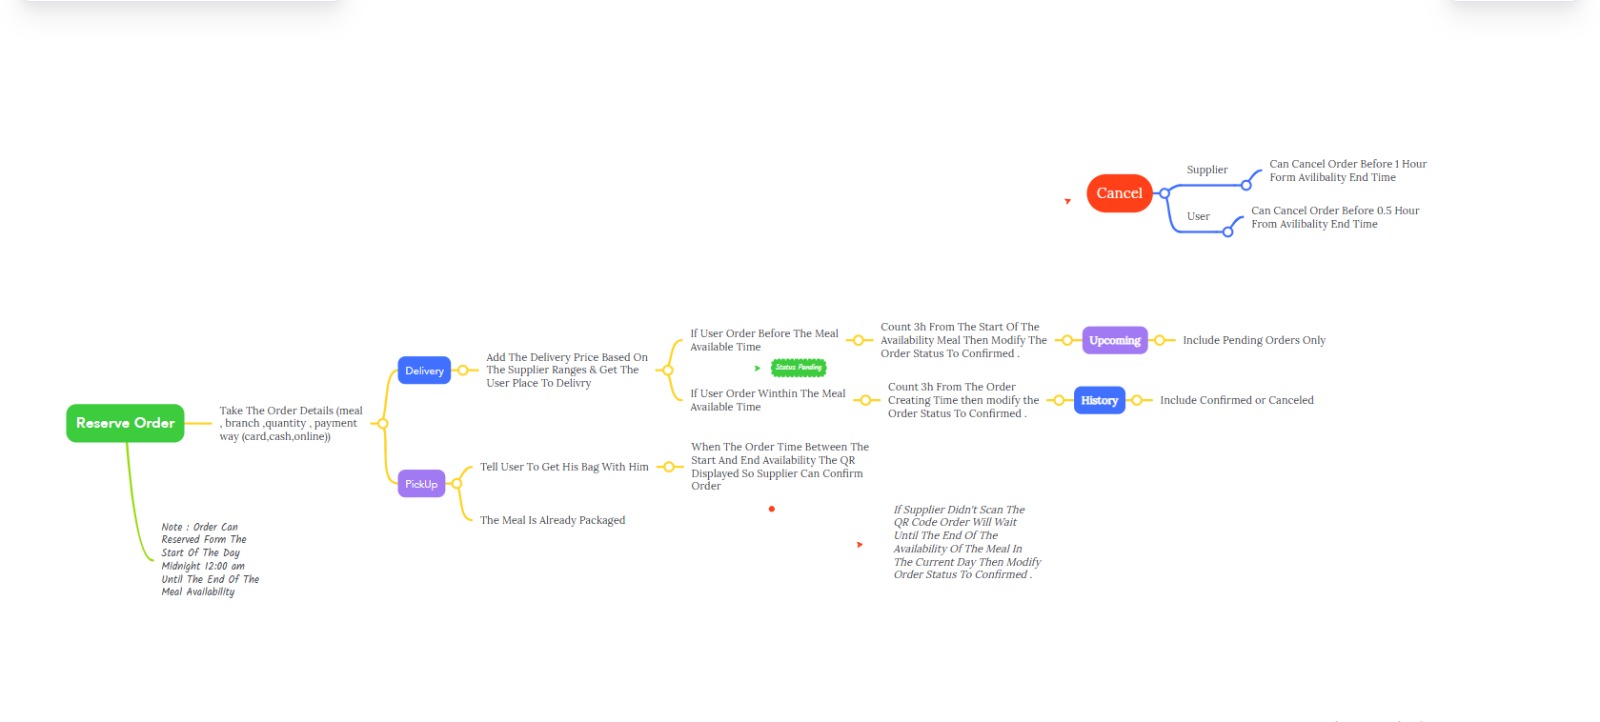
The Orders page displays a table containing data on orders placed by users,
whether they are upcoming orders or order history. It also allows changing their status,
along with providing a trash button and a button to export the data to a CSV file.
users
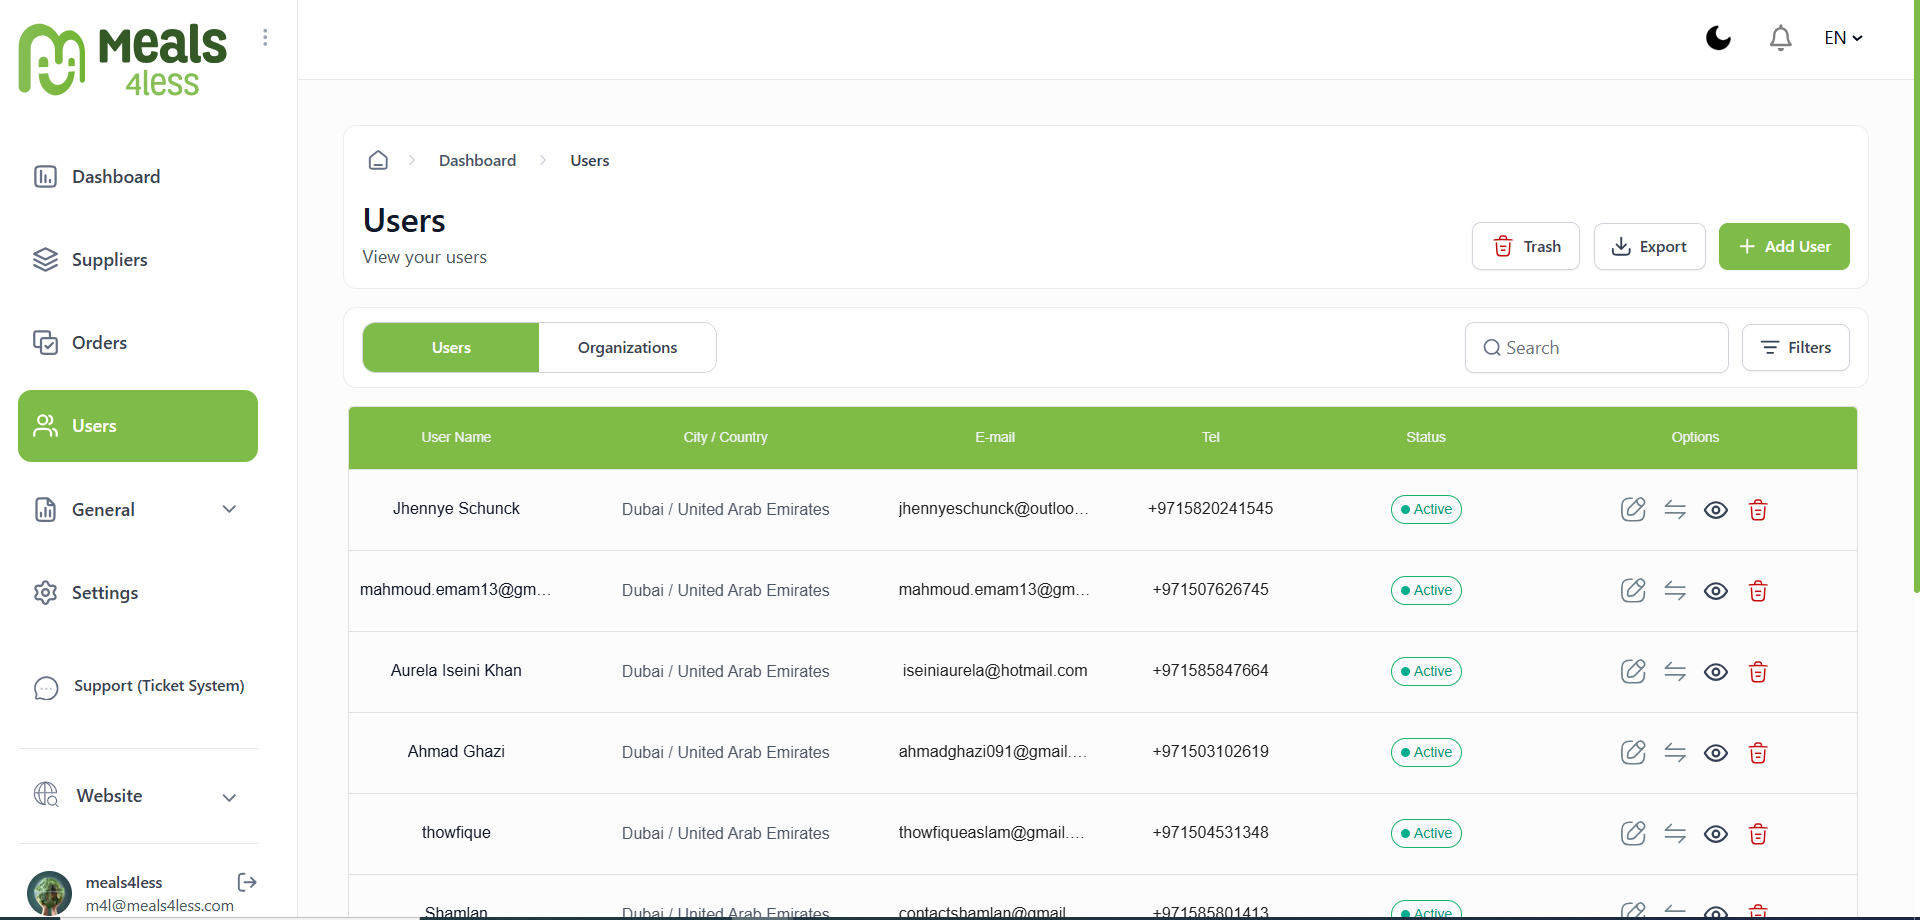
The Users page contains a table with the data of users in the system,
a button to add a new user, a button to export user data to a CSV file,
and a trash button that stores deleted users. It also allows editing any user's data through the edit icon
and changing the user's status from active to inactive and vice versa.
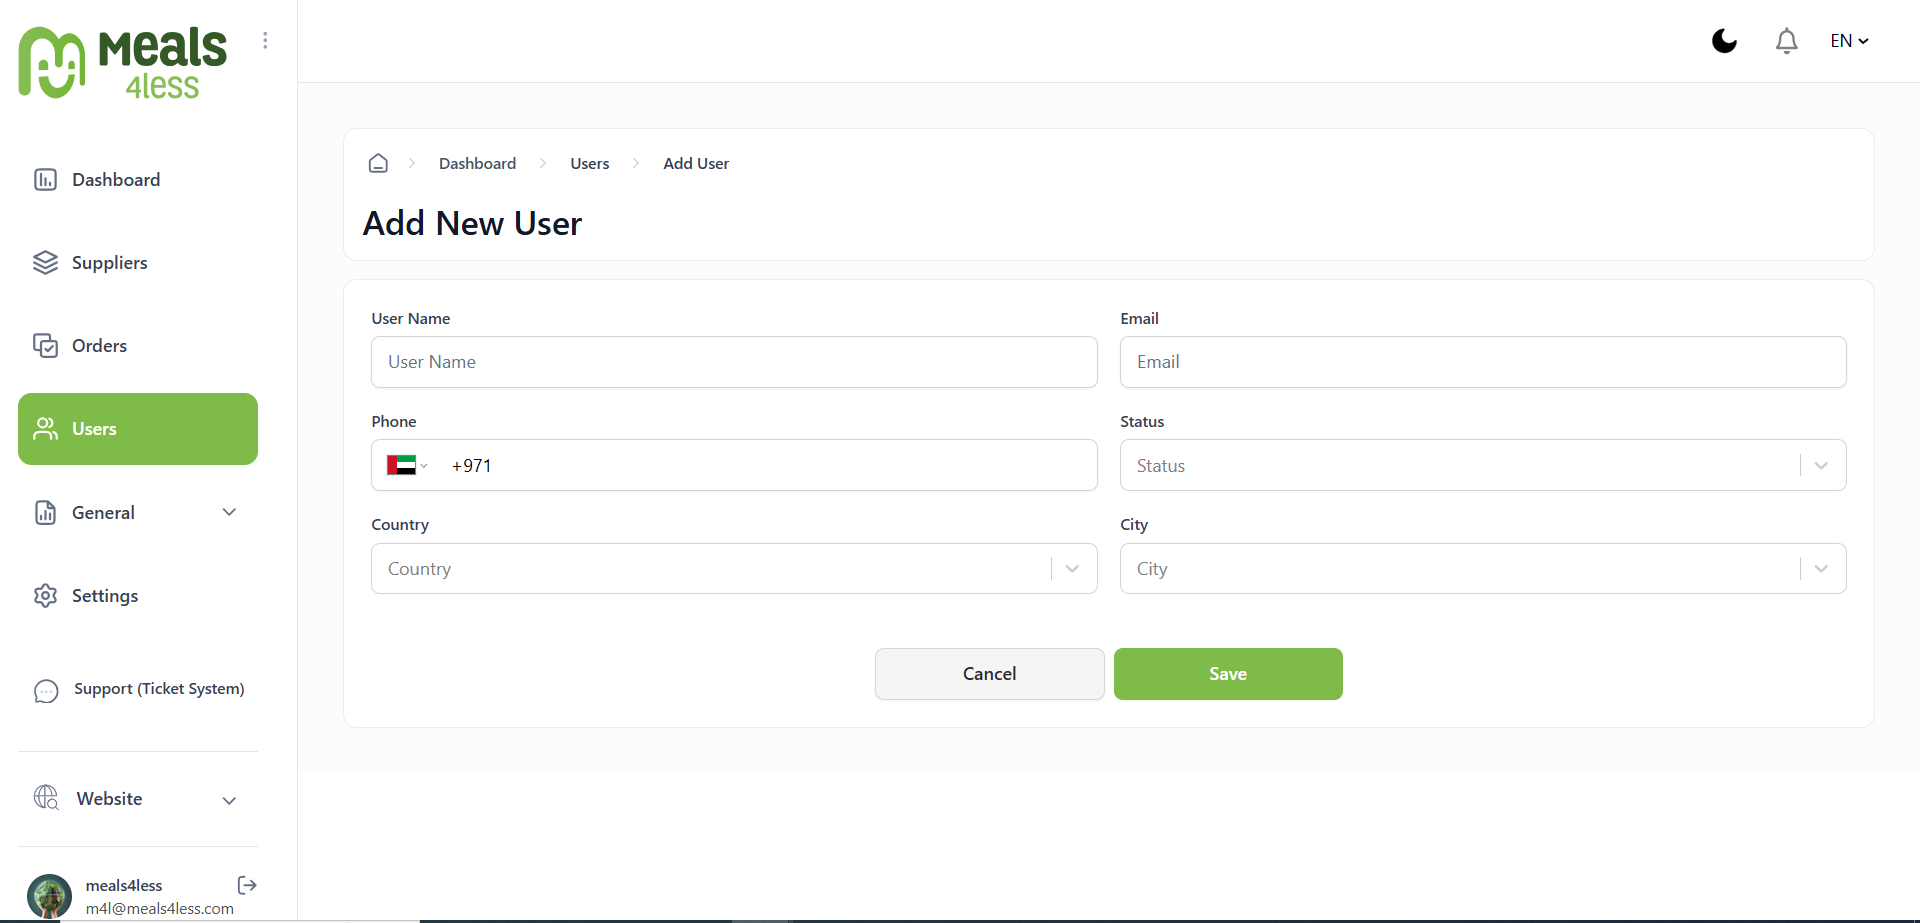
Add new user
The admin can add a new user by entering their basic information,
which includes the name, phone number, email, status, country, and city.
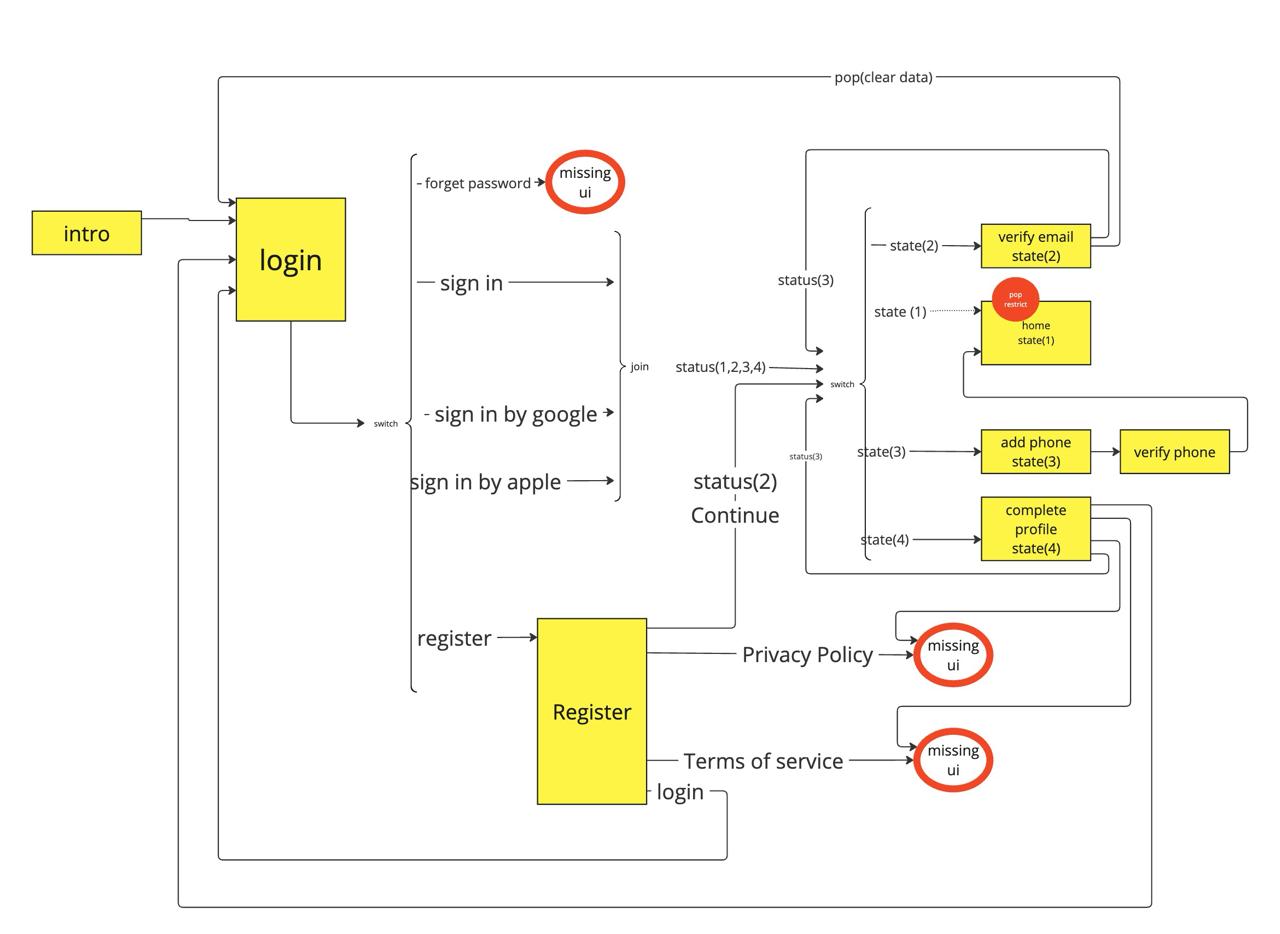
There are several statues for the user :
-
status 1 => active
-
status 0 => disactive
-
status 2 => verify email
-
status 3 => verify phone
-
status 4 => complete register page
General
The General menu contains several pages, including Reports, Admins, Countries, Cities, Languages, and Currencies.
-
Reports: show the reports and filter them by
time and date and other filter options.
-
Admins: determine the role of the admin
weather to be writer, manager or admin and add new admin.
-
Countries: show the countries information
such as flag, name, status, add country, and options to enable
status or disable it and delete countries.
-
Cities: show the cities information such as
name, status, add city and options to enable status or disable
it and delete cities.
-
Languages: show the languages information
such as flag, status, and options to enable status or disable
it and delete countries.
-
Currencies: show the currencies information
such as name, country name, shortcut symbol, status, add
currency and options to enable status or disable it and delete
currencies.
Settings
The settings in the admin page are divided into several sections, such as General Settings, Article Settings, Payment Settings, FAQs, Pages, and Notifications.
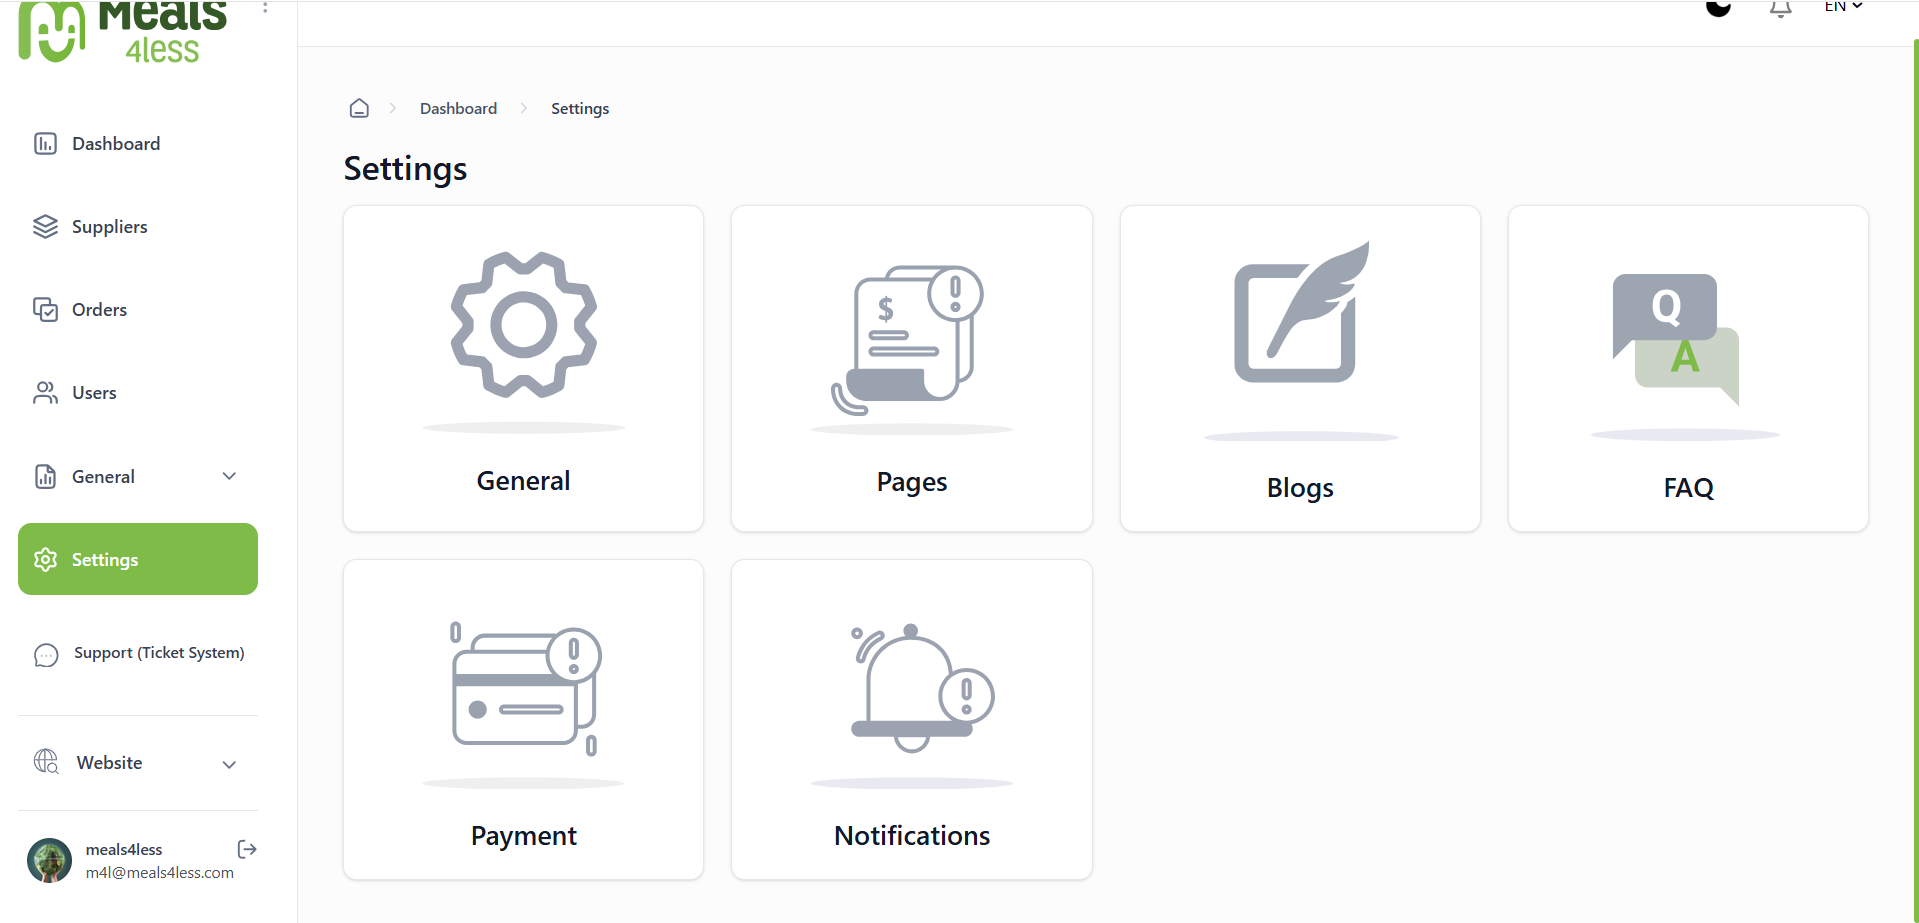
-
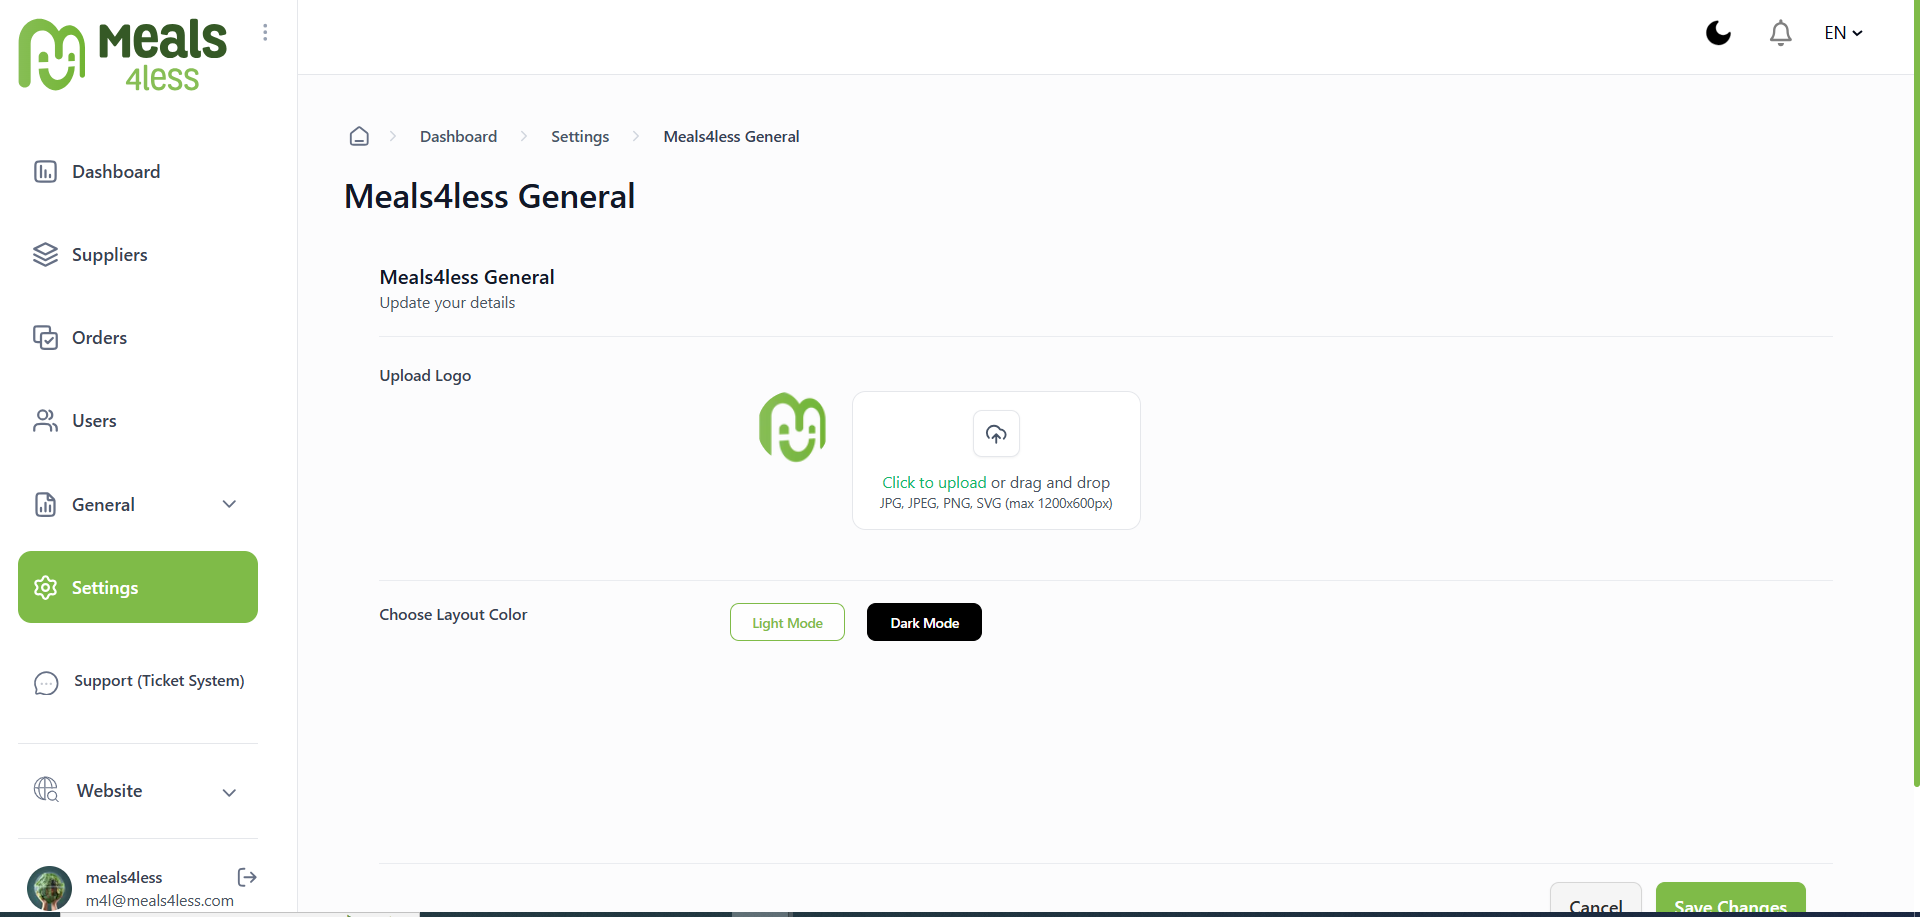
General : It includes setting a logo for the admin panel and controlling the layout color, whether dark mode or light mode.
-
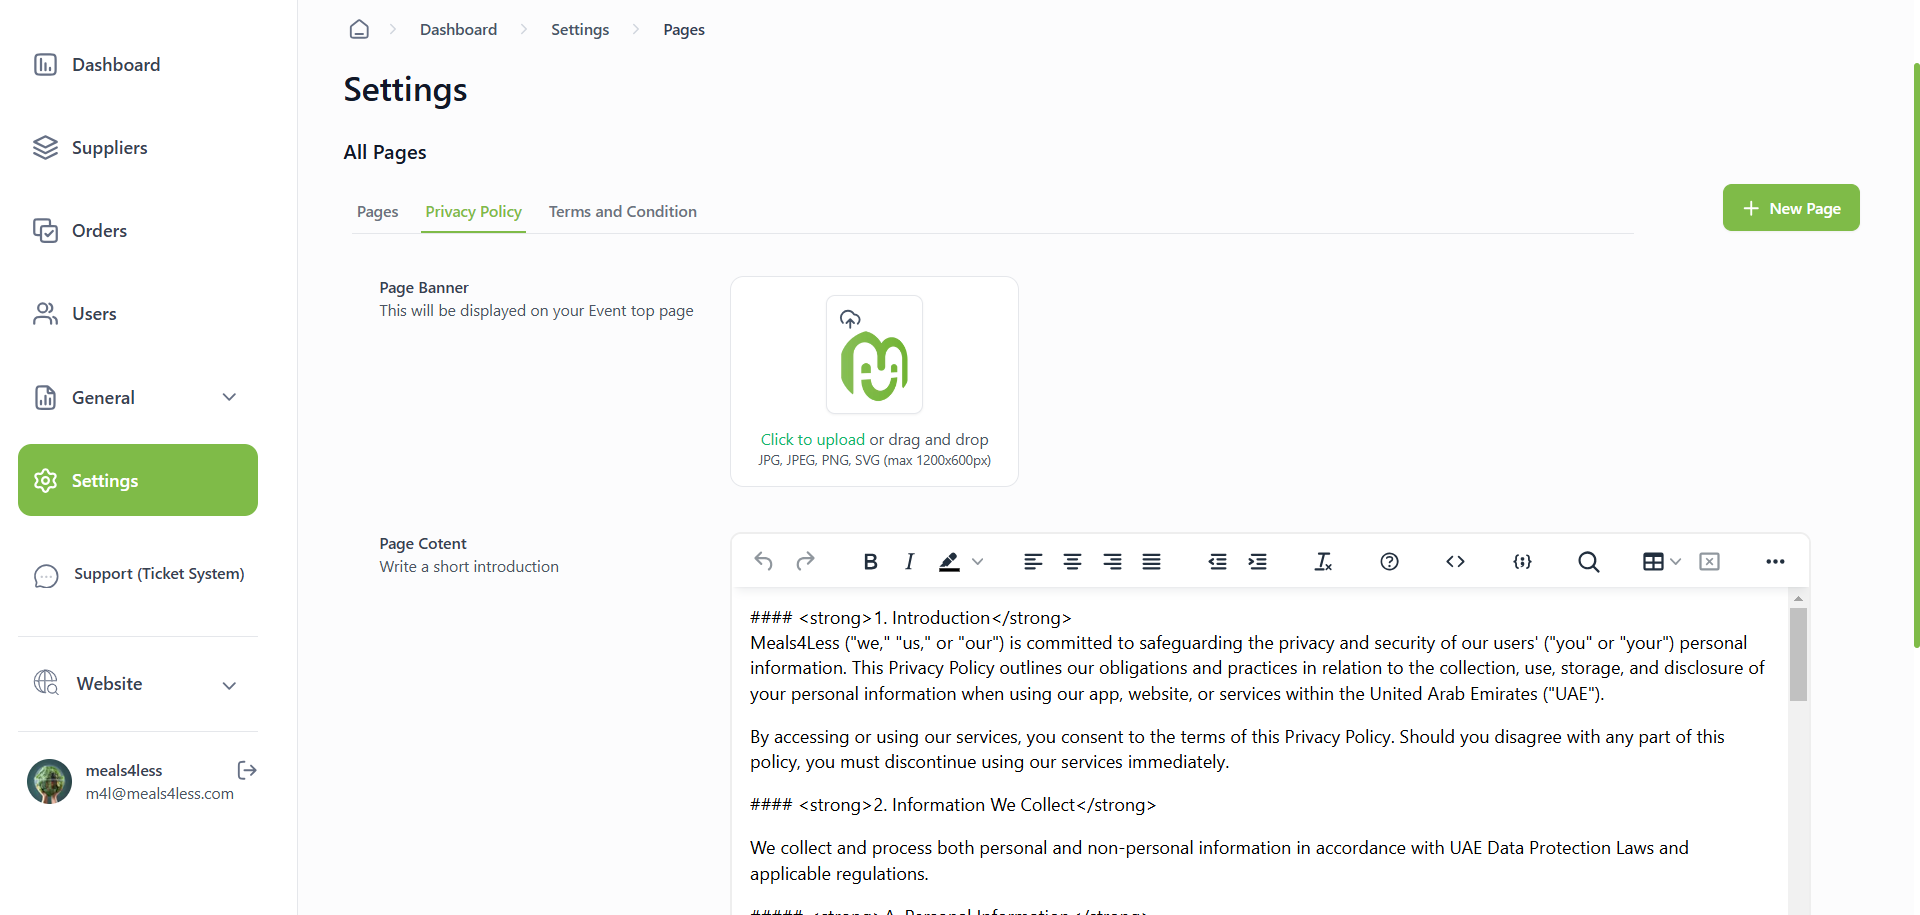
pages : It displays the pages created by the admin, in addition to adding content for the Terms and Conditions page and the Privacy Policy page.
-
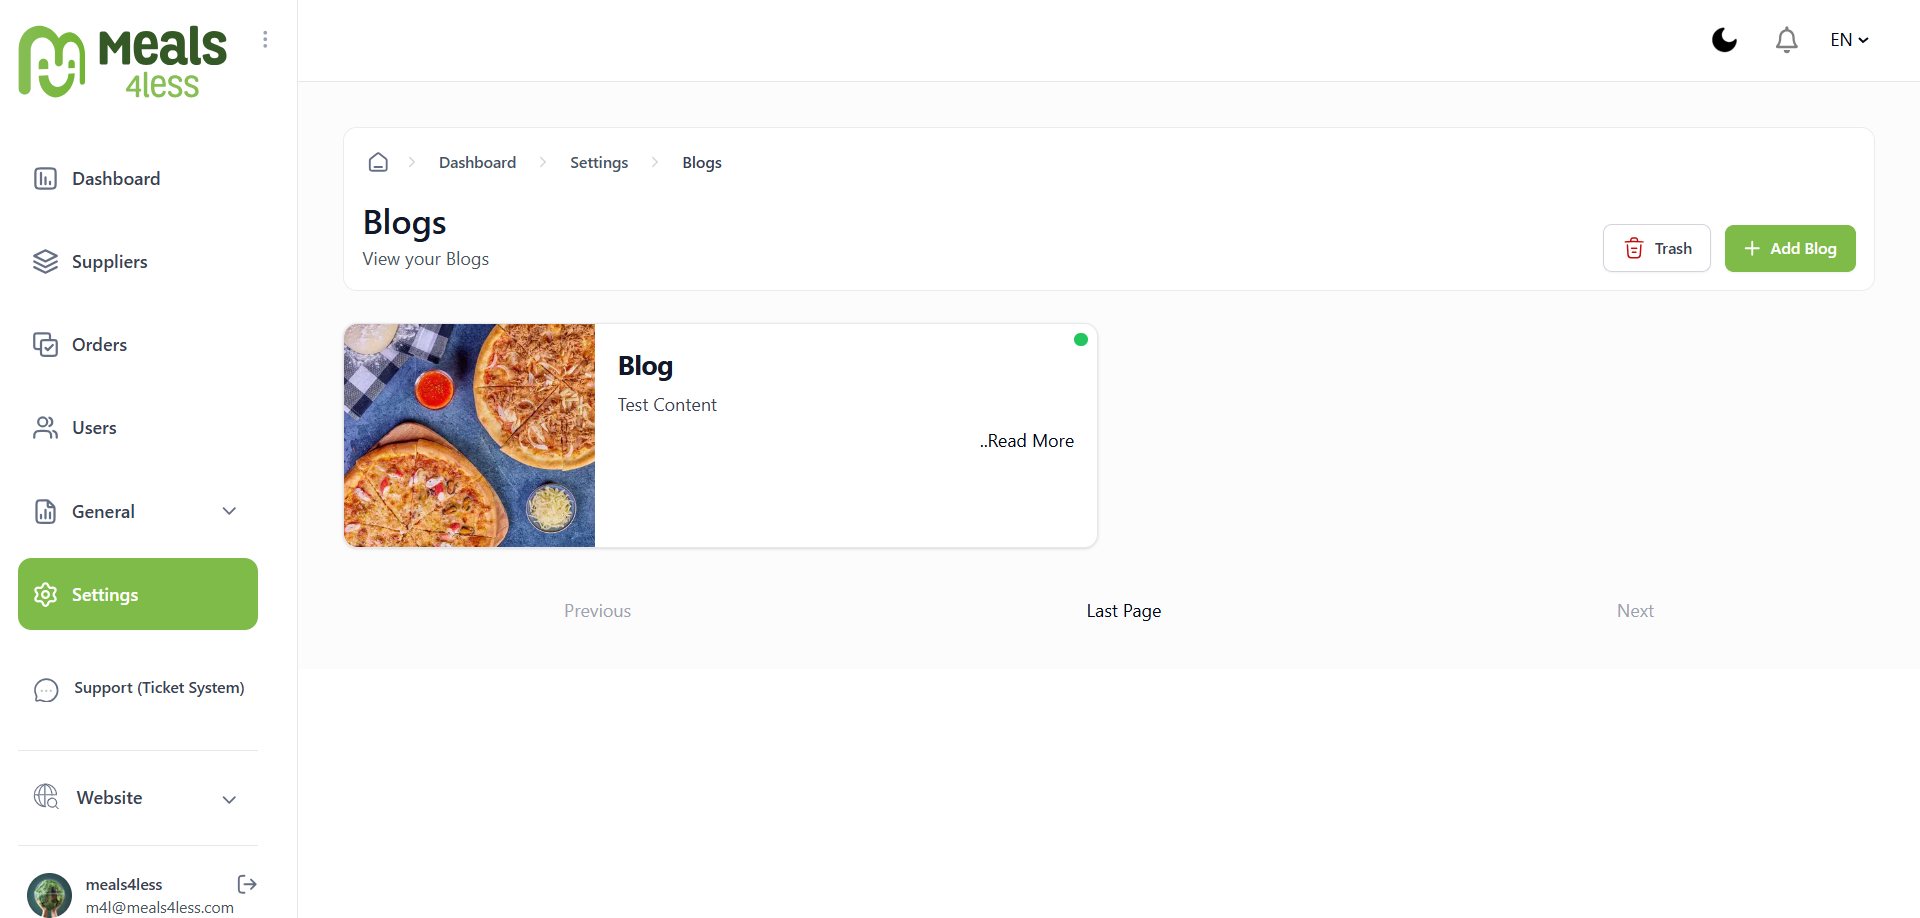
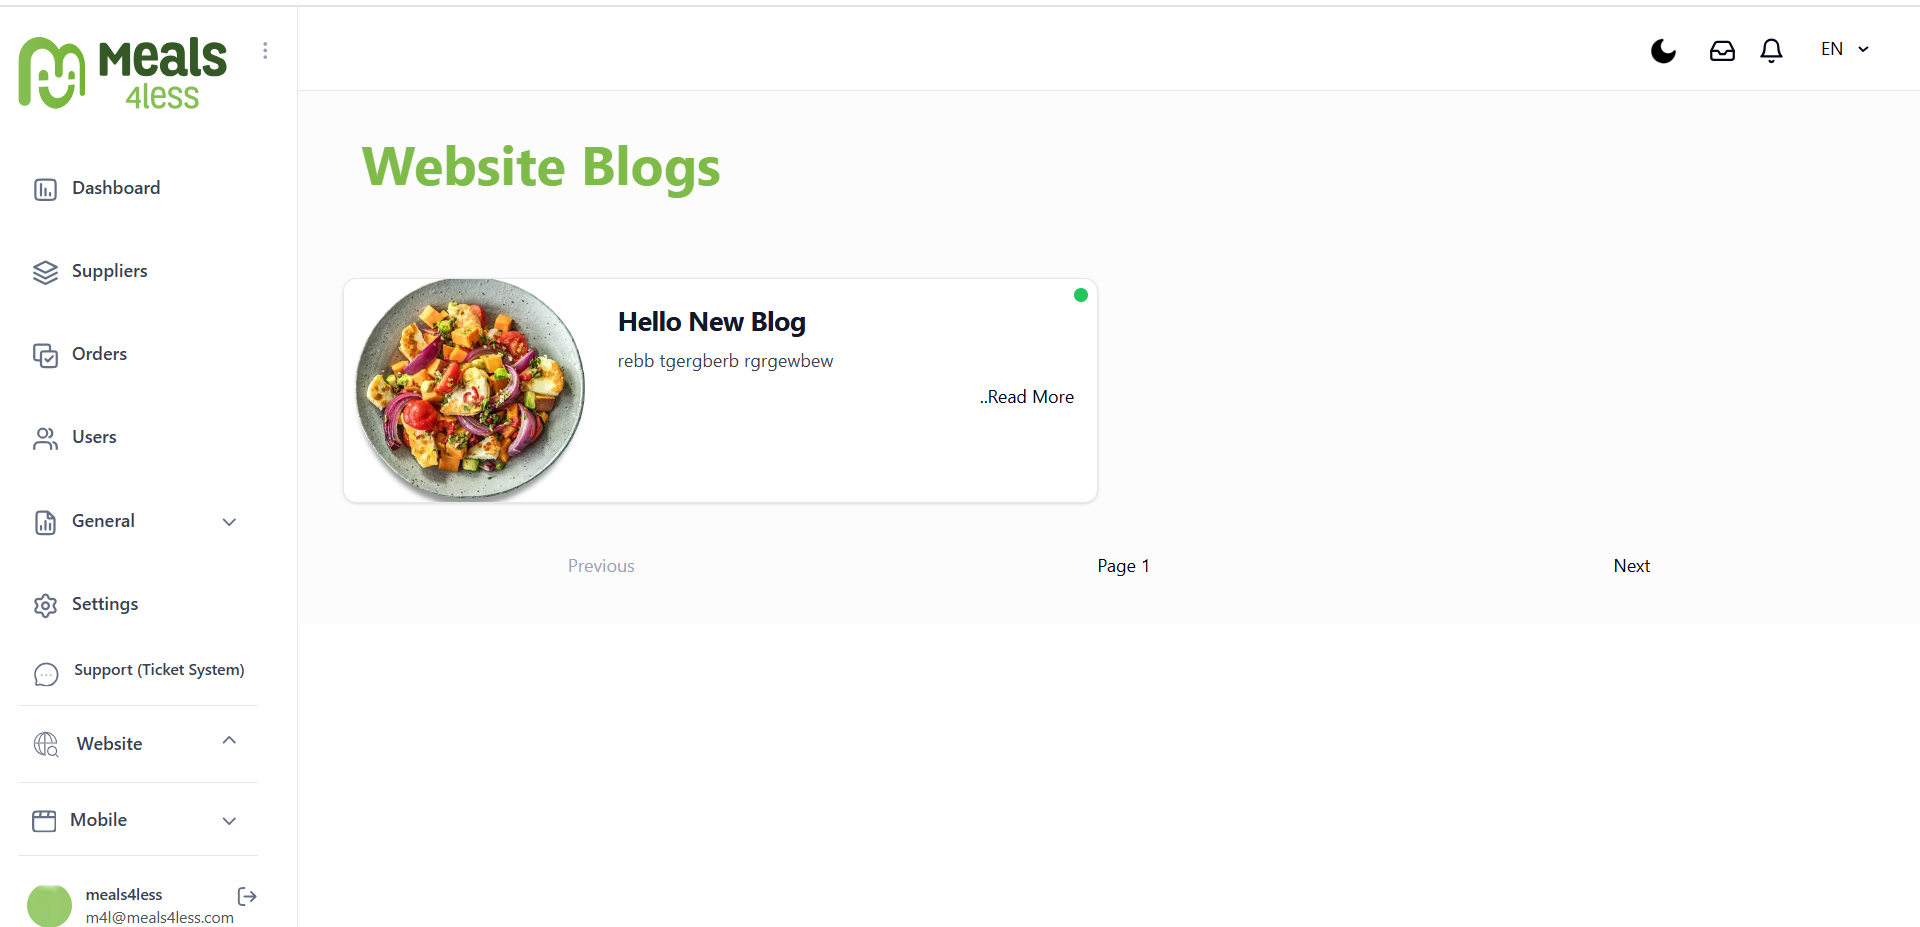
blogs : It displays the added articles, allows adding a new article, and deleting articles by moving them to the trash.
-
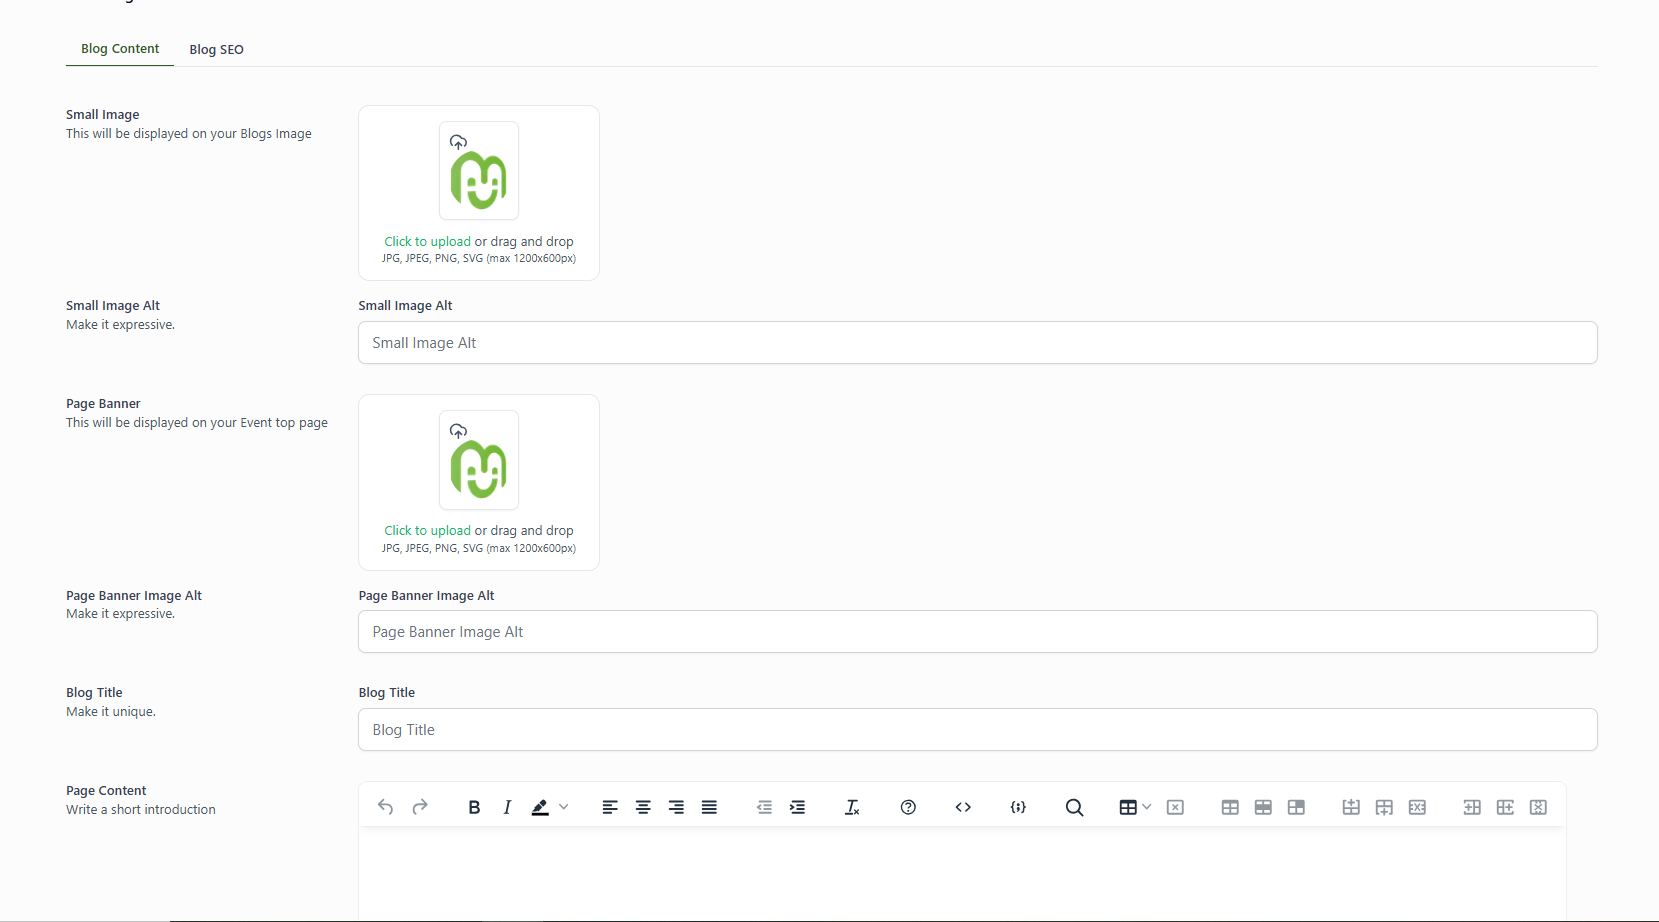
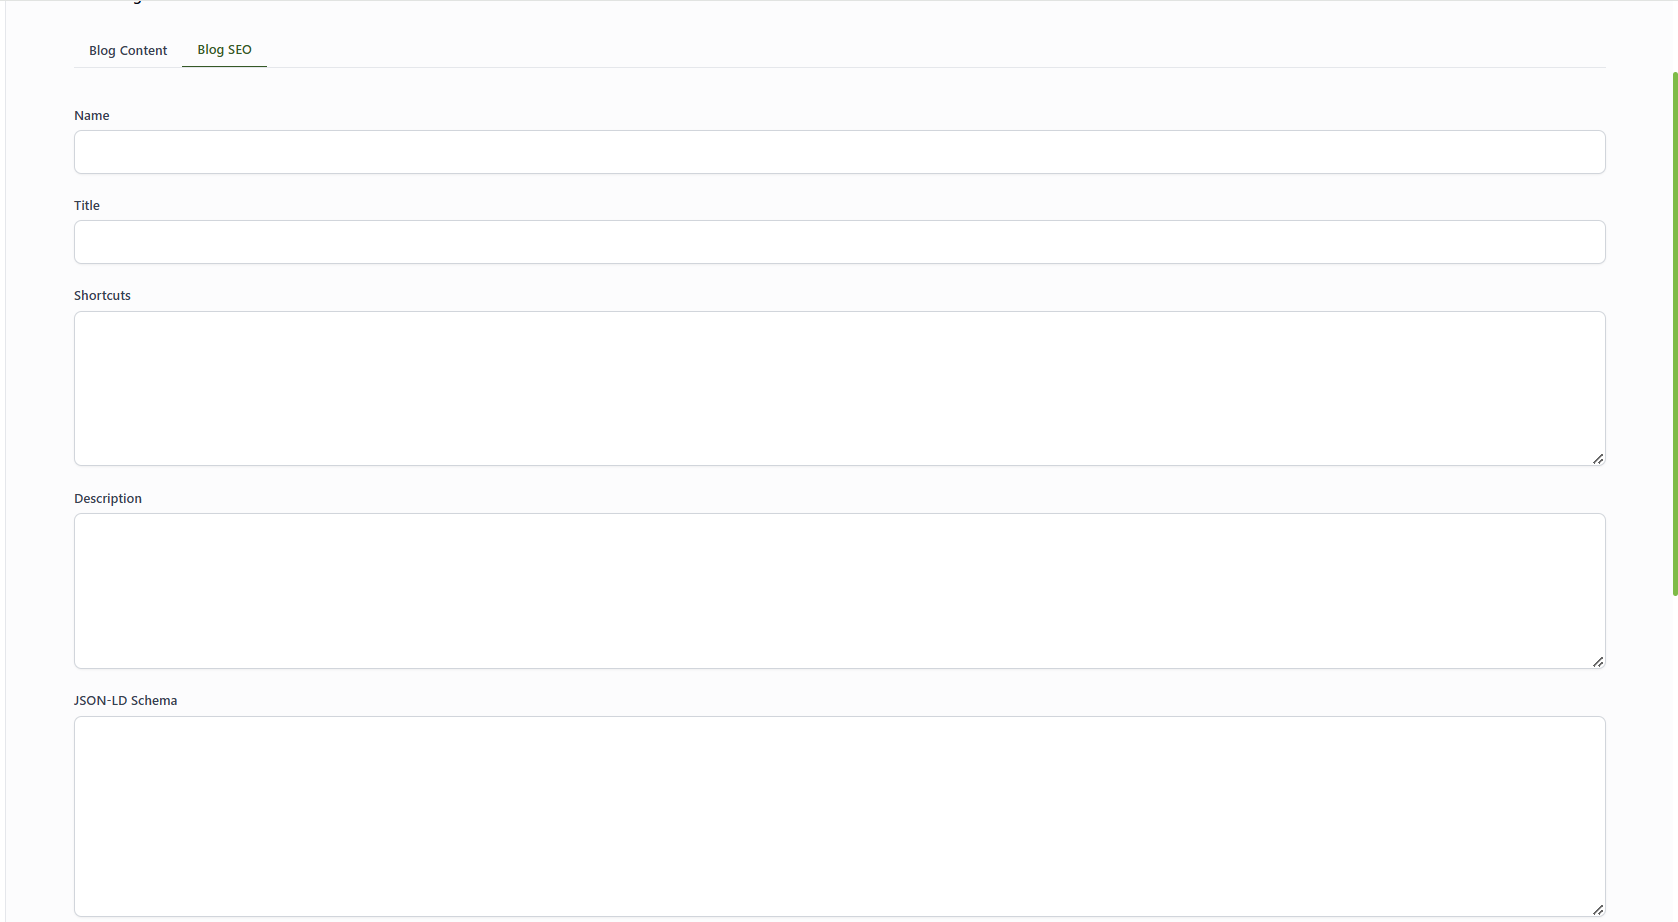
add blogs : From the Blog addition, you can add a new blog, including its title, images, and content. You can also use the Blog SEO tab to add the SEO details for the article.
-
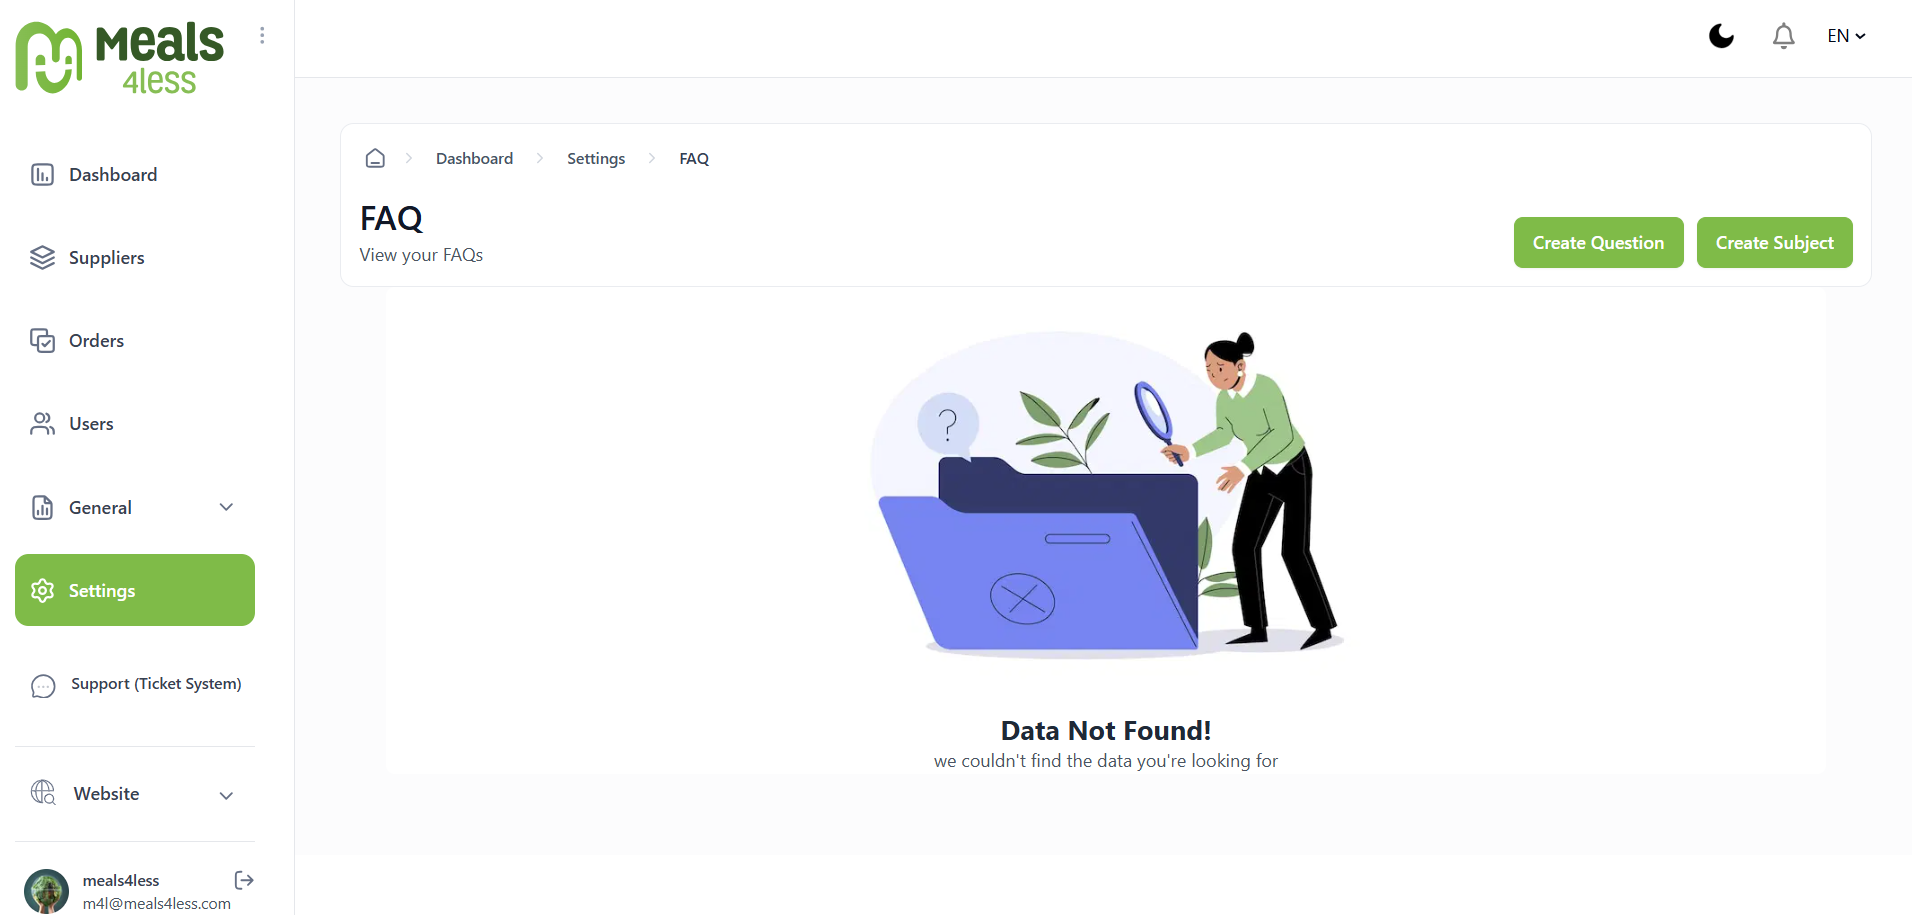
faq : It allows displaying frequently asked questions, adding a new question, and adding topics for the questions.
-
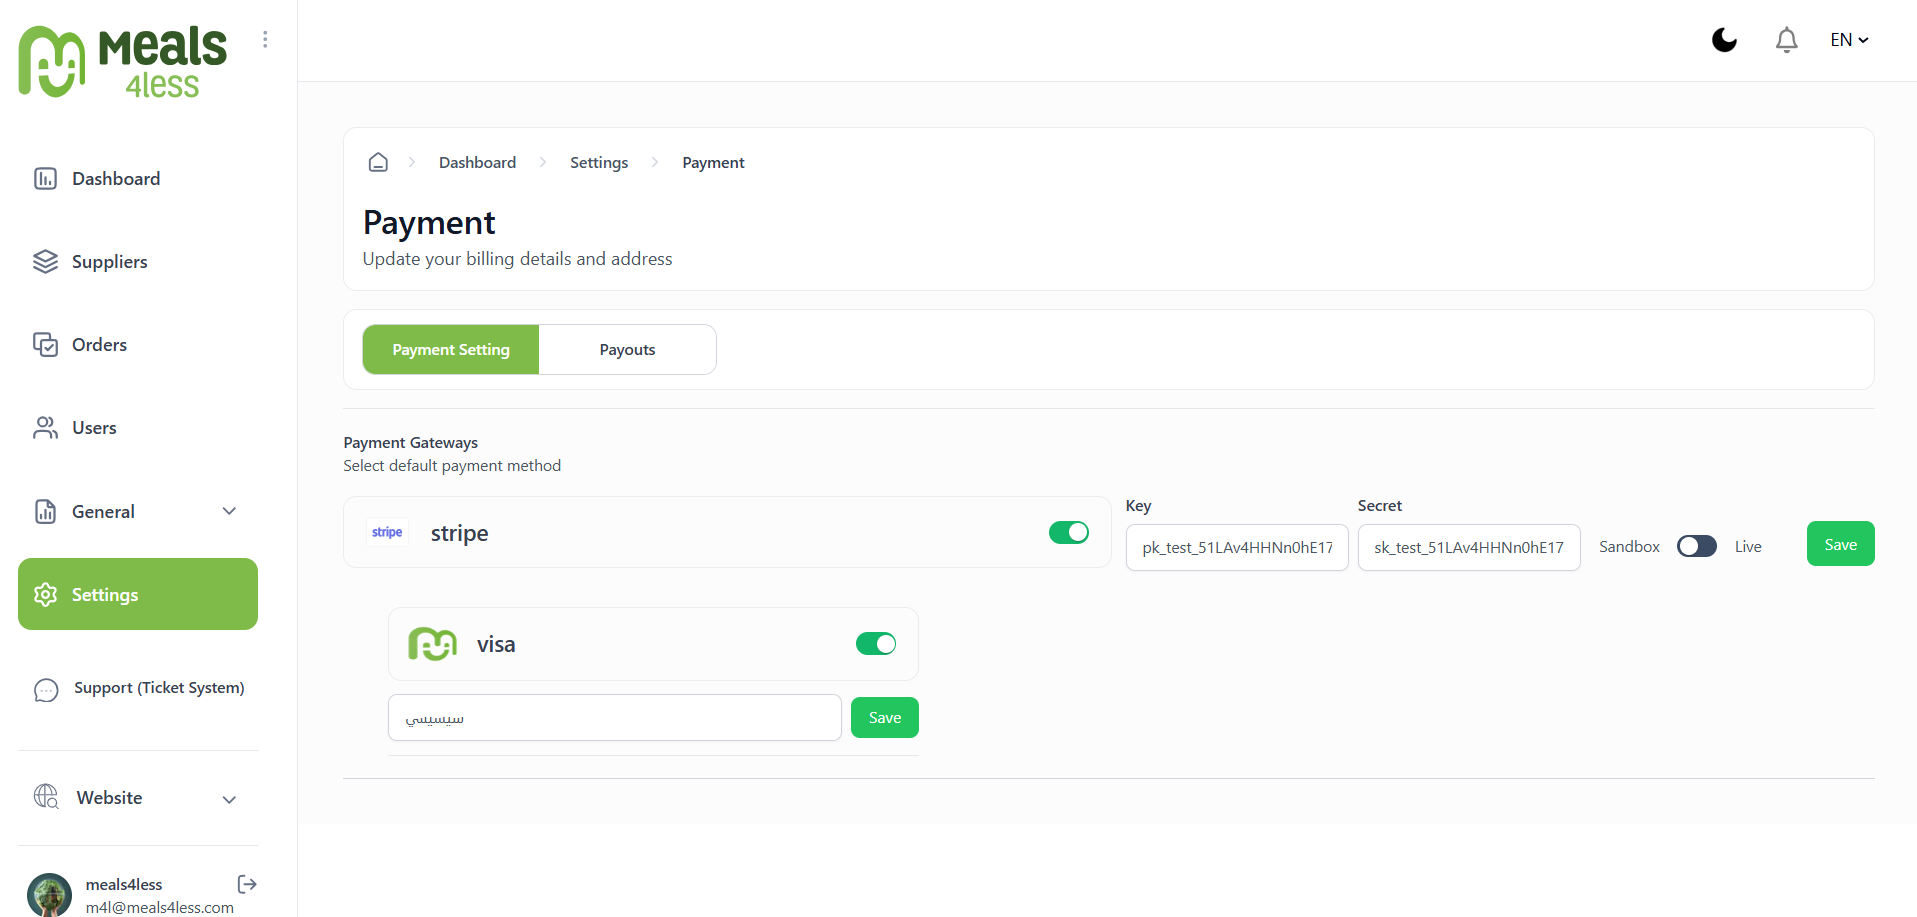
payment : Managing payment gateways, displaying available Visa options, and payment details.
-
notifications : It allows the admin to create notifications, enter their title, content, and link, and schedule the notification.
Website
The Website tab displays SEO settings, which include:
- active blogs : It contains the active articles that appear on the website, allowing you to change their status to inactive, edit them, and display them within the admin panel.
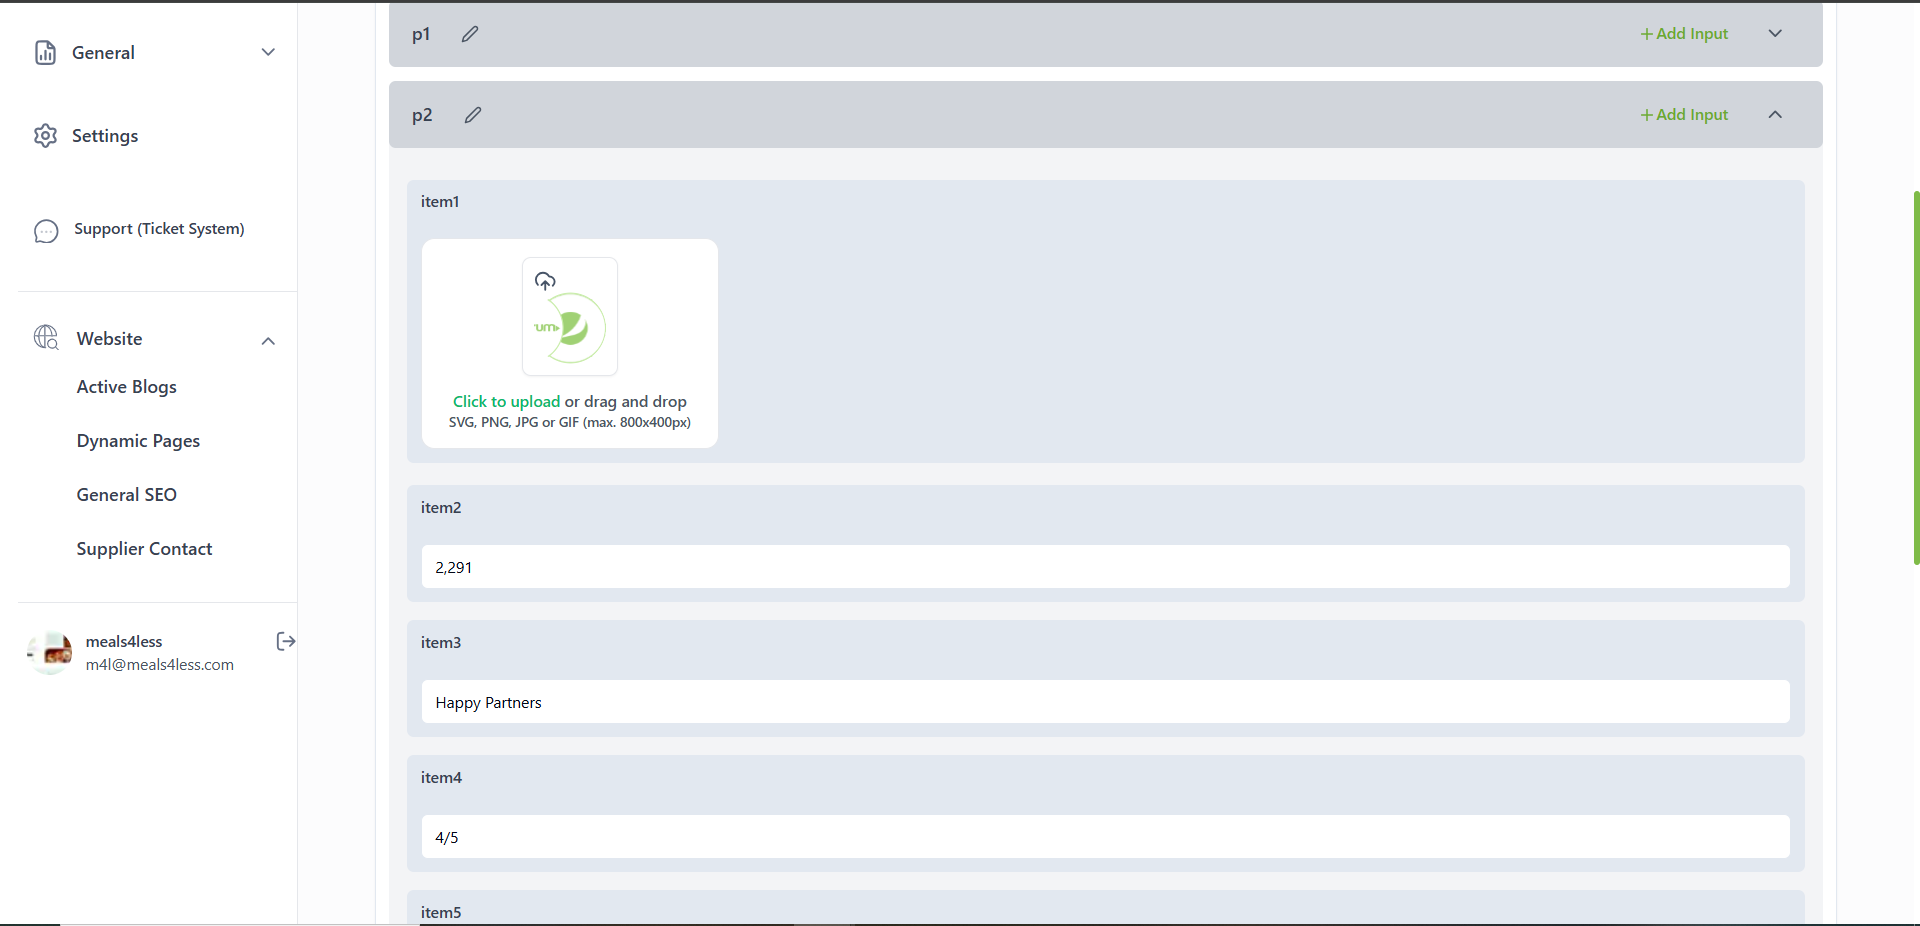
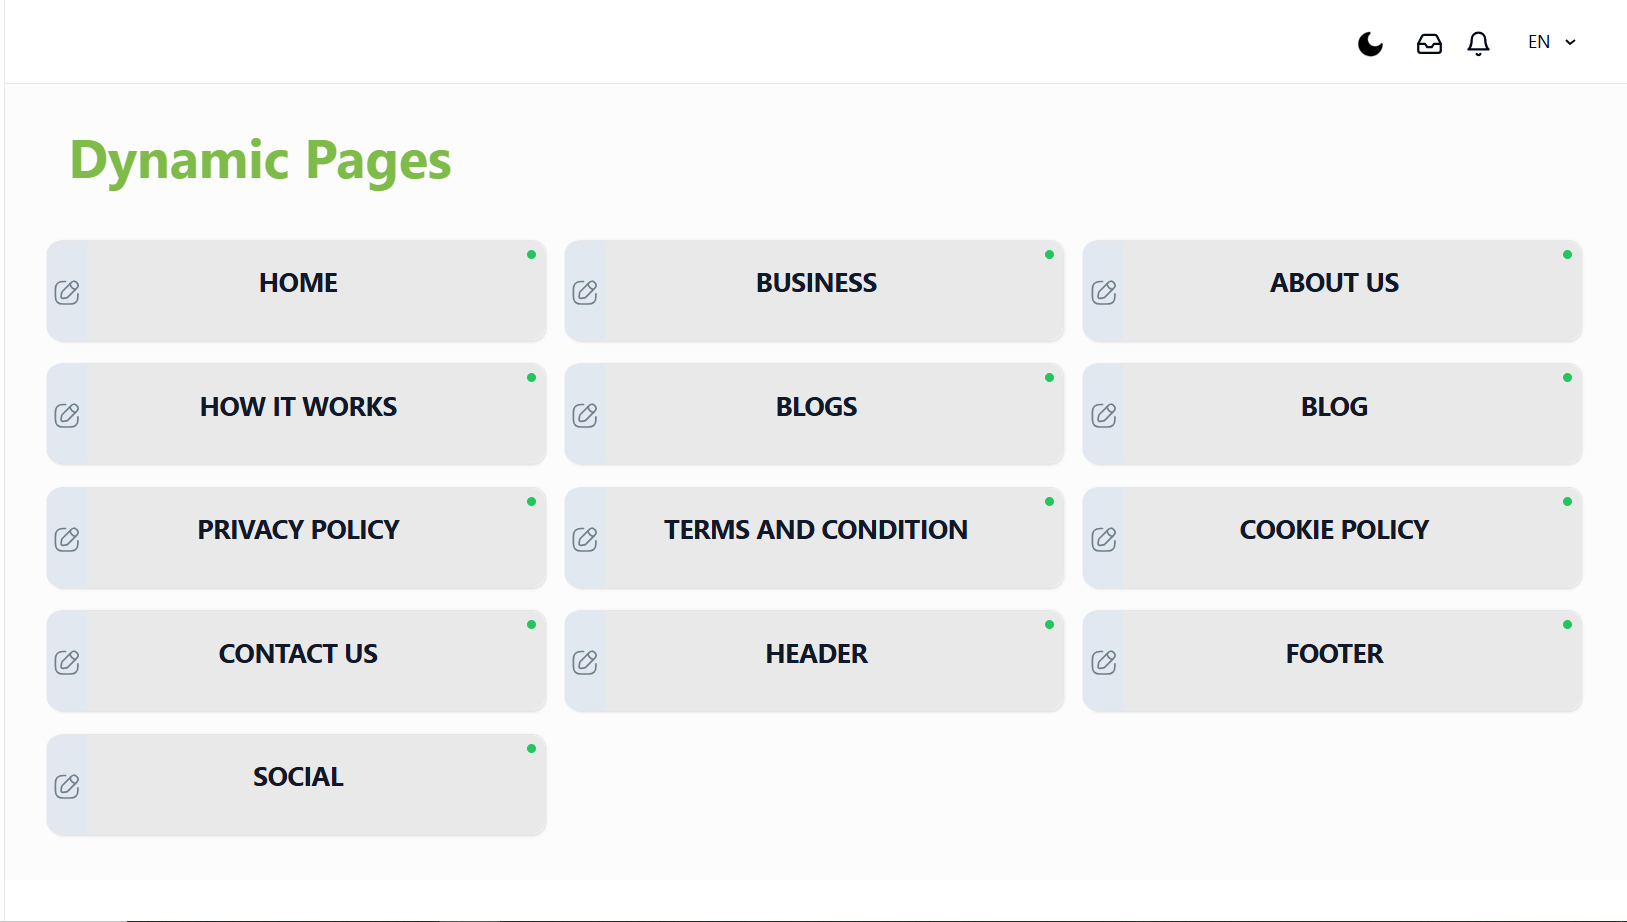
- dynamic pages : Through it, you can edit the content of the pages and their SEO.
For more click here
- general seo Here, you will find all the general SEO website for the website.
suppliers contact : Here, you will find all the general SEO website for the website.
mobile
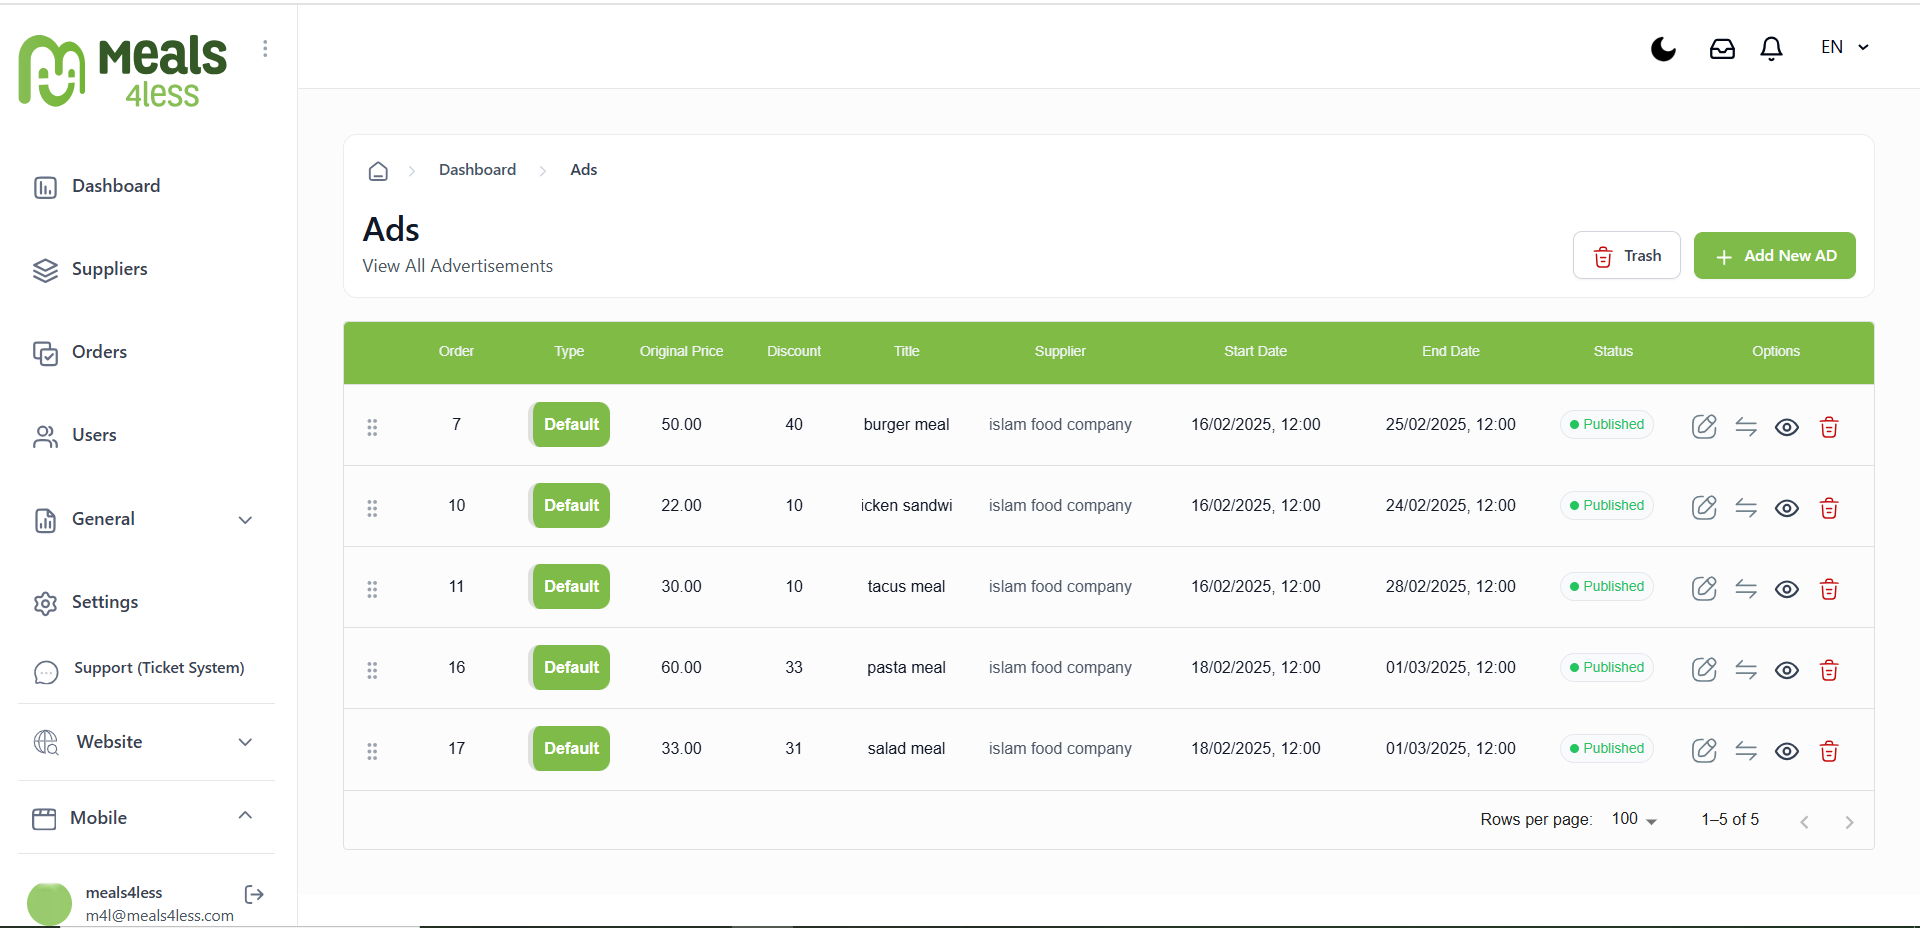
Ads
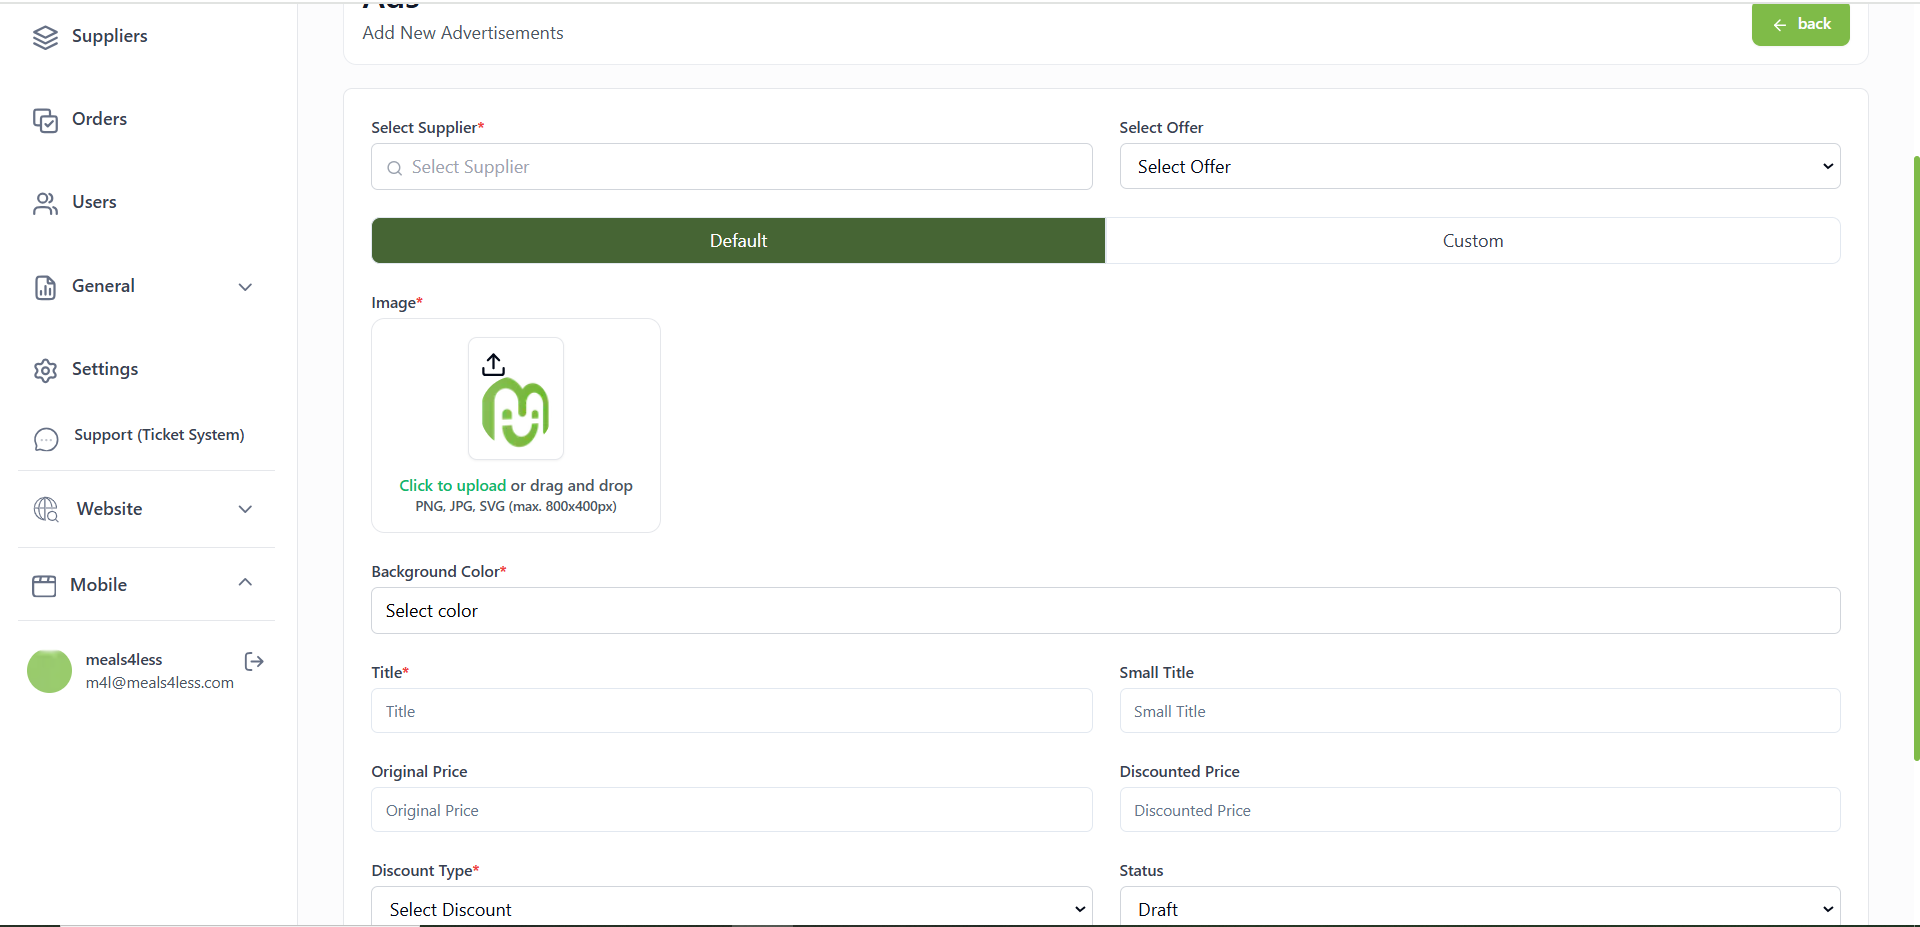
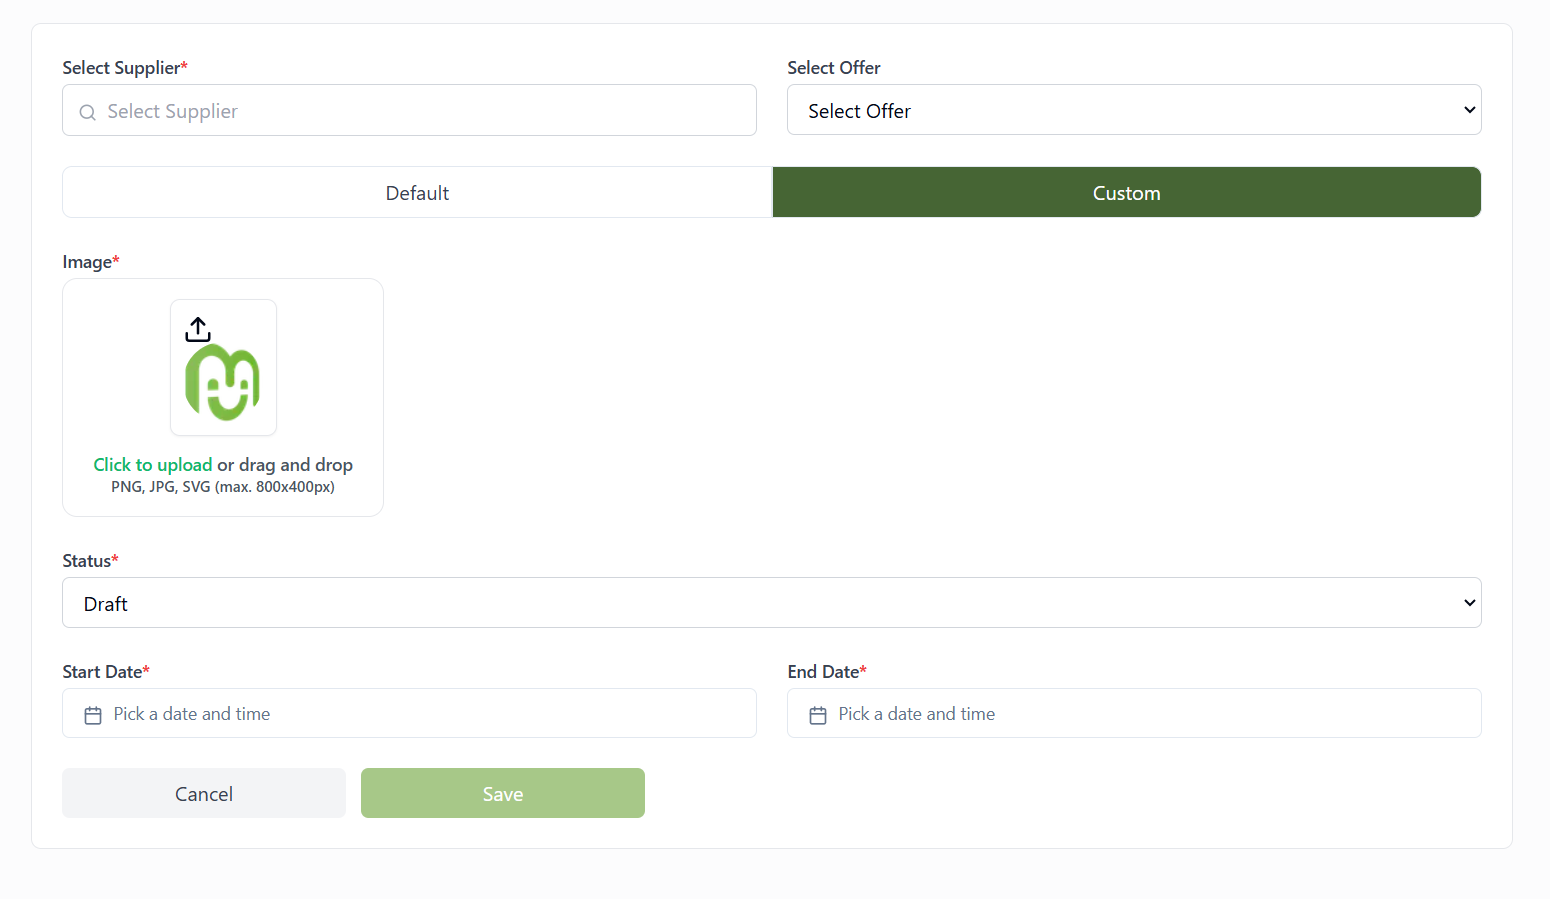
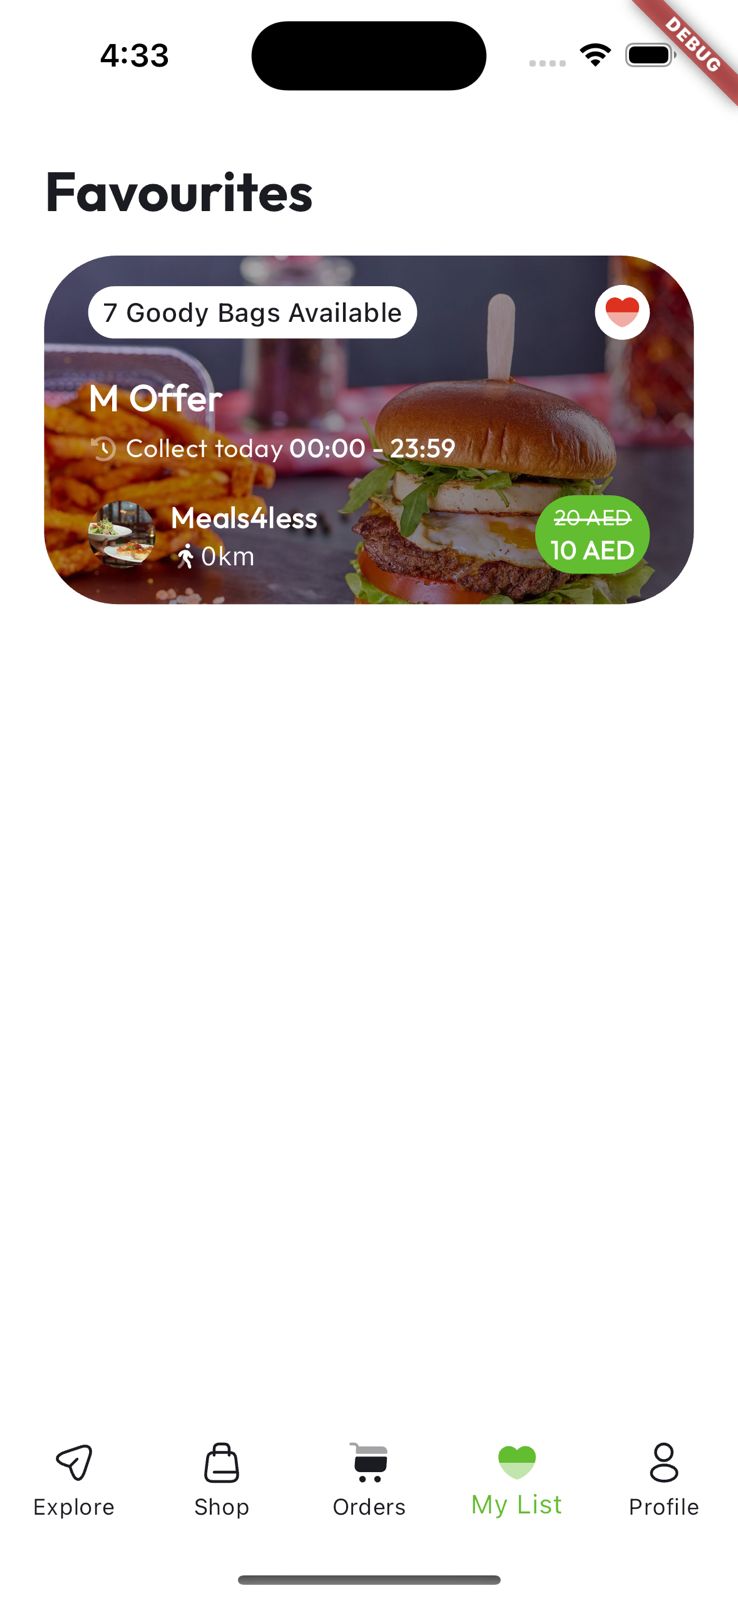
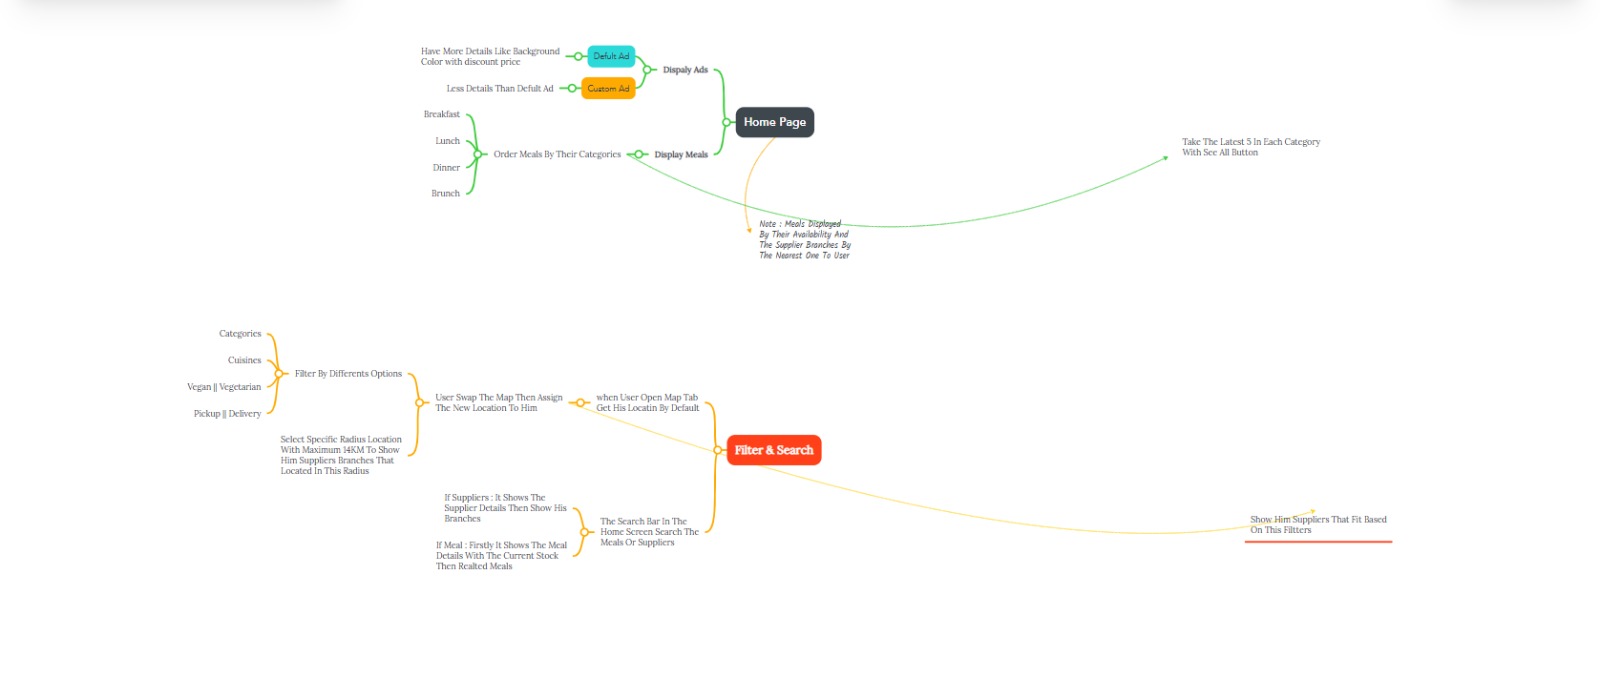
It allows you to add advertisement banners that appear in the mobile app.
Through it, you can add an image, set a background color, and assign a specific meal to each ad.
note :
There are two types of ads: Default and Custom.
The Default ad includes a background color, a title, a subtitle, the original price, and the discounted price.
The Custom ad includes only an image.
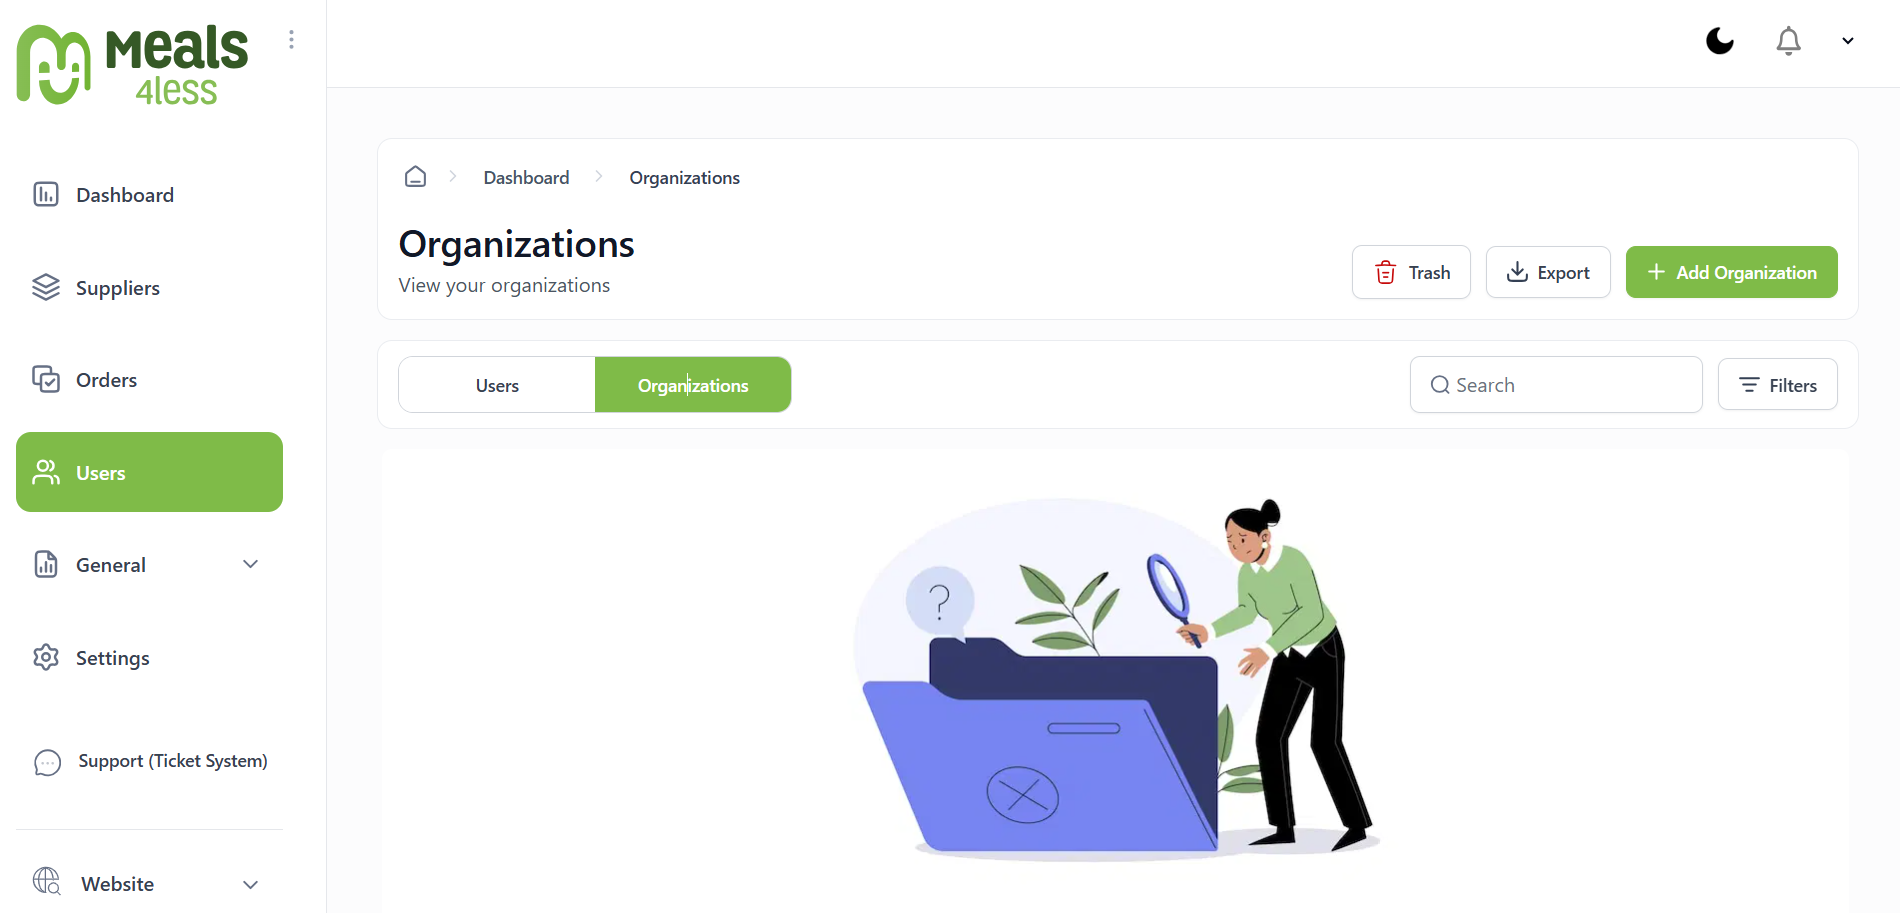
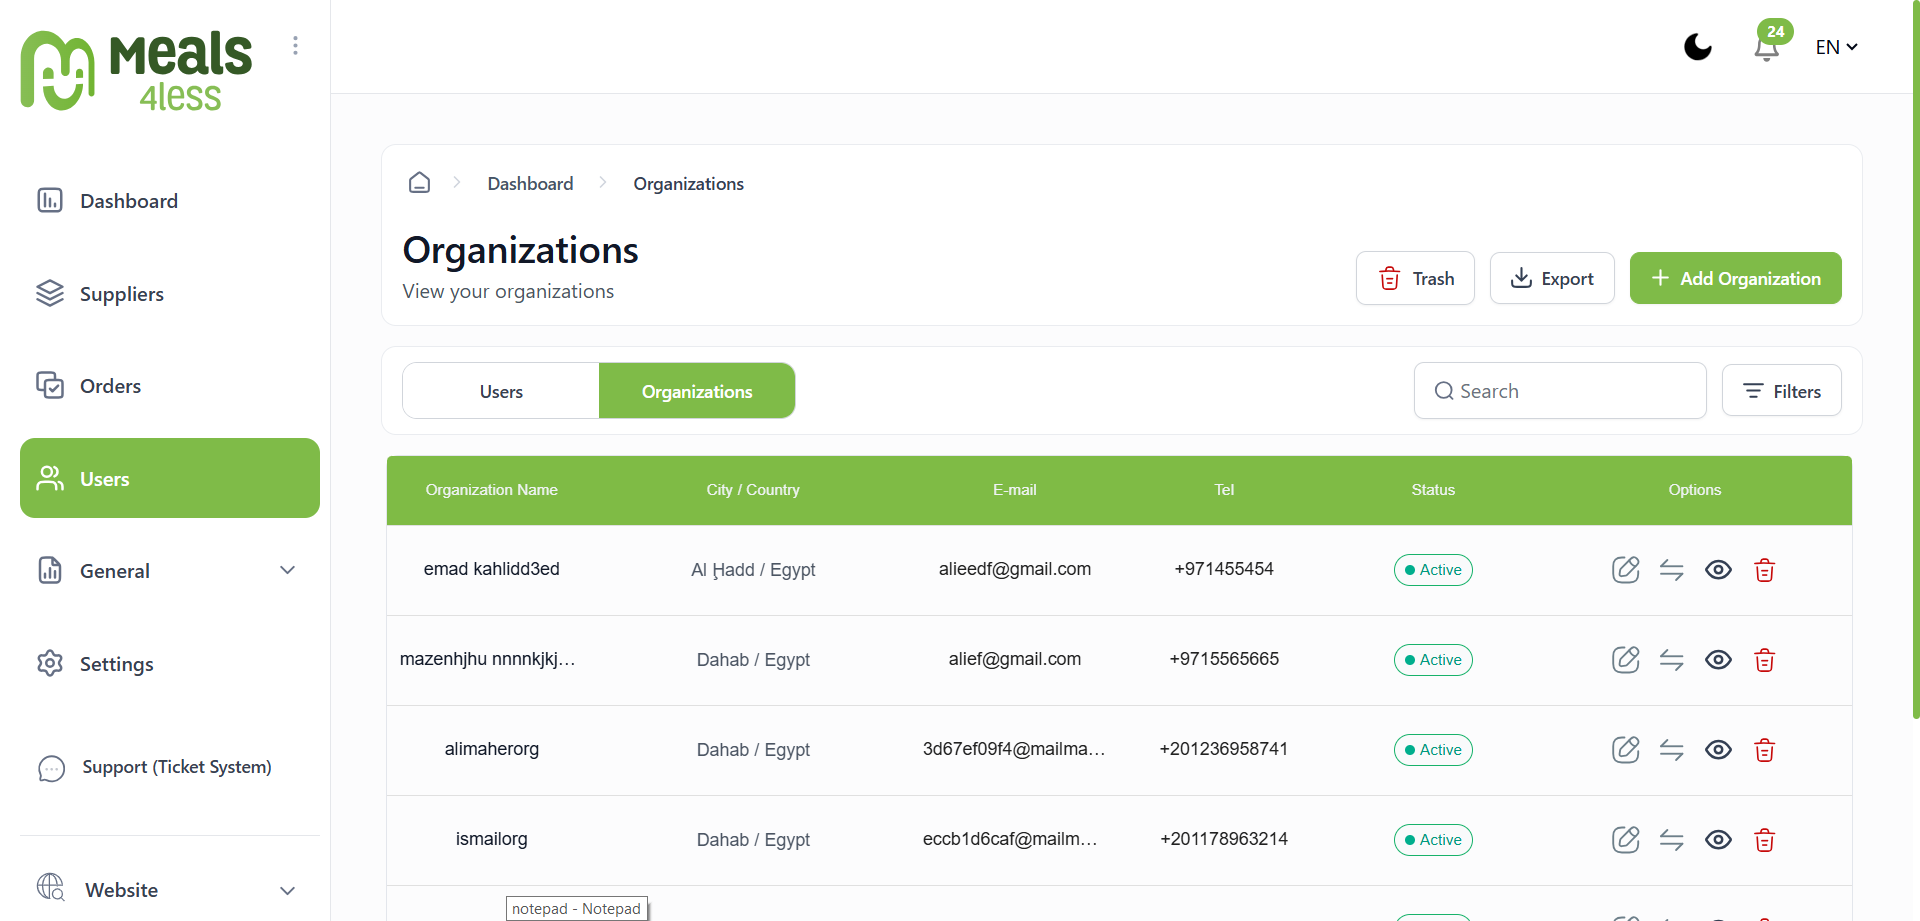
organizations list
In the user page of the admin panel,
there is a tab to display organizations registered in the system,
and the following actions can be performed:
-
Add a new organization.
-
View and review organization details.
-
Edit organization details through an edit form.
- Change the organization's status from active to inactive and vice versa.
-
Move the organization to the trash bin.
-
Search for a specific organization using the search box.
-
Filter results by country, city, and status.
-
Export a file containing the data in CSV format.
Add New Organization
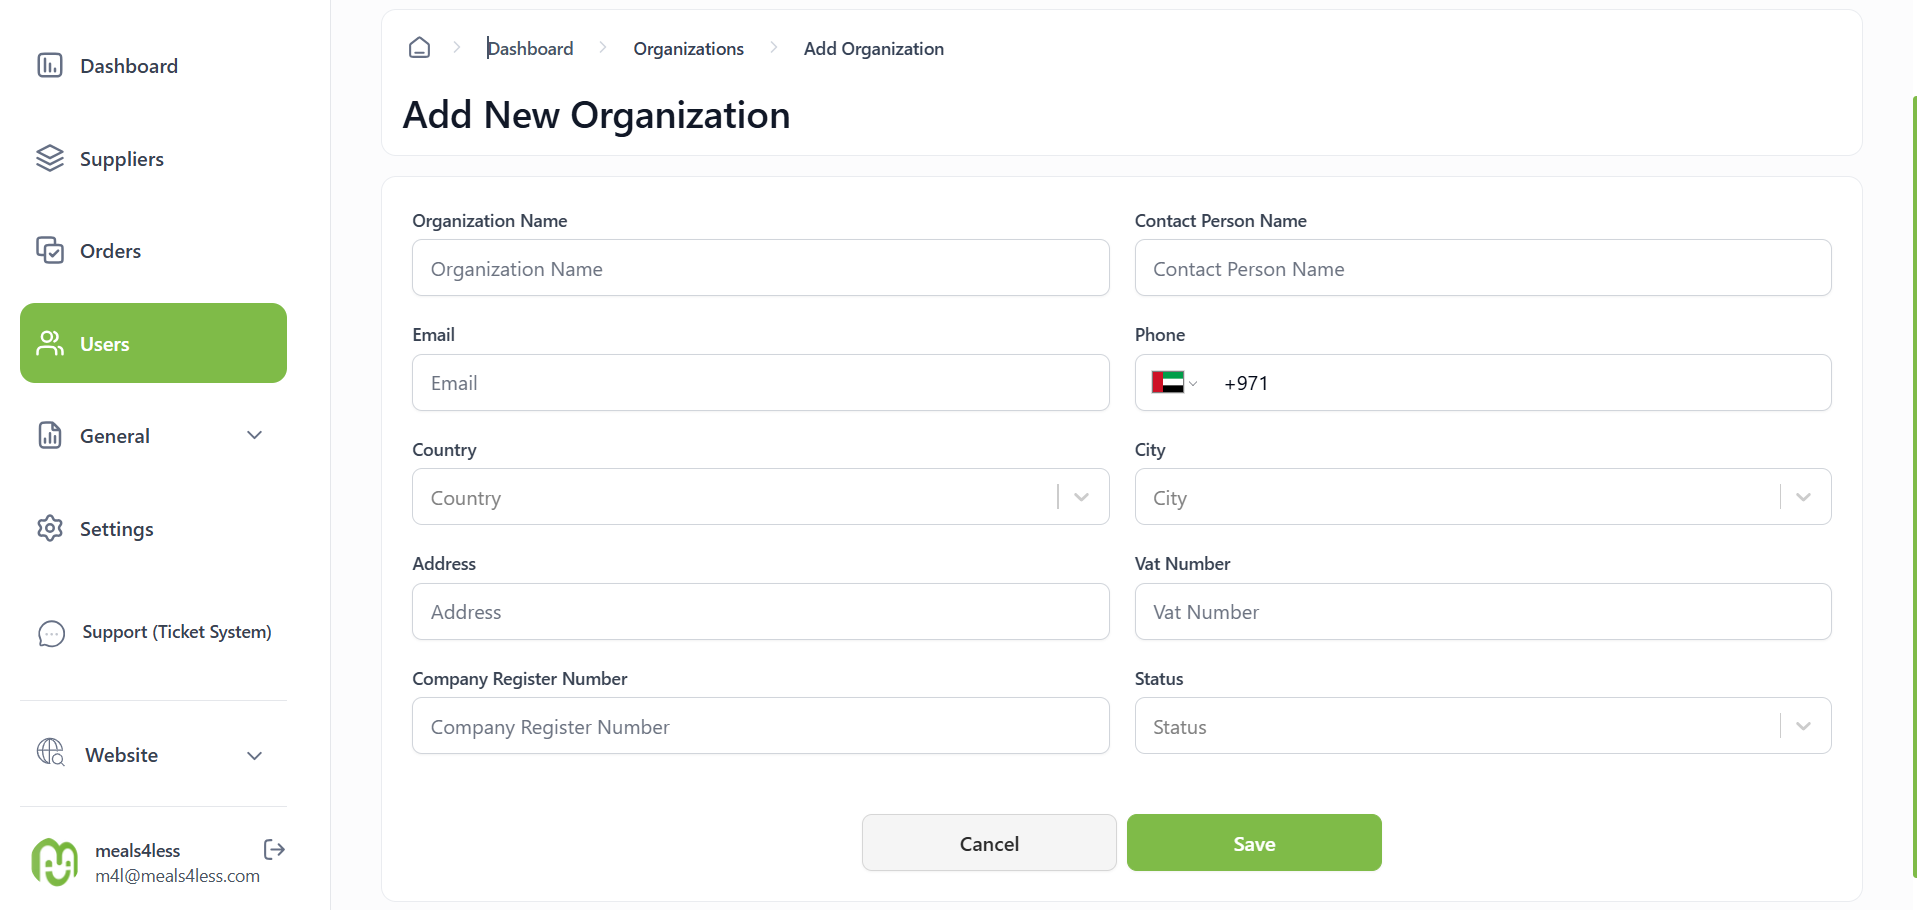
A new organization can be added through an "Add new Organization" form, where certain details are entered.
The data that needs to be entered includes:
Conclusion
The concept of the organization in the system was created so that the supplier can assign specific offers to organizations,
and these offers will be visible to all users within the organization.
Admin tools
It contains the main elements of the dashboard through which the supplier can input all their data, add offers,
and display calendar, including the available offers.
Here we go
Here, the supplier enters all their data and settings in seperate forms
-
Enter details about your business
-
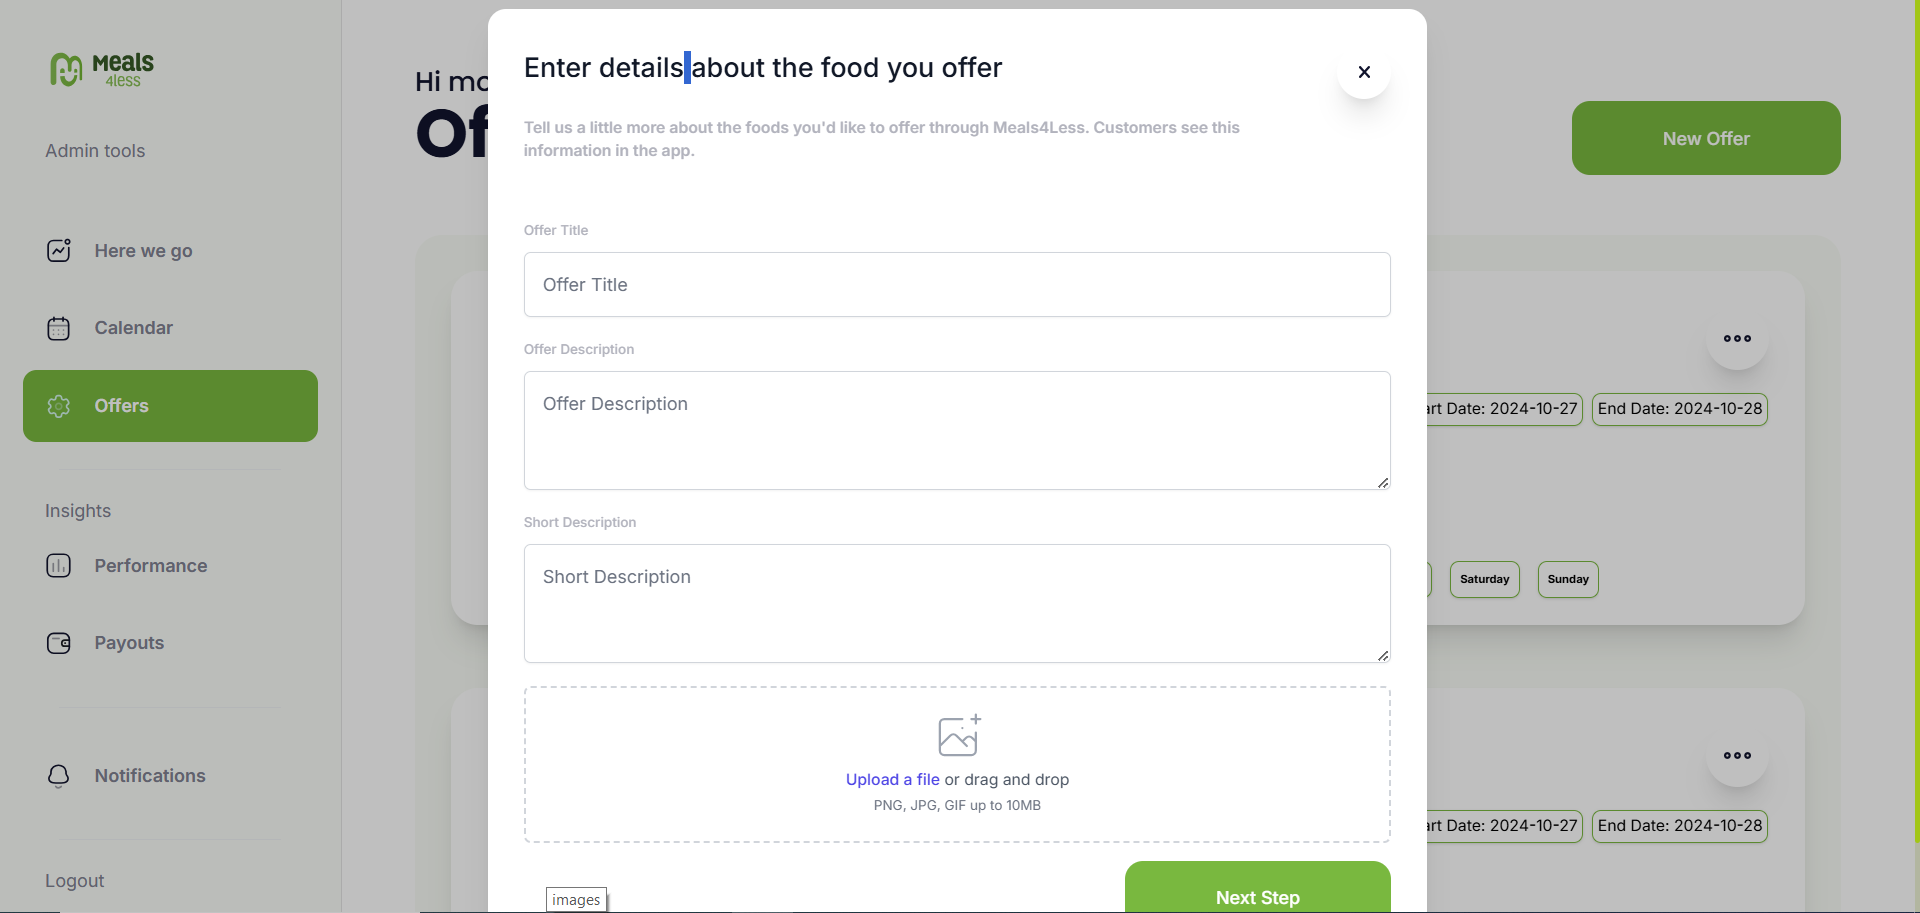
Enter details about the food you offer
-
Set up default settings
-
Confirm your bank and VAT information
calender
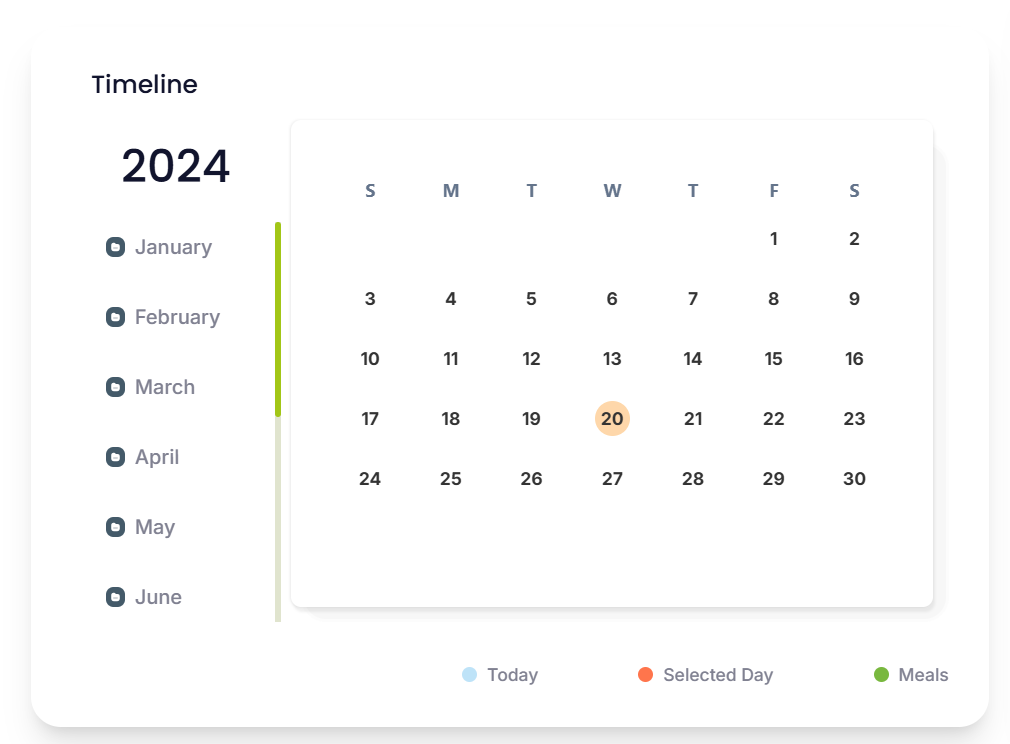
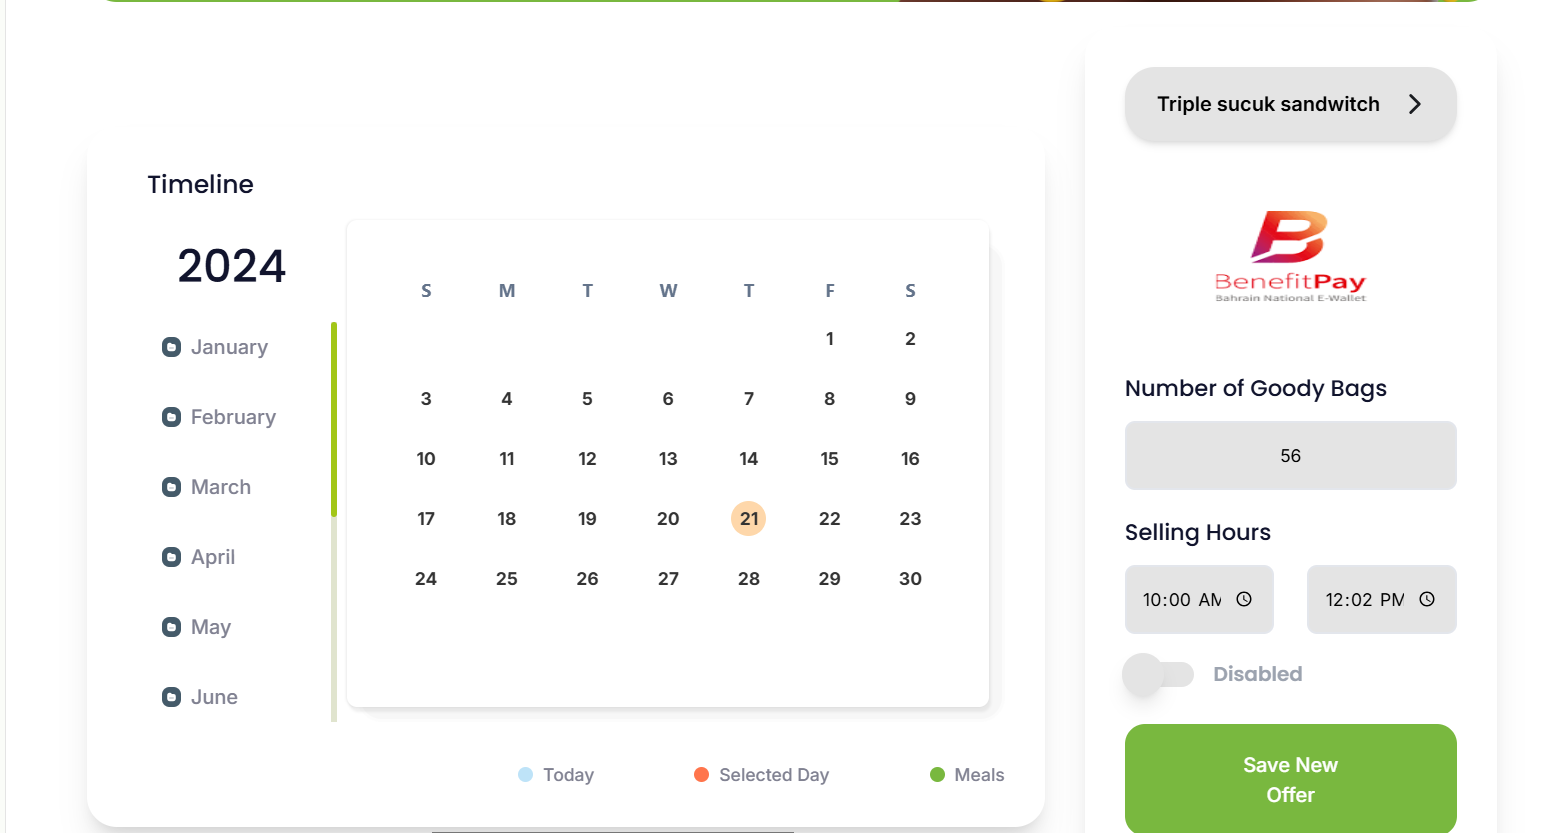
Here, the offers made by the supplier appear within the calendar,
showing the available days for the offer provided by the supplier.
The supplier can select a specific day and assign an offer from the available offers through a side form,
and they can also specify the time.
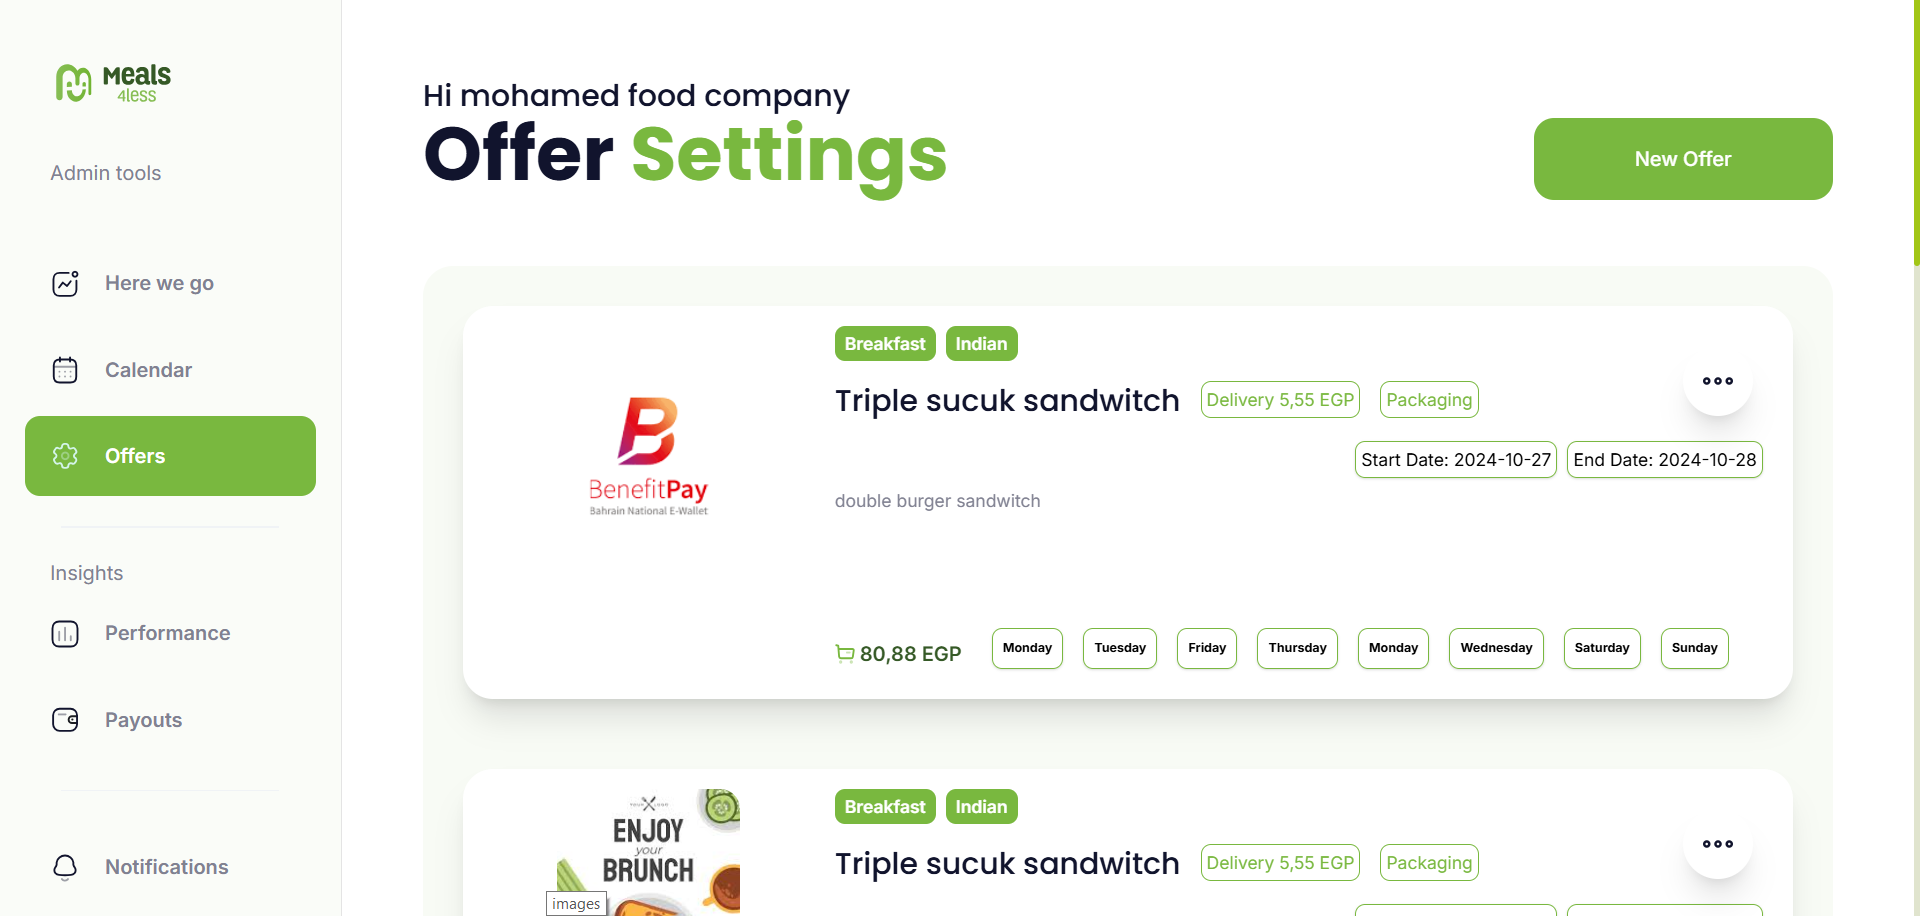
Offers
Here, available offers can be displayed, edited, and new offers can be added.
here you can select any offer and edit it
here you can add offer
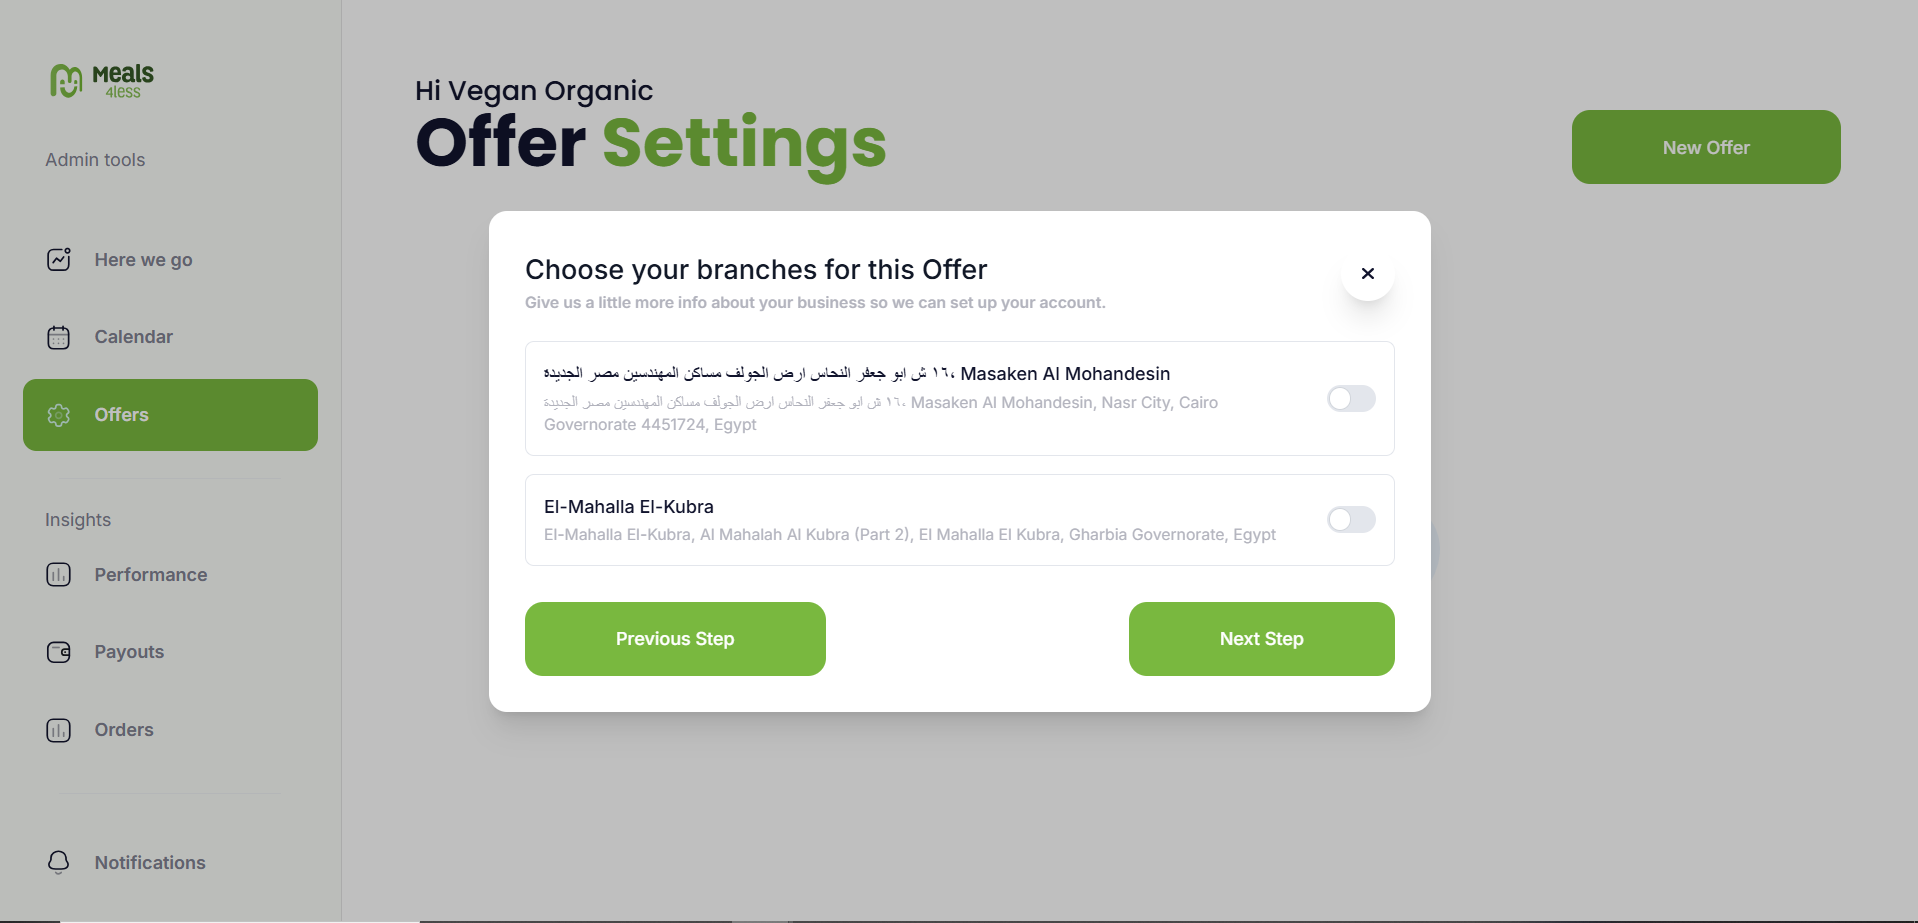
add offer have 5 steps :
-
Enter details about the food you offer (offer title and description and image)
-
Enter details about the food you offer (Main Category , Food Types , Vegeterian or Vegan)
-
Choose your branches for this Offer
-
Select Date for your Offer
-
Learn how to offer surplus groceries in our app (Packaging or Delivery , Extra Delivery Cost , Details about your Goody Bag)
Insights
Performance
-
The performance page shows reports such as earnings reports, total earnings,
rescued goody bags, and withheld taxes.
-
It also displays an transactions report with the option to select a date range, and the report can be printed .
payouts
The Payout page displays the payment method added by the supplier, monthly earnings, and payment history.
Notifications
All notifications received by the supplier are displayed, and any of them can be deleted.